Plan
My initial chosen weapon is the “Aerondight” From the Witcher 3: Wild hunt.

The Aerondight was not in the base game of The Witcher 3, instead being a part of the Blood & Wine expansion. It is a silver sword, so it is useful for slaying monsters. I particularly like the glowing glyphs on the sword.
For the blade I will be using a strong silver texture. For the hilt, a nice dark wood of some sort. I also need to make the glyphs in the middle of the blade. In game, the glyphs change colour depending on what runes you have equipped, so my final render may or may not be yellow. We’ll see.
For the background, I initially thought about a weapon rack, but I feel like it’d look a bit empty, and a generic looking weapon rack wouldn’t be befitting of a weapon of this calibre.

Perhaps a simple environment? I want to keep the backdrops simple but also not boring.
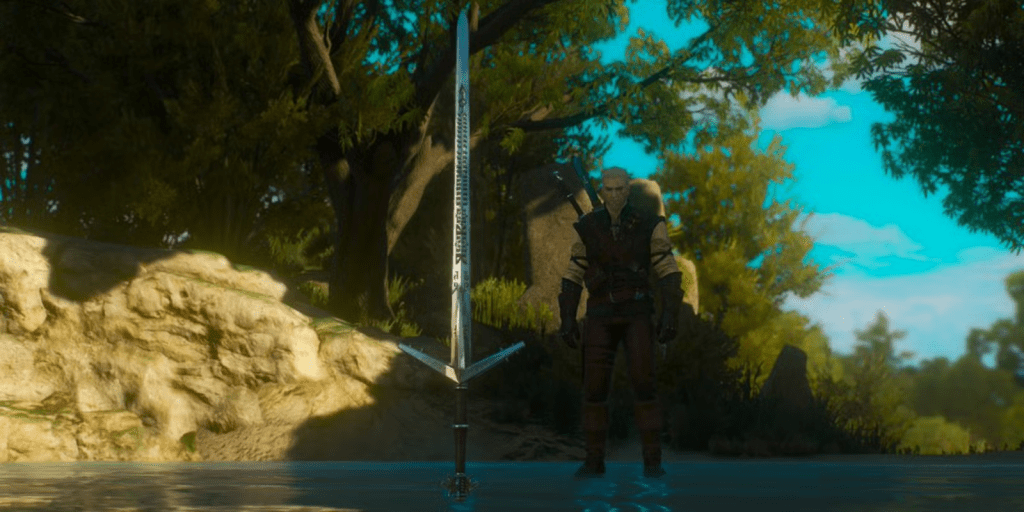
I like the screenshot above in particular. Toussaint from the Blood & Wine DLC has such a nice contrast to the bleak colour palette of the main game, and I want to find a way to incorporate that into my backdrop.
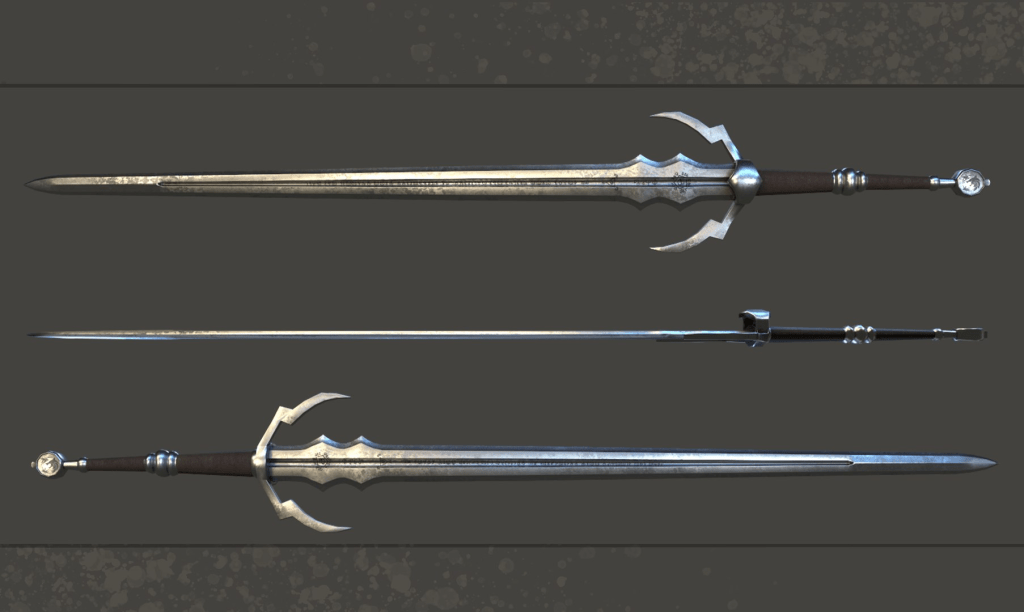
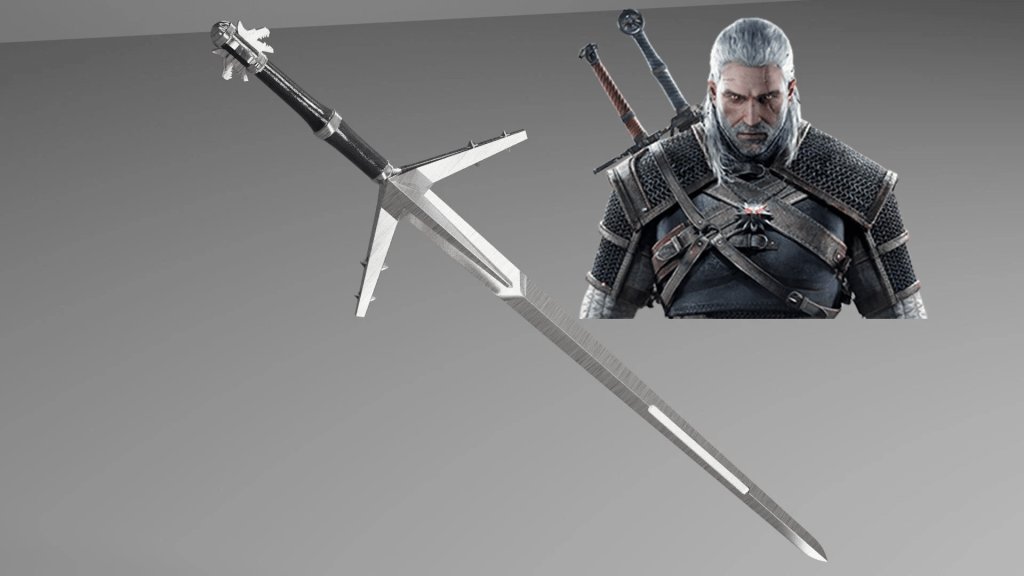
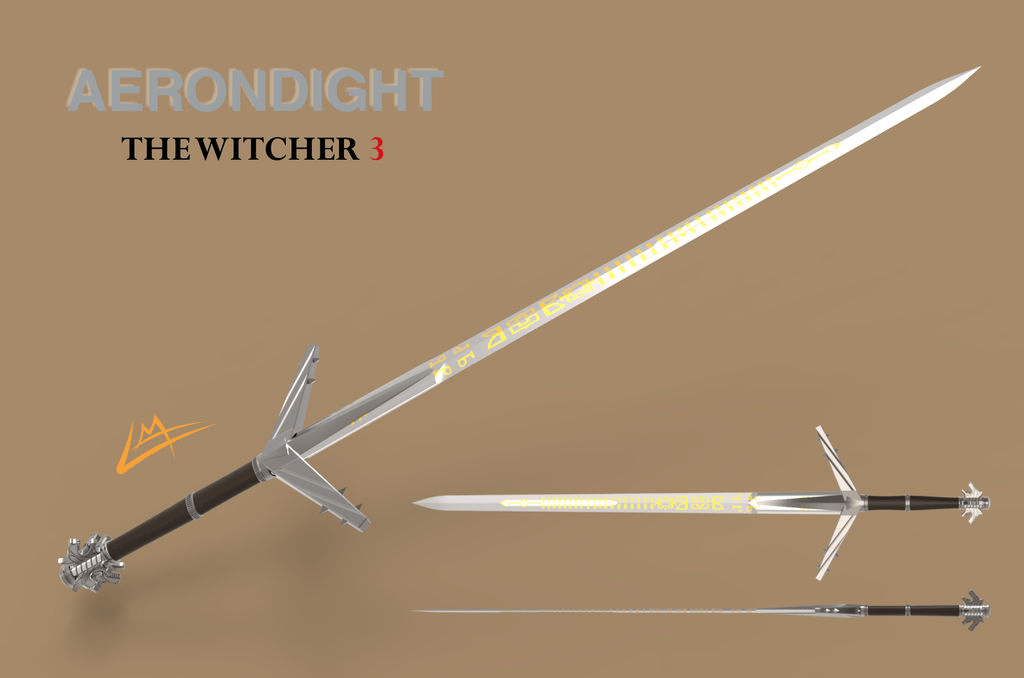
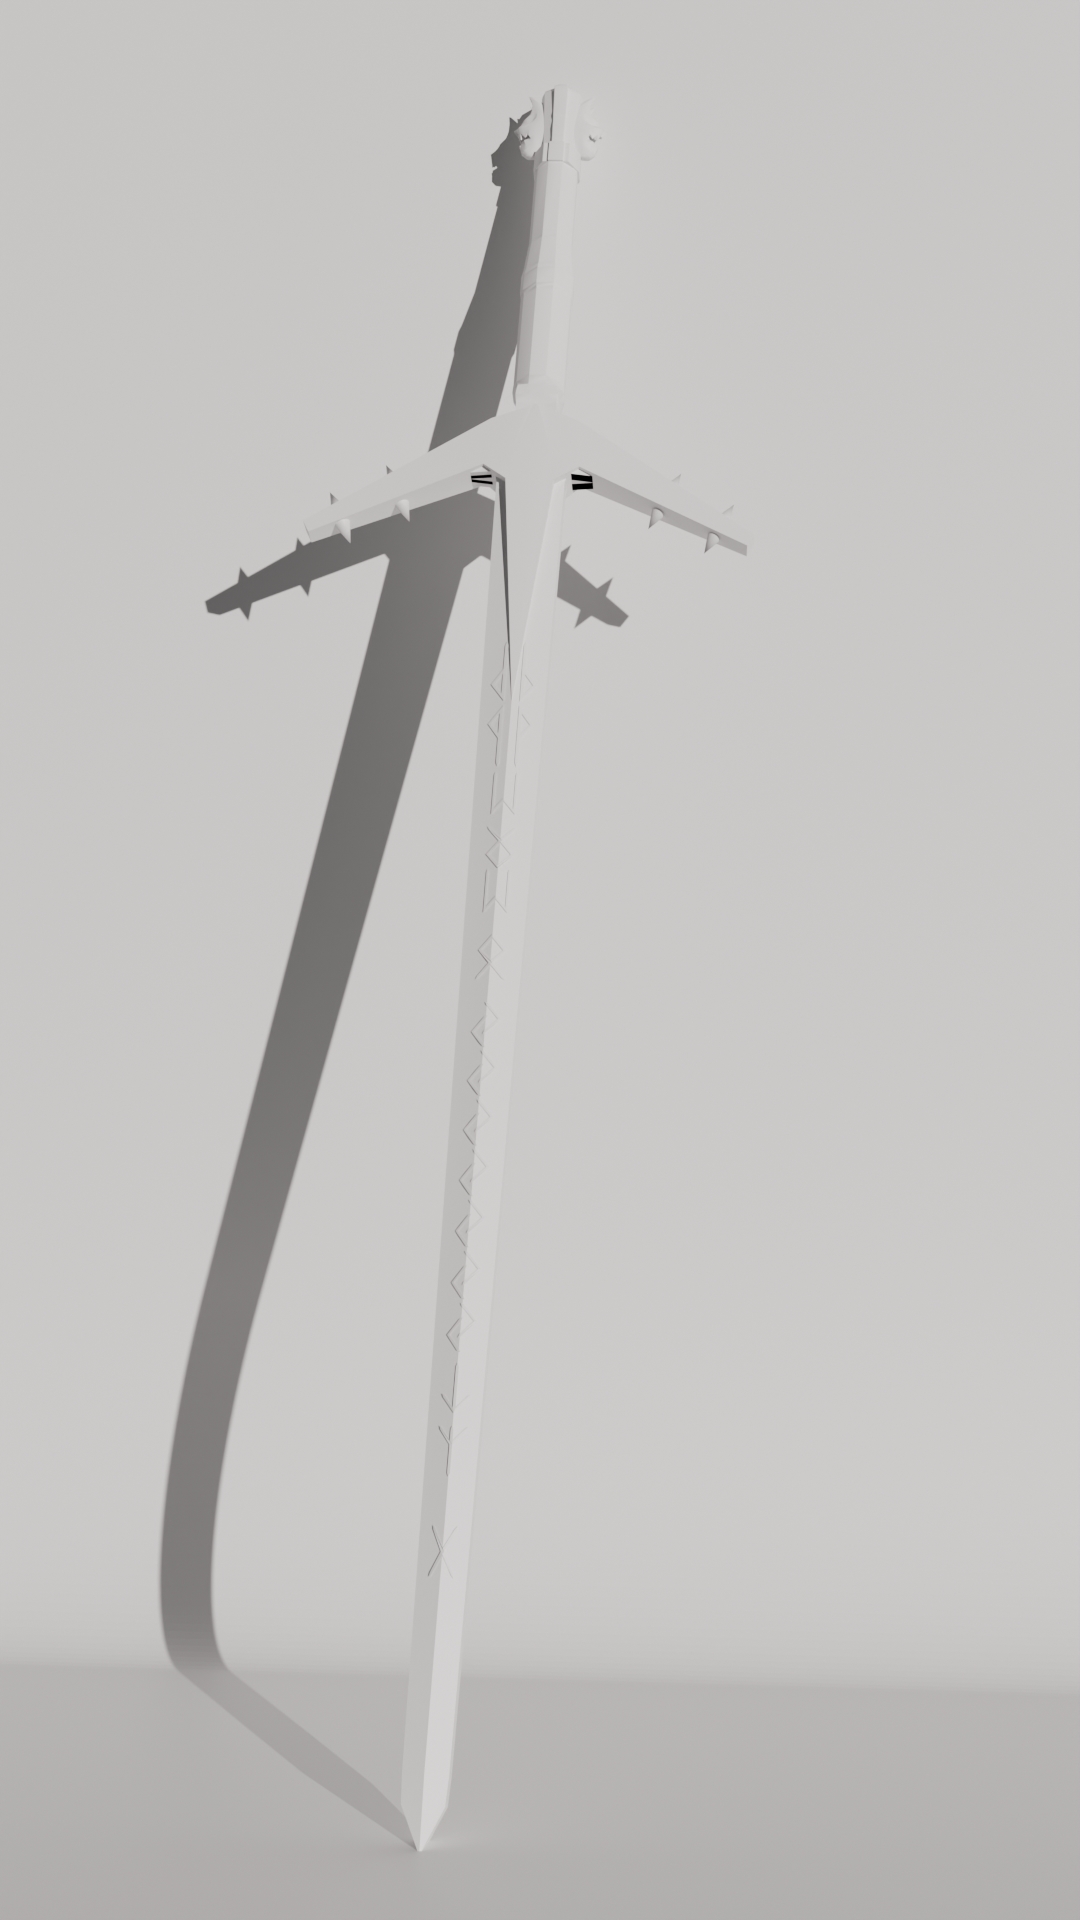
Above is an image I found on Google. Although it is not the same exact sword I am doing, it is still a good reference.
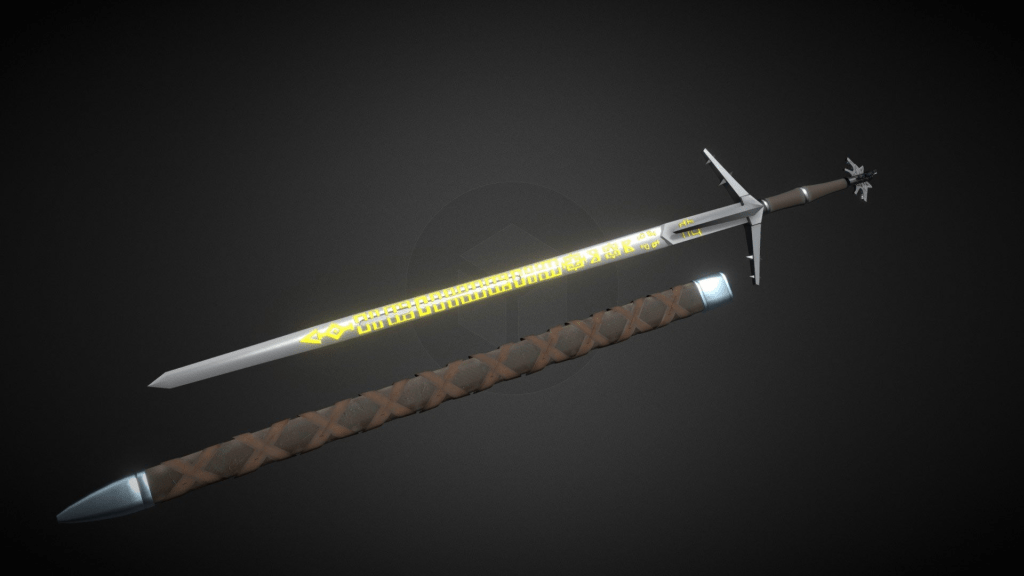
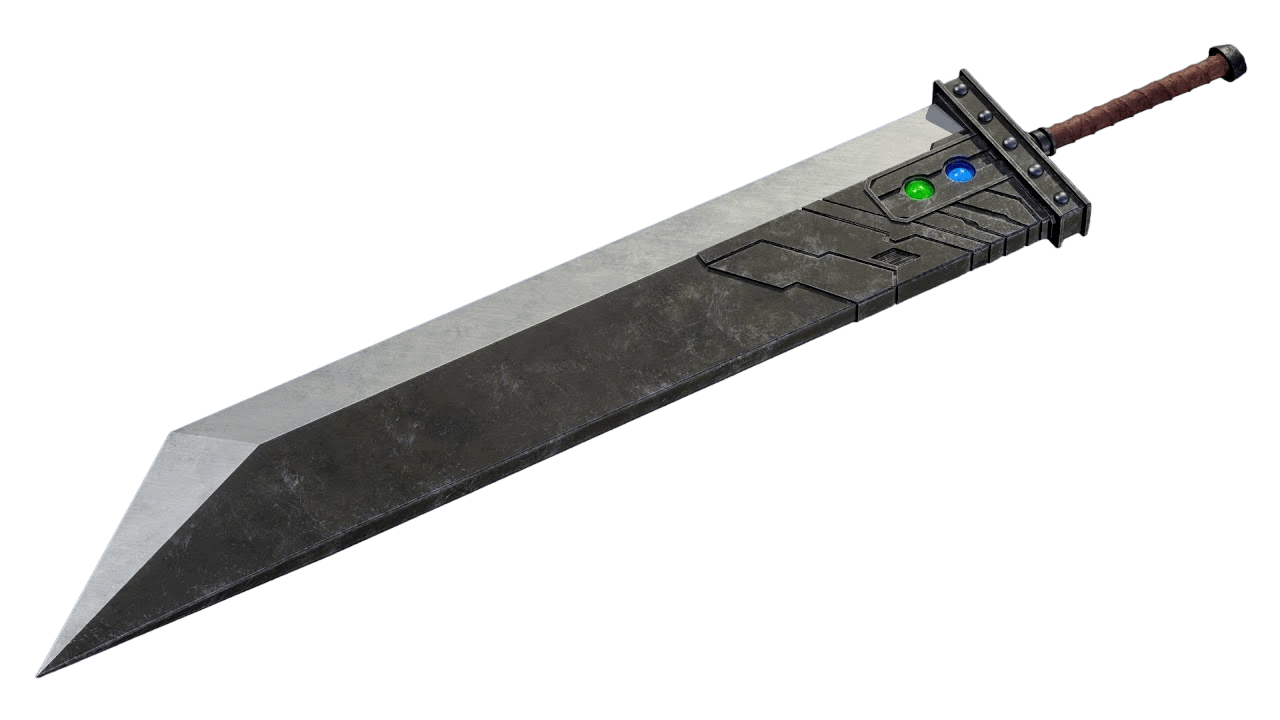
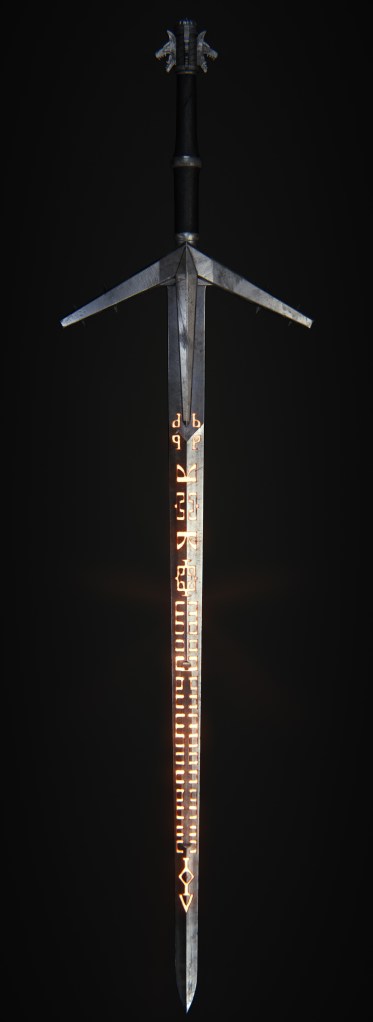
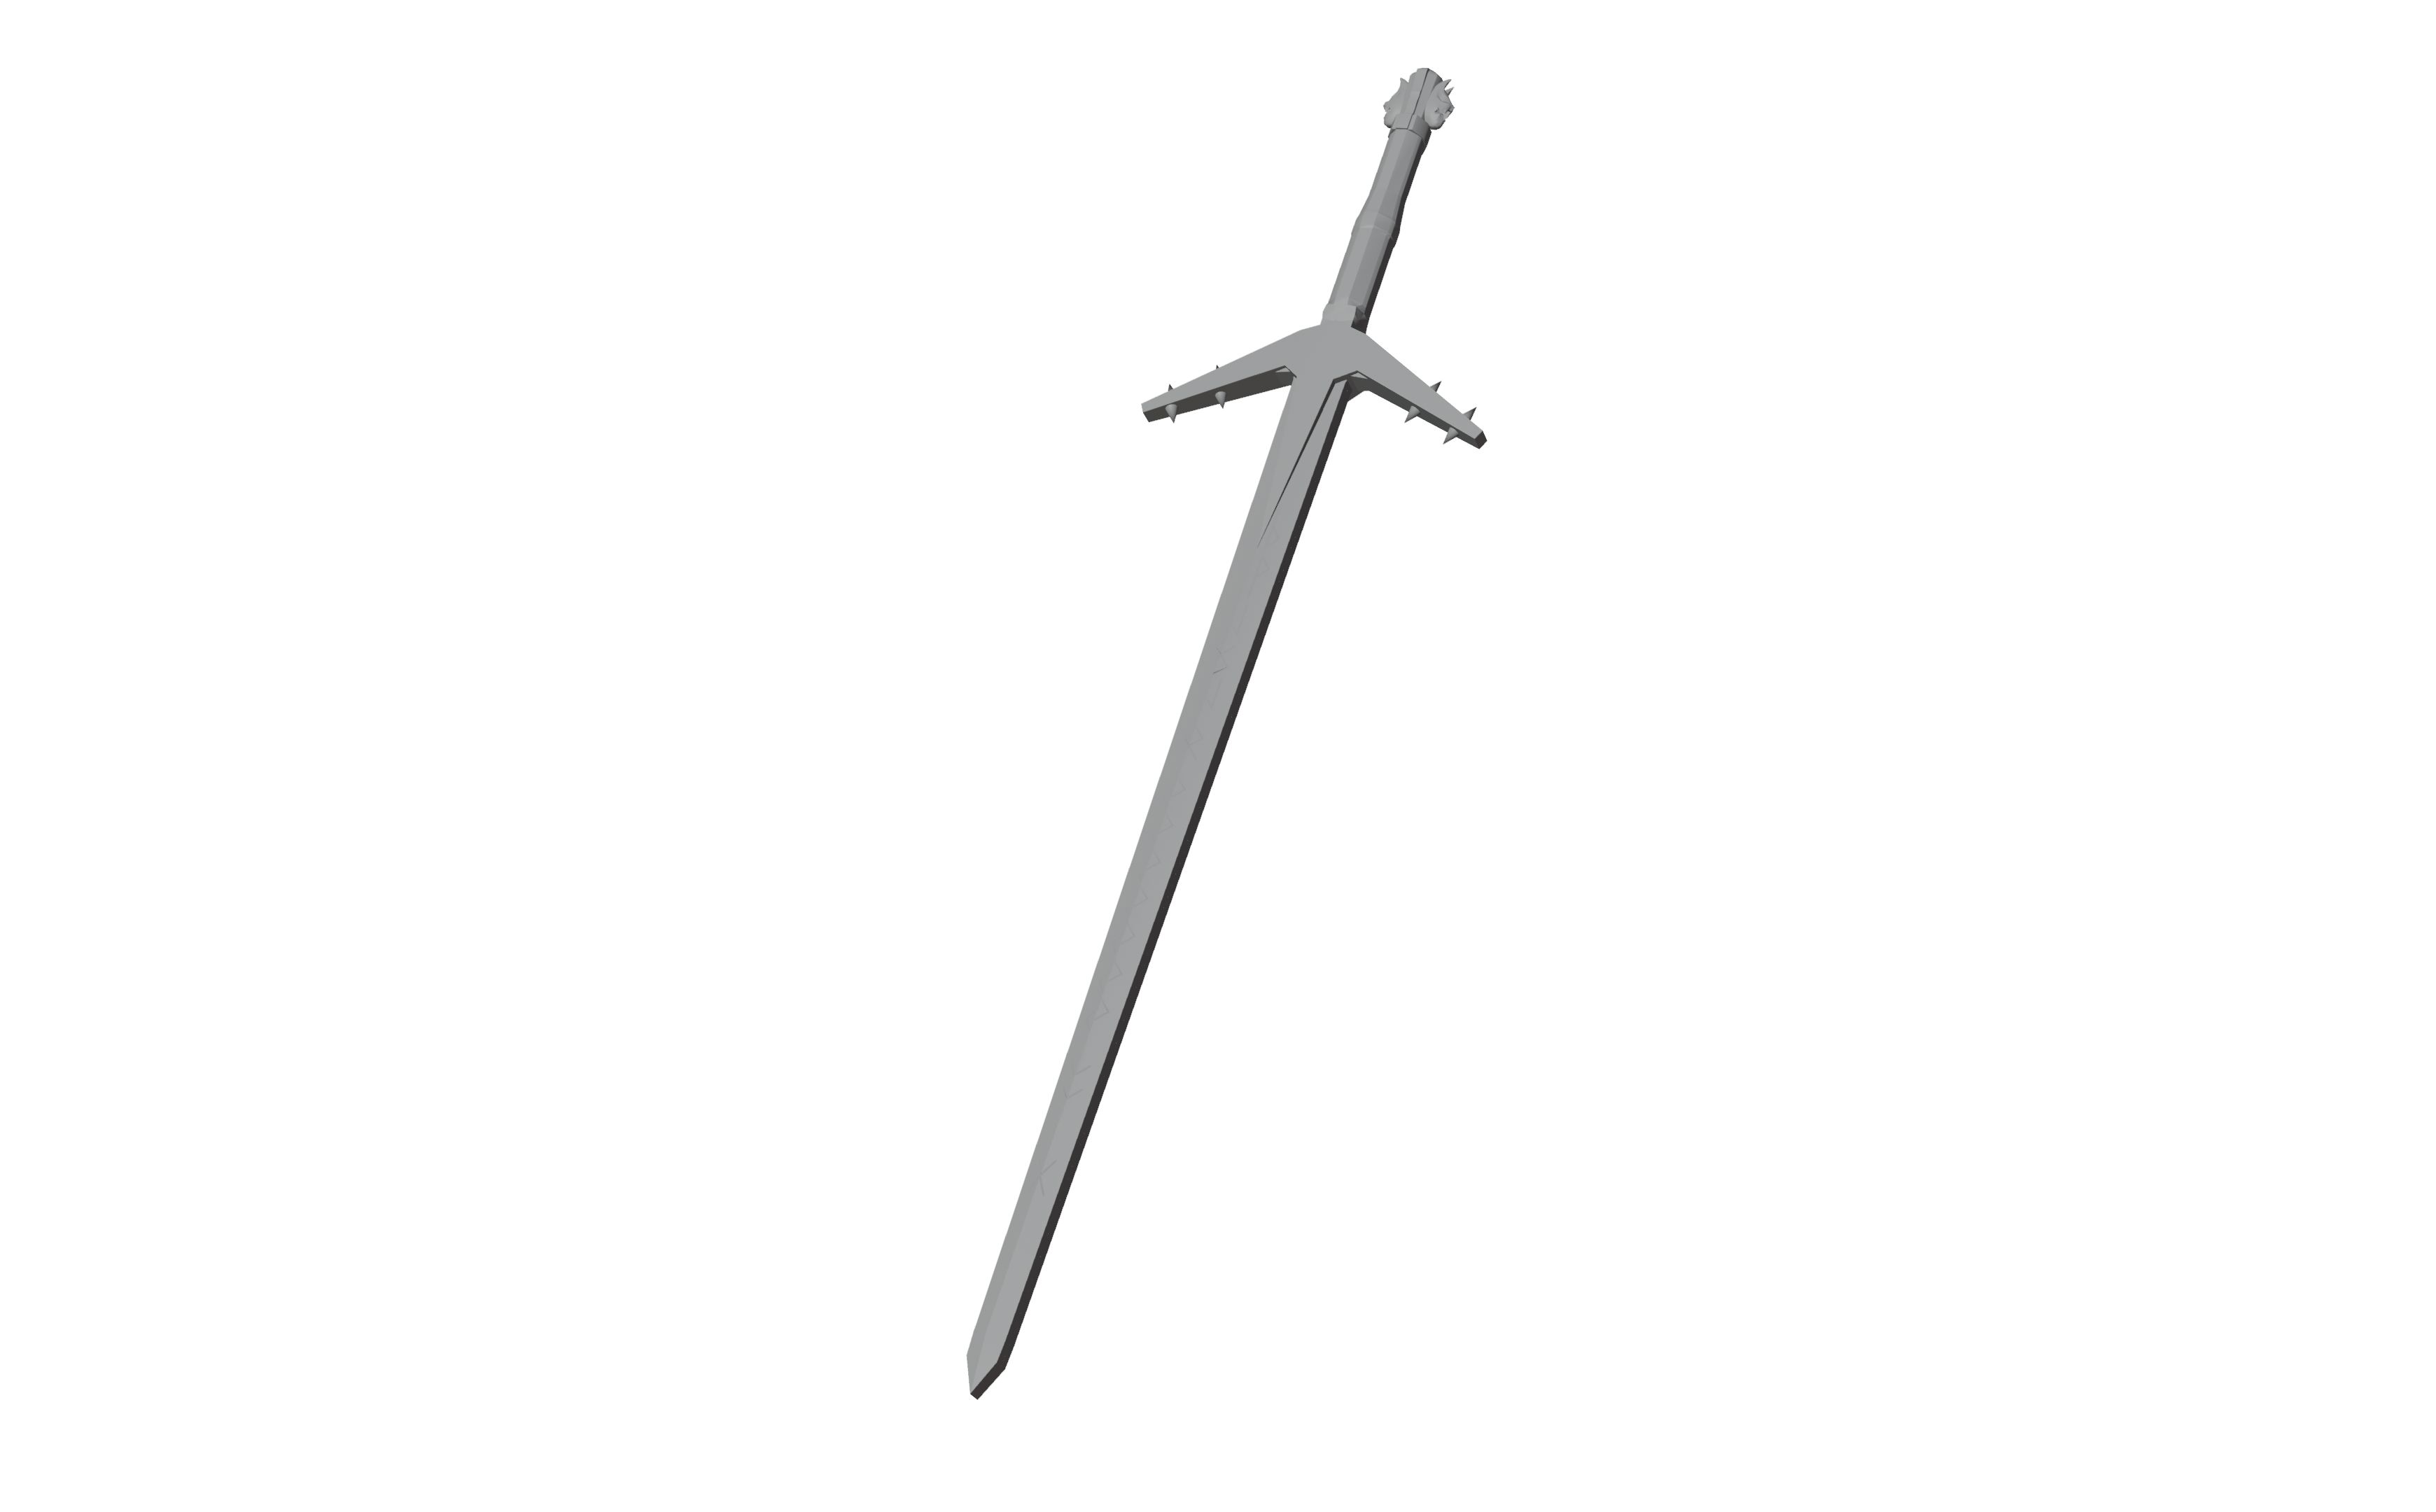
The above render was created in Blender by another user and I think this one looks really good also.
If I were to be doing this professionally, I would consider who my client is and what their needs would be. Assuming it would be used for a new title in The Witcher series, it would obviously need to be very high quality.
Research
I’ve been practicing a bit with making swords in Blender in my own time. I’ve only done four models, as of writing, and they are fairly simplistic, but it is still good nonetheless. I’m aiming for my upcoming models to be a lot more detailed than my previous models.
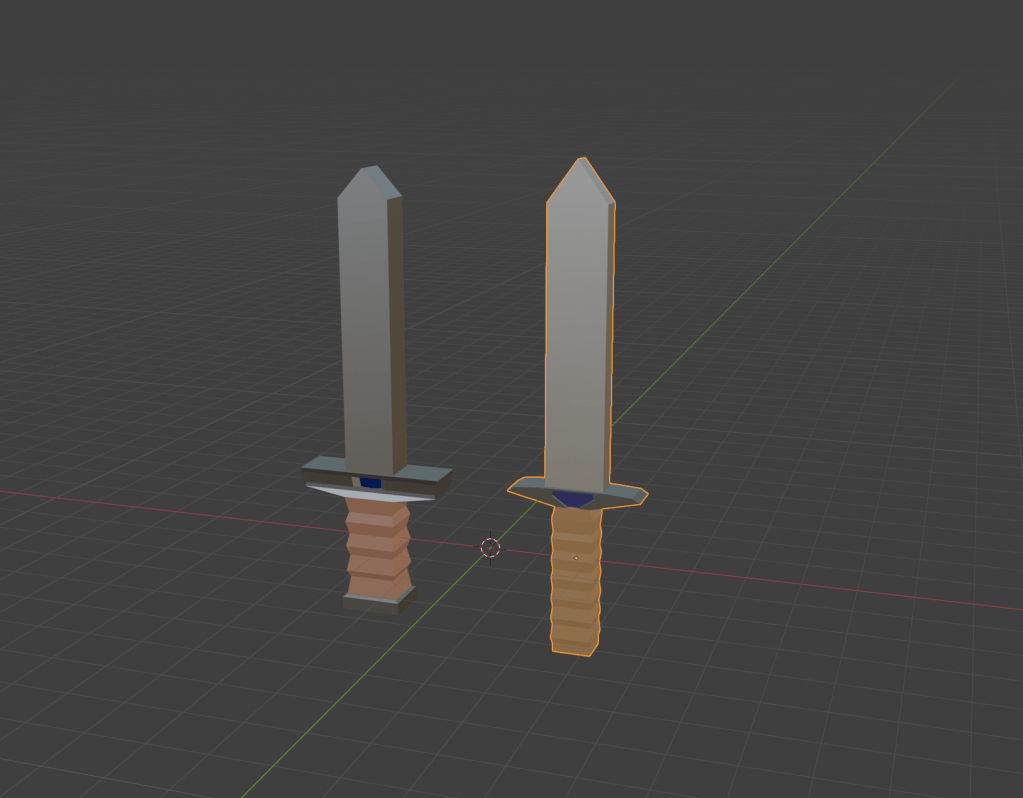
The above models were made for my video editing unit, as I decided to do a Blender tutorial for my video. As you can see, they are far from being the most fantastic and detailed models out there, but it is still a good start.
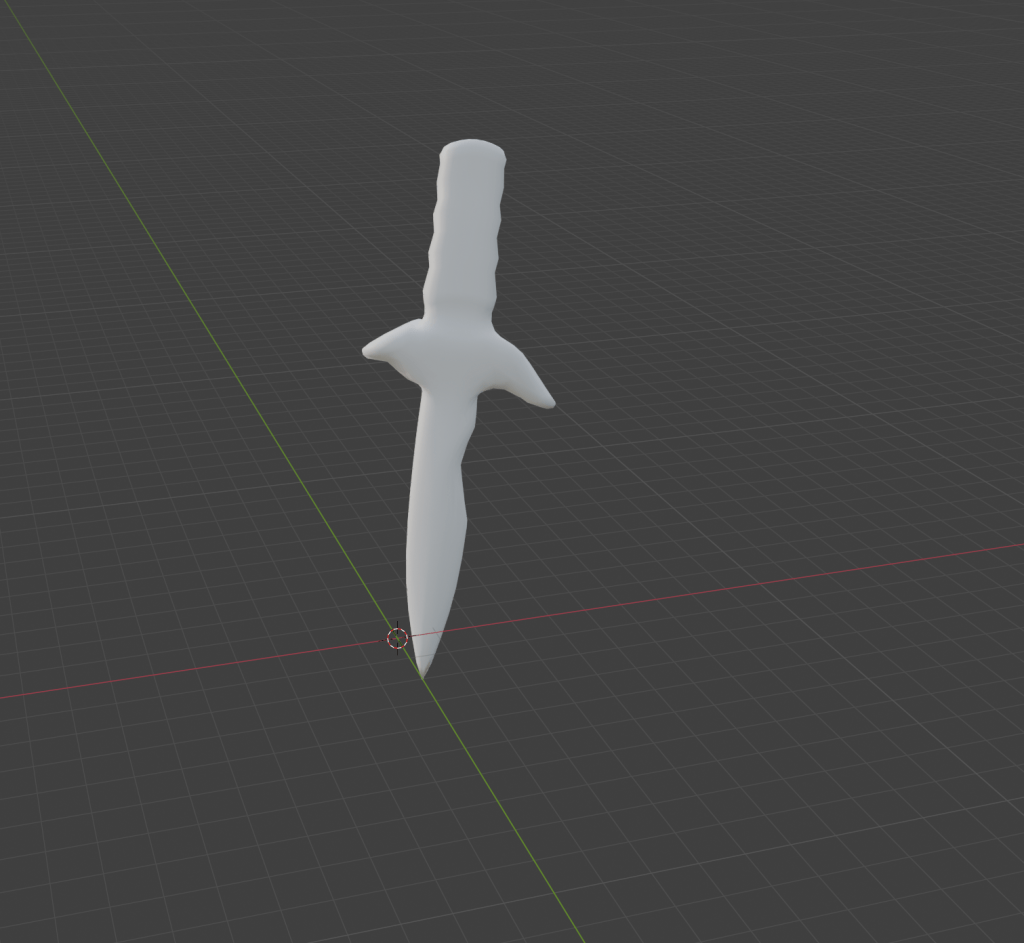
This is an unfinished model I started last week. It was originally going to be sticking out of a stone, but I have hidden it for the purpose of this unit. (The stone was also unfinished.)
I have a fourth 3D model of a sword sticking out of a stone, which I did in my own time. It is a finished render and although it’s not particularly great, I am still proud of it. The sword I based the design off was Cloud’s buster sword from Final Fantasy VII, although I took a few creative liberties.
As I am doing the Aerondight from The Witcher 3, I am going to research the sword and its detail. Upon a closer inspection of the hilt, I noticed that it has wolf faces coming out of it, not unlike the logo of the game.
I have found a website detailing the anatomy of a sword, which should come in handy when it comes down to making my Aerondight model. [https://www.supremereplicas.com/en/productinfo/the-parts-of-a-sword]
Production
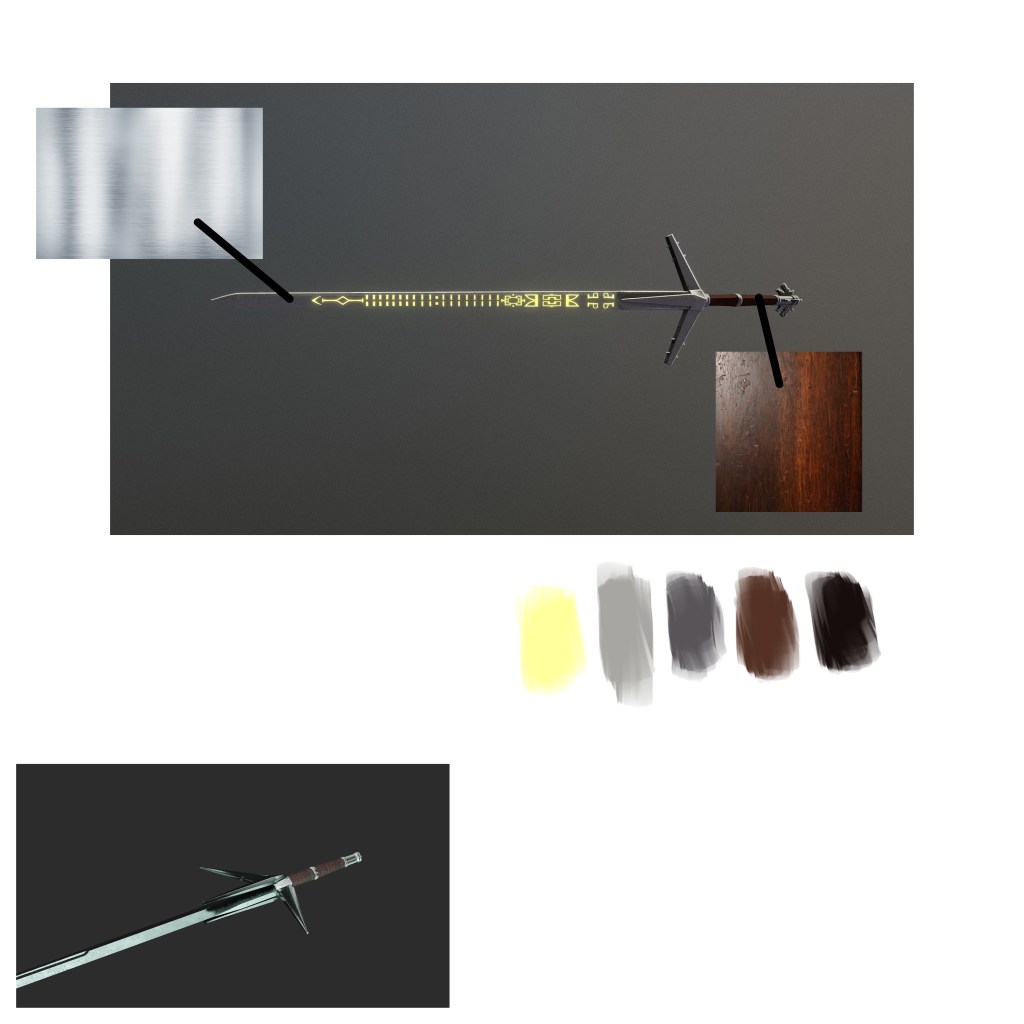
The above image is the reference I am going to use in Blender for my Aerondight model.
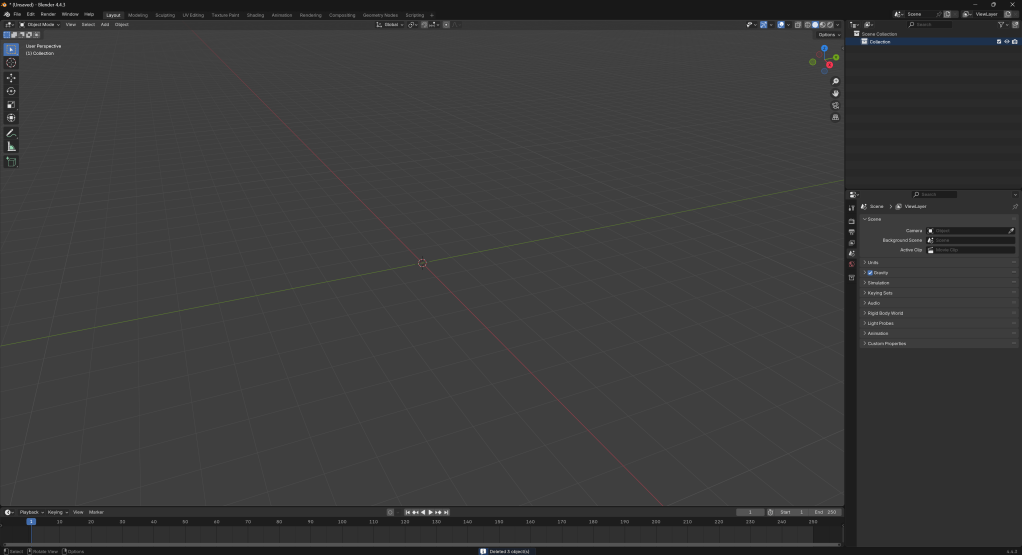
We start out with the default Blender viewport after deleting the cube, camera and lighting.
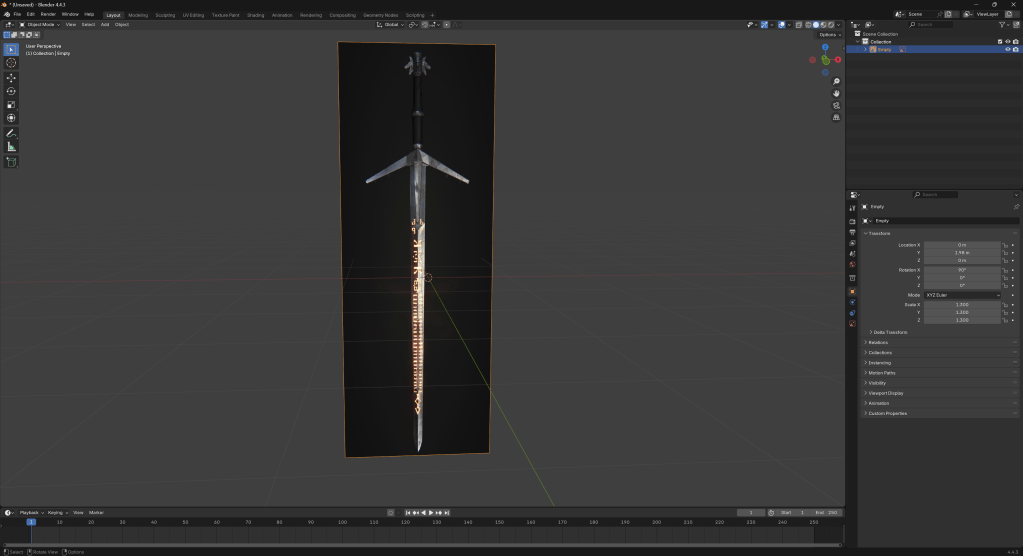
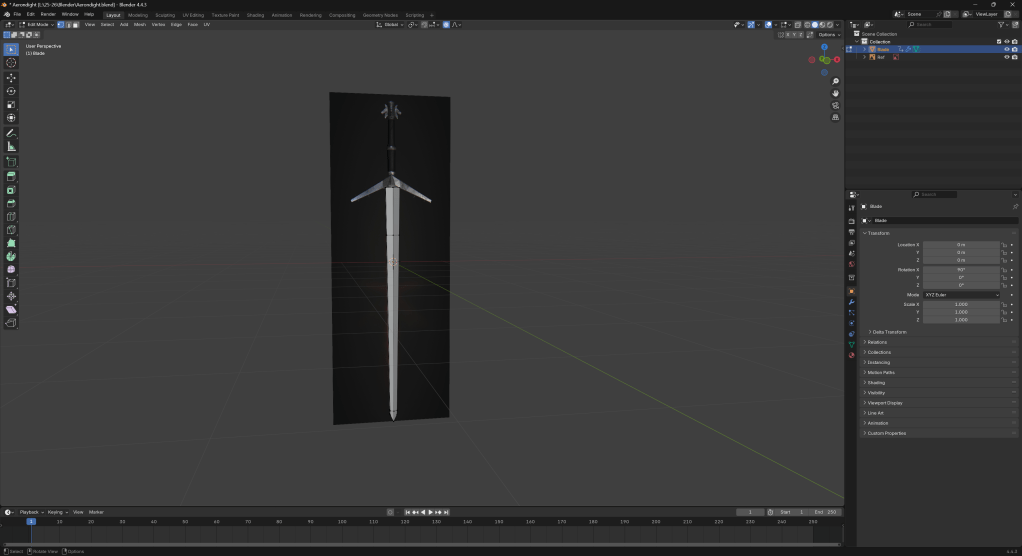
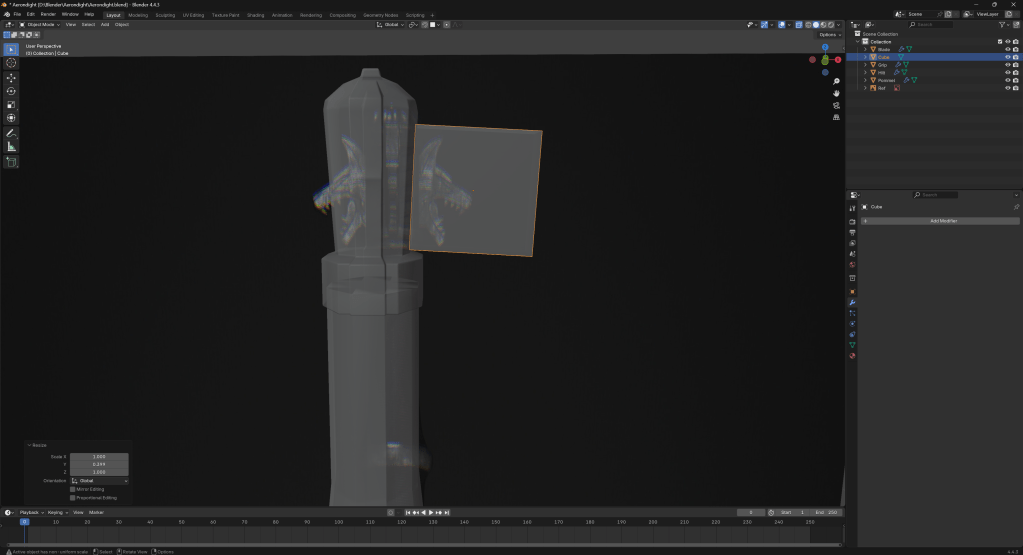
I have added the reference for the Aerondight.
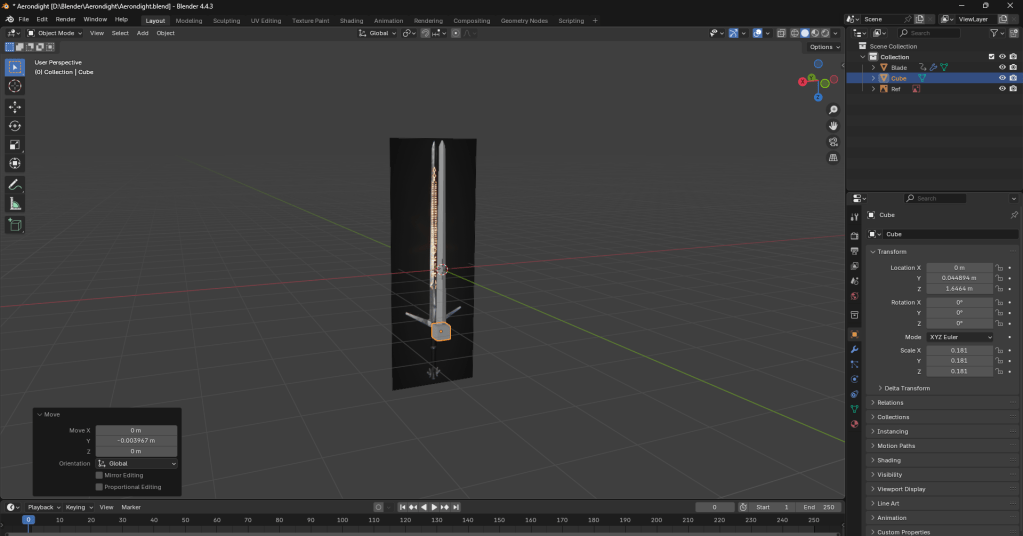
I have added a cube, a subdivision modifier, done a loop cut through the middle and extruded the top.
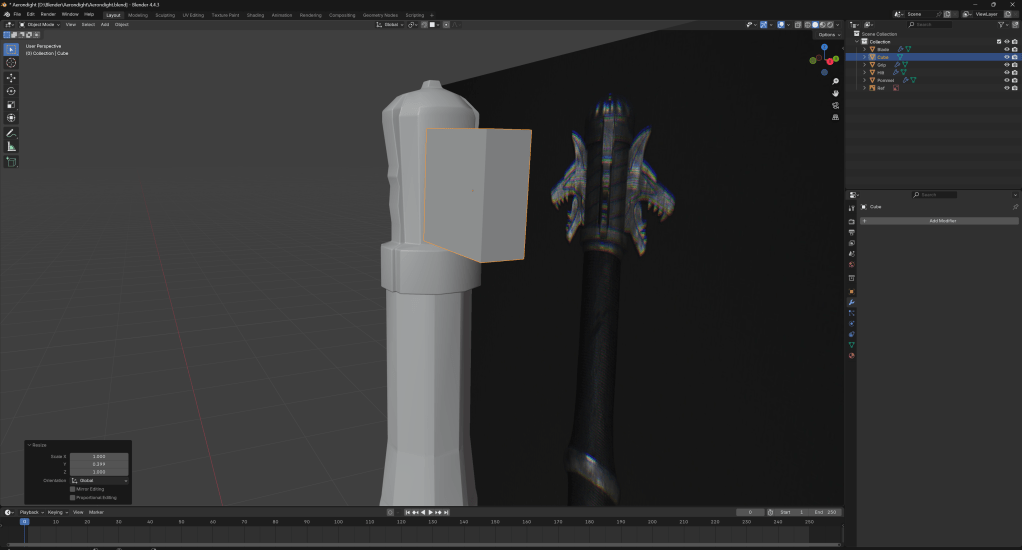
After a while of messing around, I decided to restart because I wasn’t happy with how the model was going.

I have found a short youtube tutorial which I am going to loosely use as a reference going forward.
Starting work on the hilt on my PC at home.
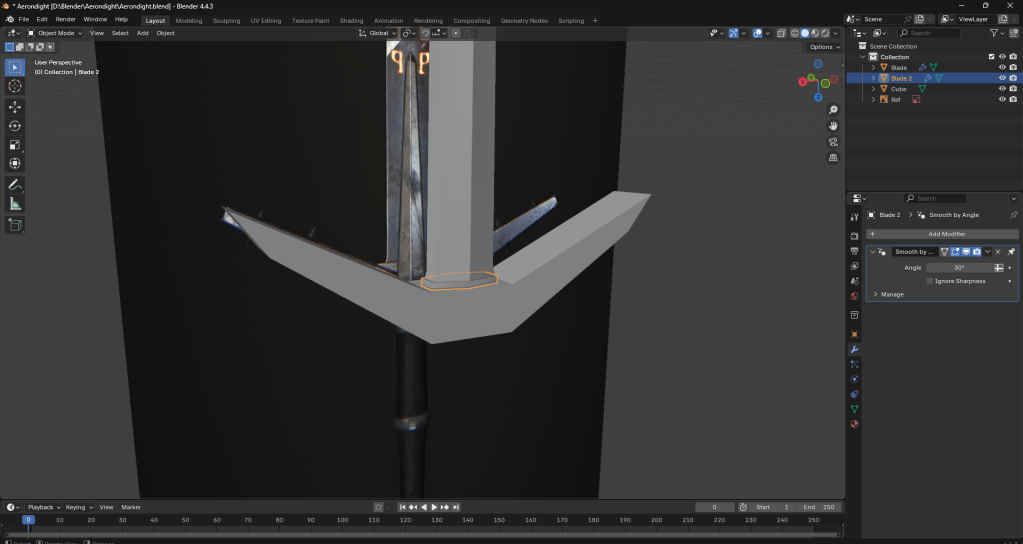
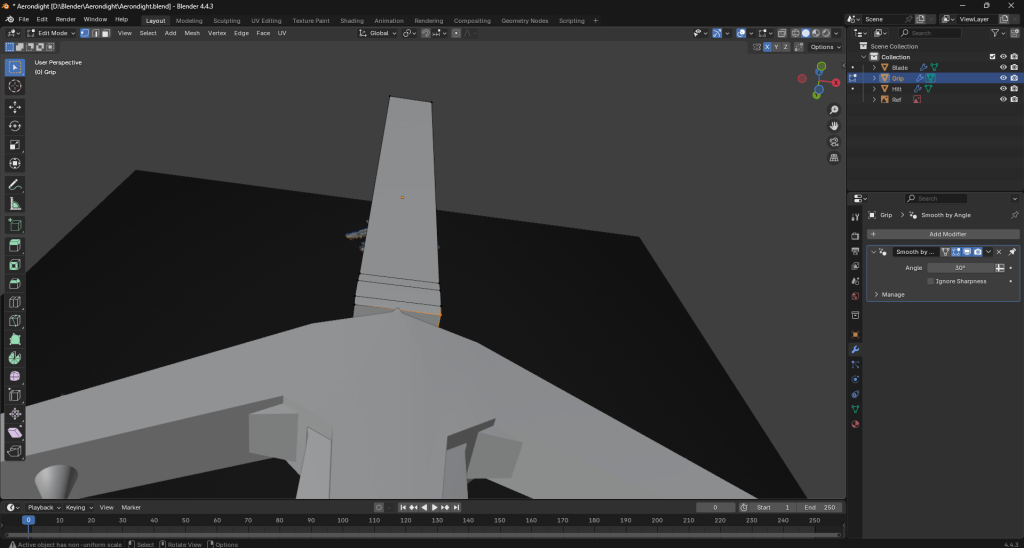
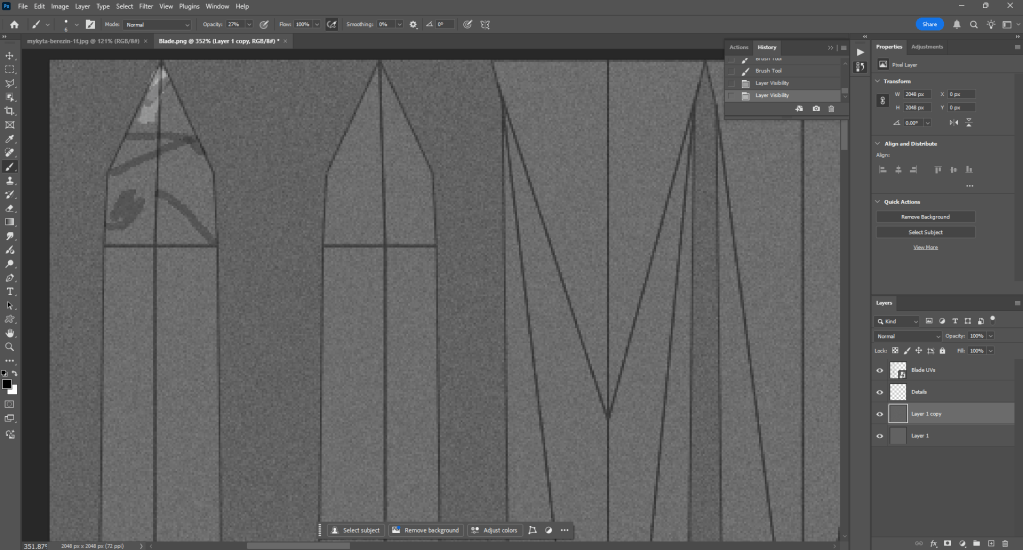
Creating and working on the little details around the beginning of the blade.
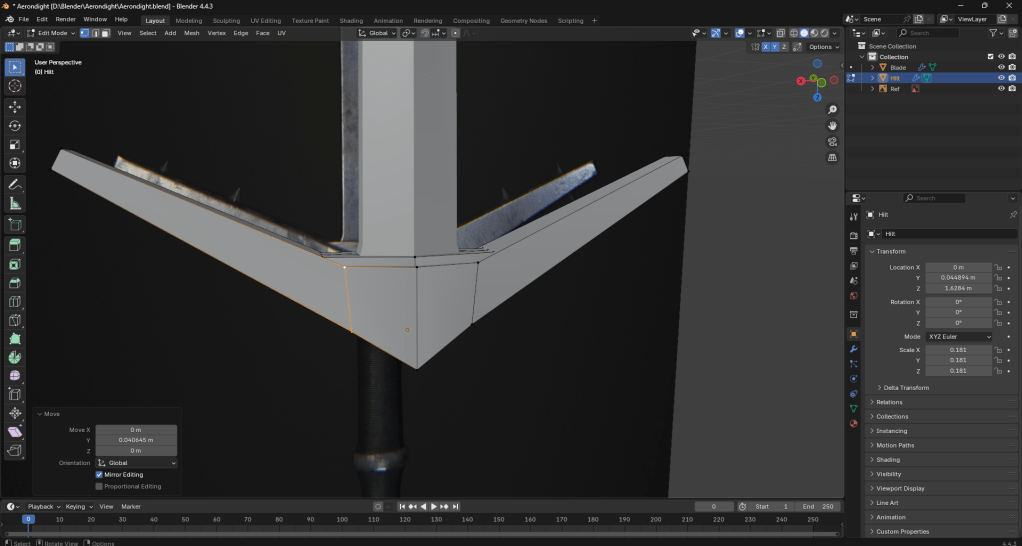
Here I am adding more detail to the hilt and the blade.
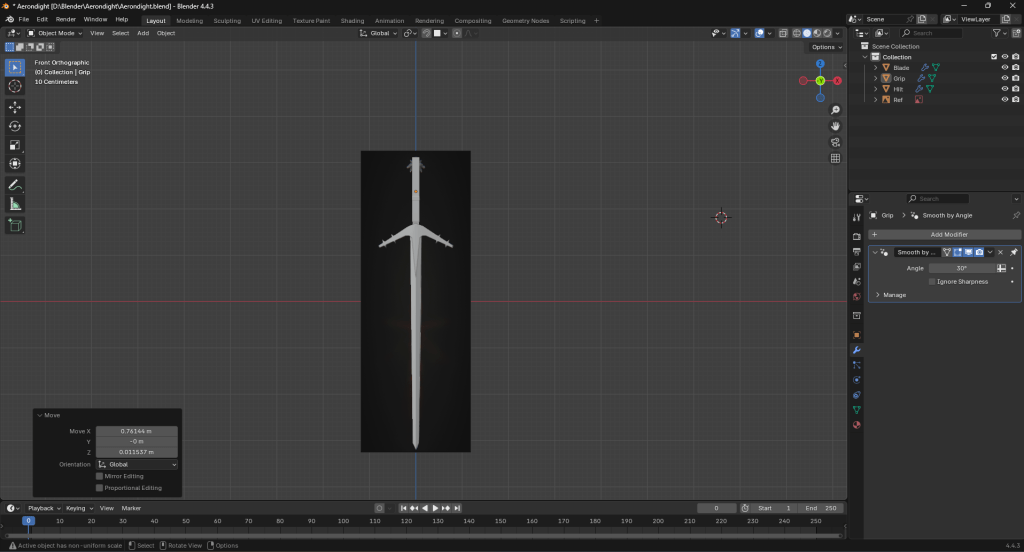
Here I am beginning to work on the grip.
These images were taken before I began to do the lines on the pommel, which can be hard to see with x-ray, hence why I have hidden it in the bottom image. My initial idea was to use the loop cut tool and rotate the cuts, but that didn’t look too good, as pictured below.
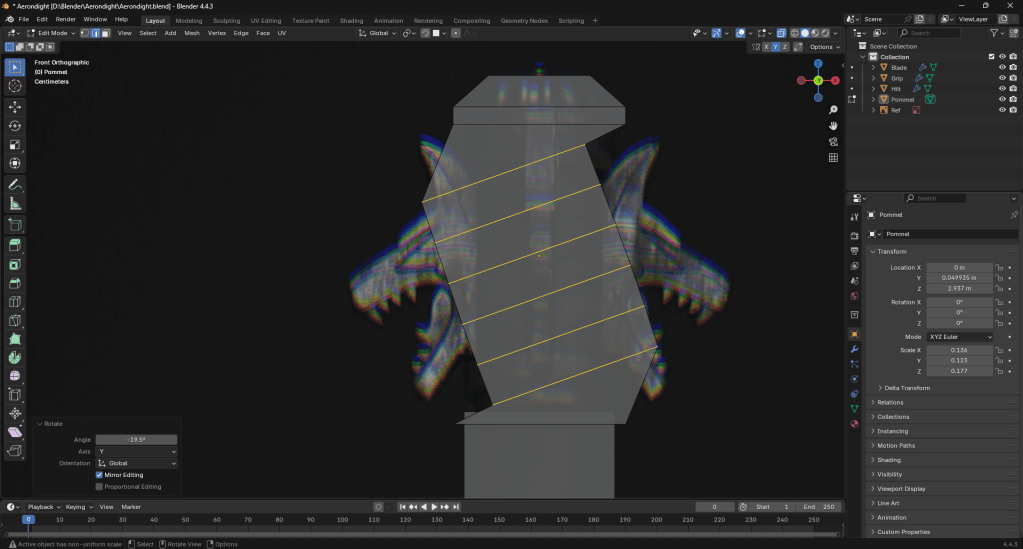
Not that it’d be unfixable, but I thought there had to be an easier way to do it. That’s when I discovered the knife tool from a thread on the Blender stackexchange forums.
The knife tool took a bit of getting used to, but I’m not sure if I’m even happy with the result. I might just end up incorporating it into the textures instead.
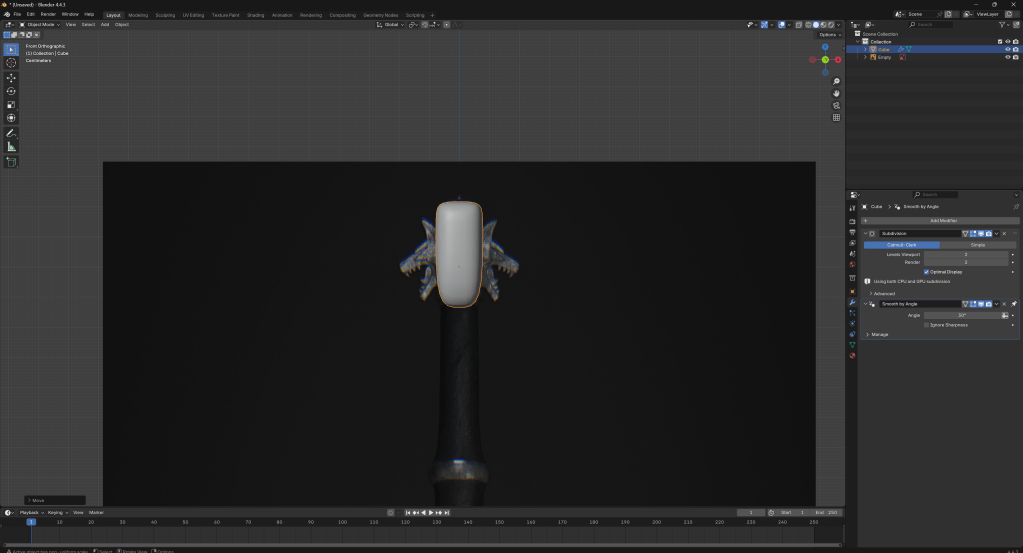
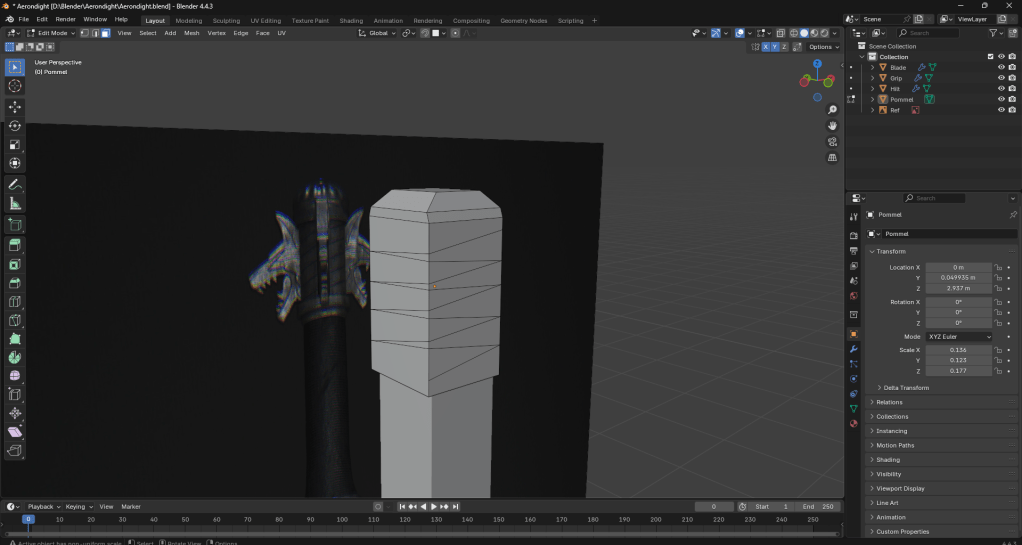
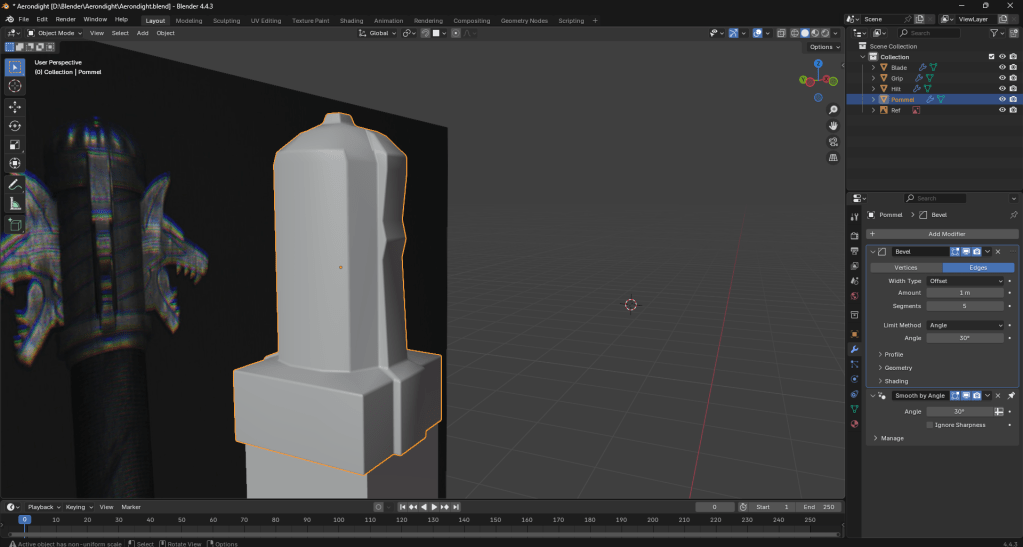
Adding extra detail to the tip of the pommel.
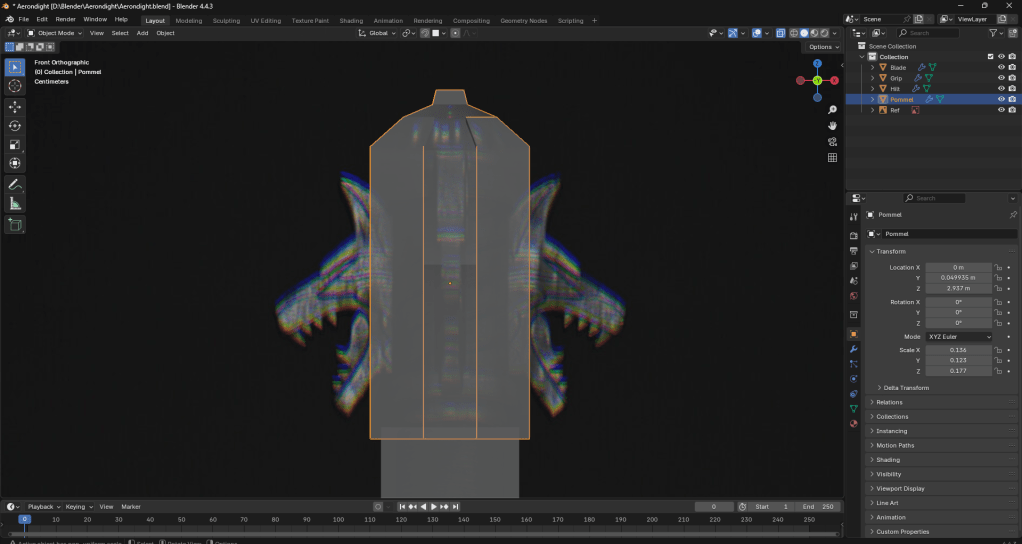
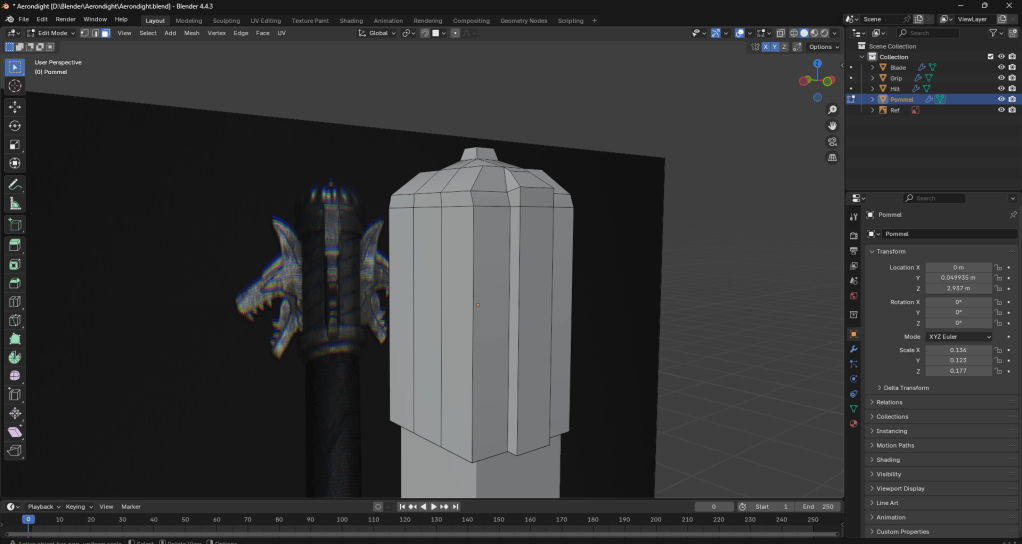
At this point I had realised I had made a small mistake. As you can see above, the pommel is a fair bit bigger than the reference. The middle part, specifically. The rest of it is just about okay. Again, it’s not unfixable, but it’s something to keep in mind moving forward.
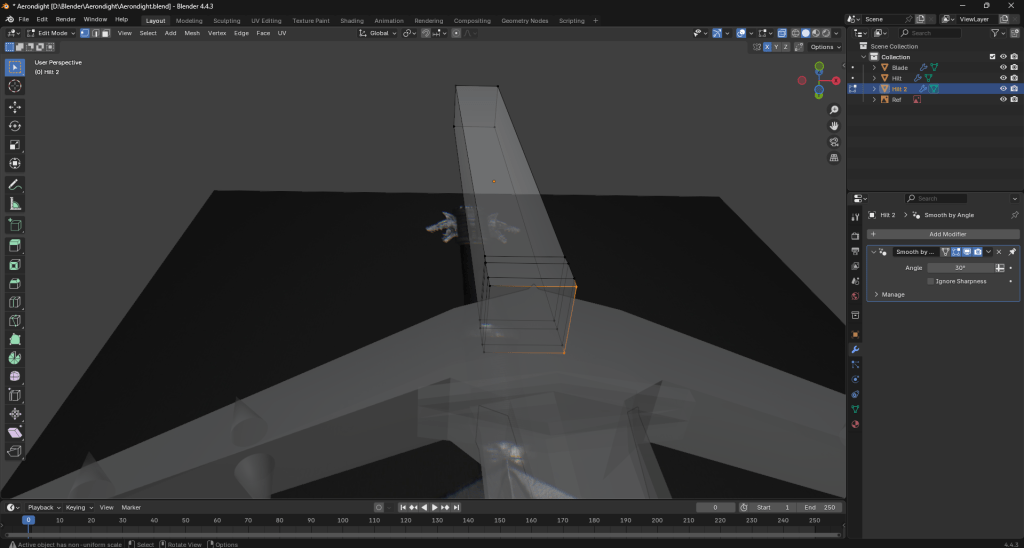
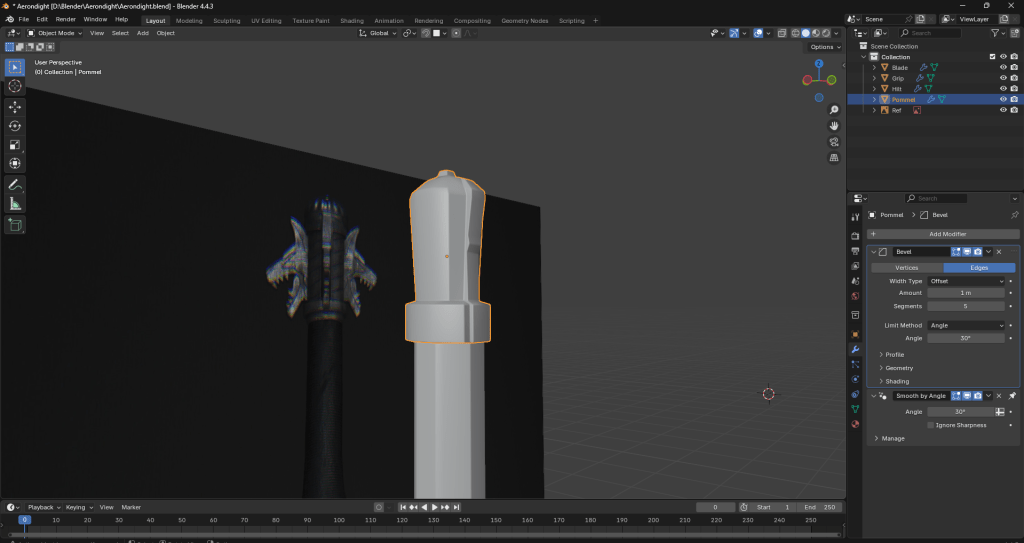
After making some adjustments to the size, I discovered the bevel modifier, which just gives some cleaner edges.
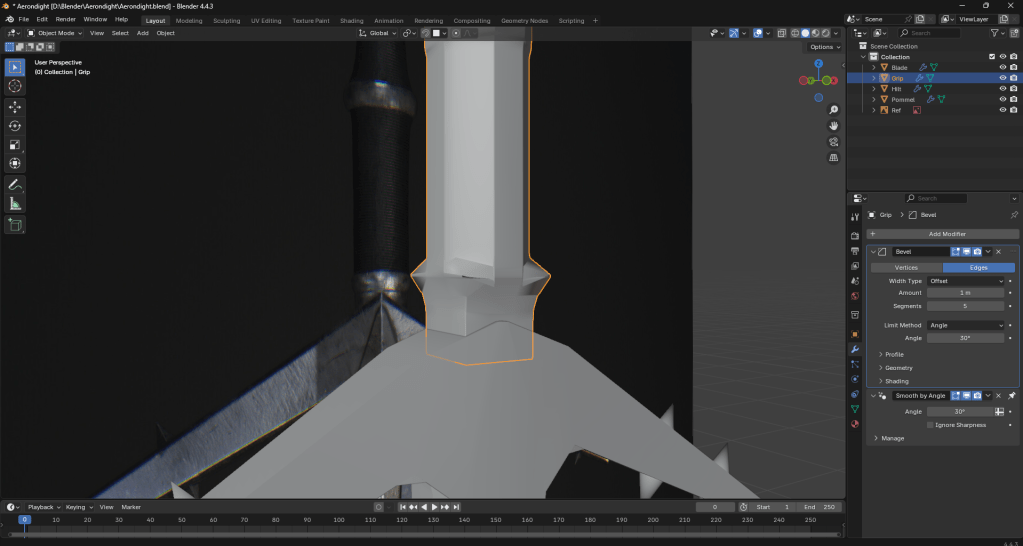
Whilst adding extra detail to the grip by rescaling some of the vertices, I came across an issue as you can see above. It seems to be caused by the bevel modifier, as removing it fixes it. However, I want to keep the bevel modifier so I shall look into how to fix it whilst doing so.
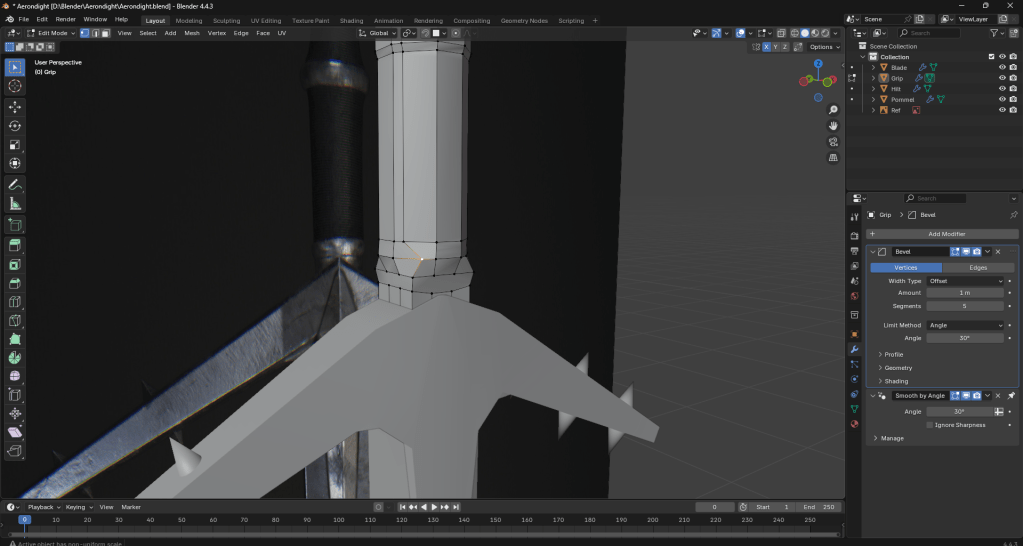
As it turns out, setting the bevel modifier to “vertices”, as opposed to “edges” fixes this problem.
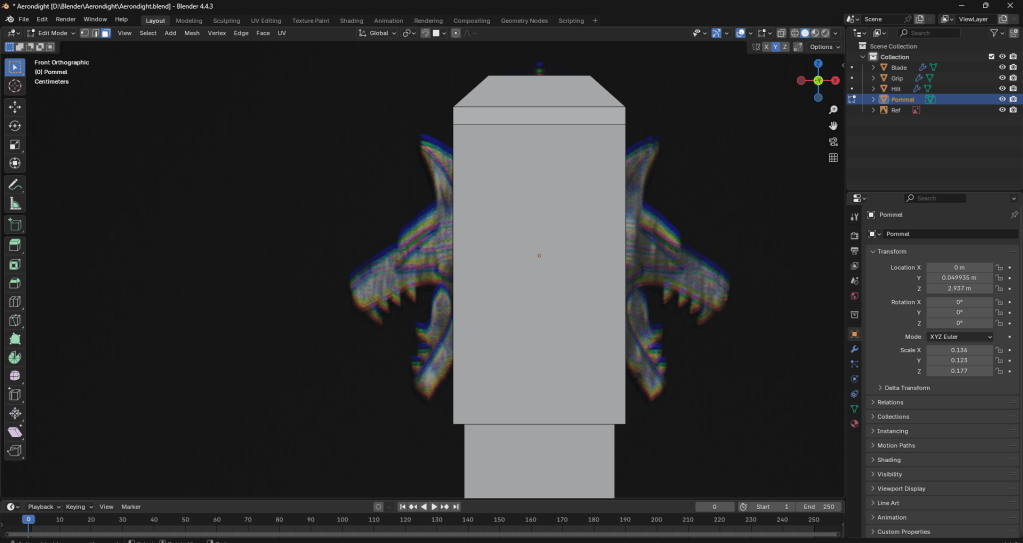
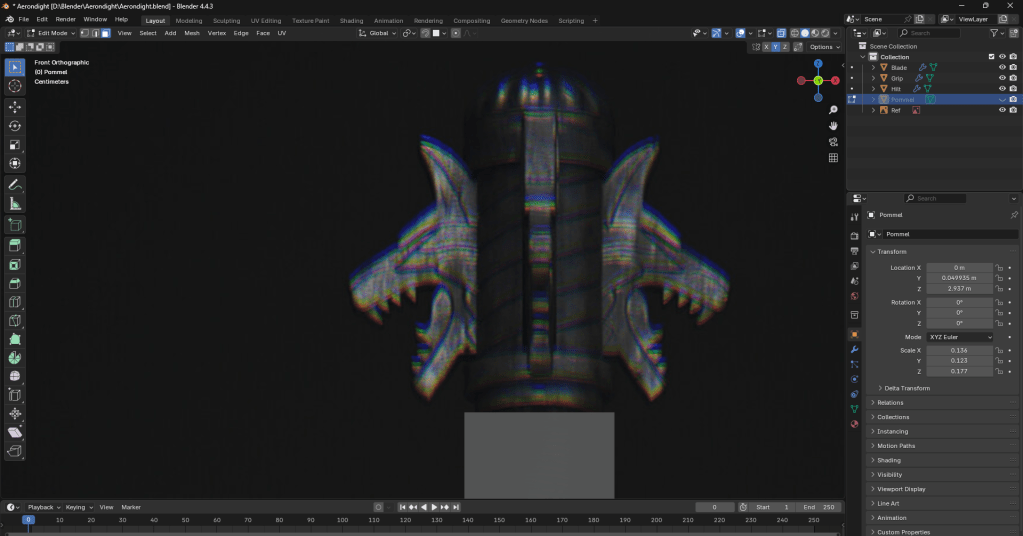
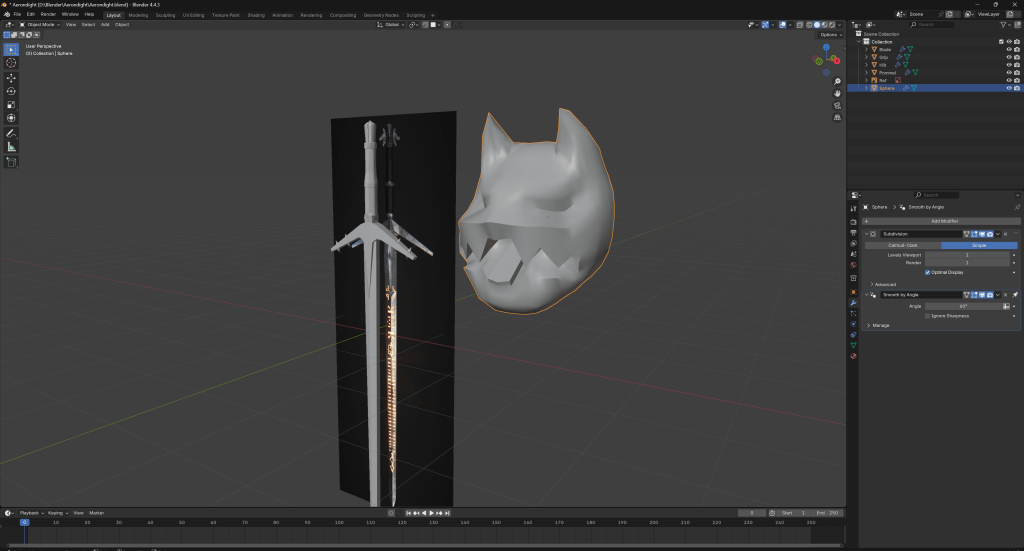
Now onto the wolf faces on the pommel. I knew going in that this was going to be one of the harder bits of the model to do.
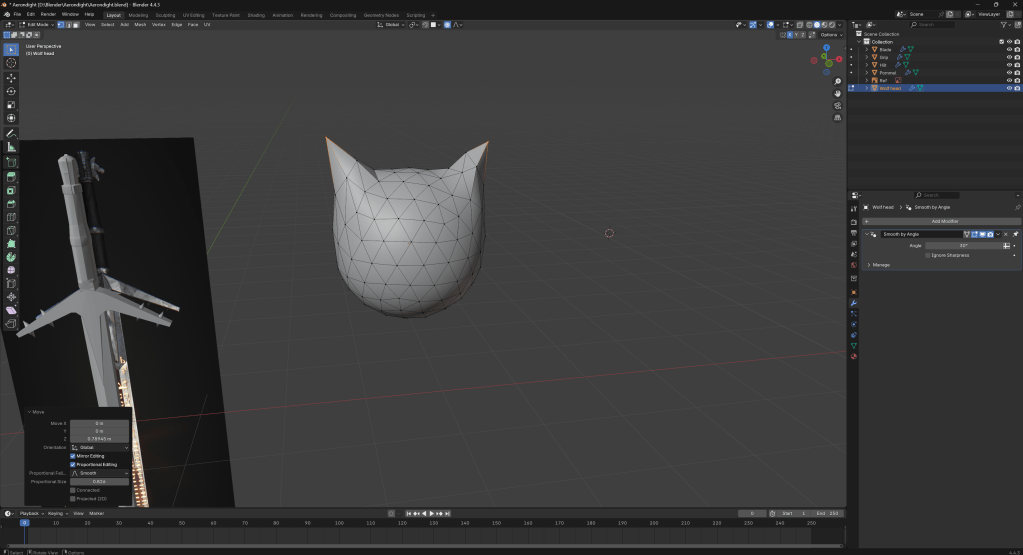
I am trying a slightly different method of making my wolf head.

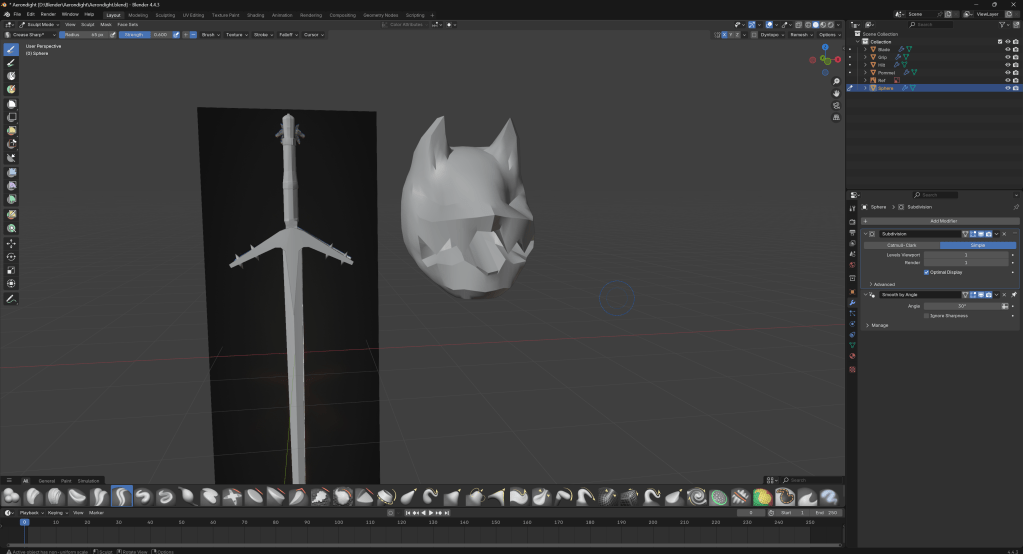
After messing around with the wolf head for a short while, I have come up with the above. It is still slightly goofy looking, but I will continue to try and make it look better.
My wolf head is still not perfect, but it is getting there.
I think this is about as good as I am going to get when it comes to the wolf head. Next up is to scale it down and copy it for the sword.
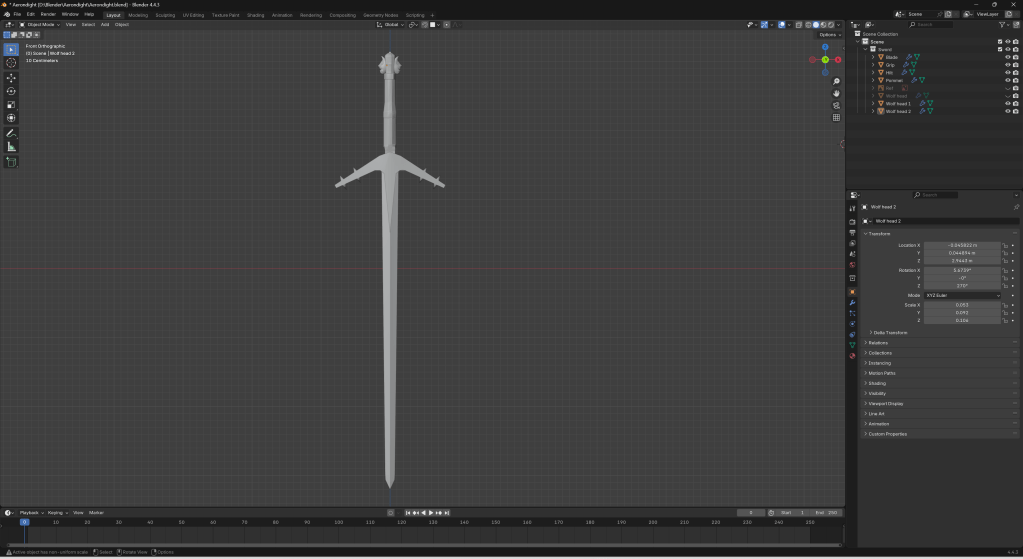
After messing with the scaling and positioning to get the wolf head right, I am pretty happy with this.

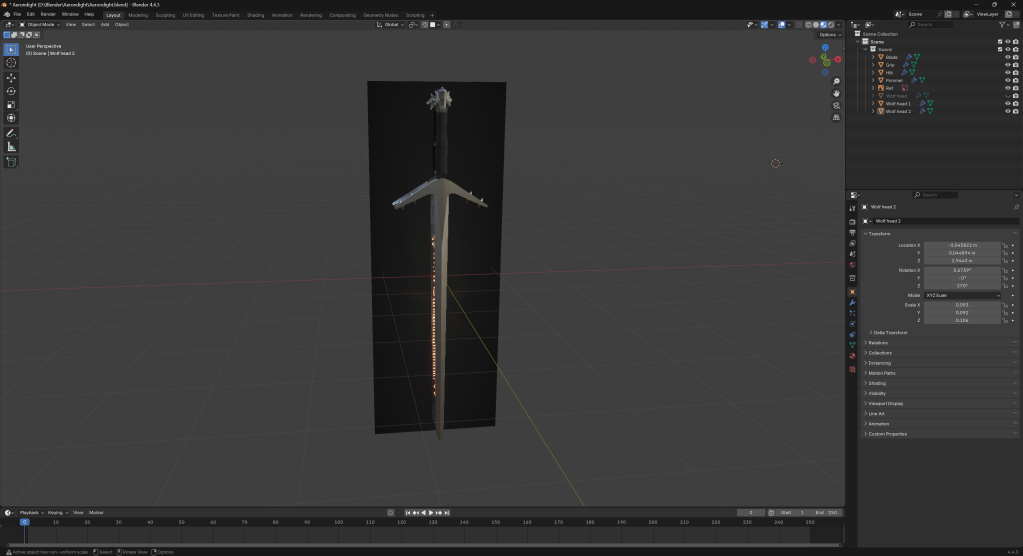
Adding a bevel to the wolf heads.
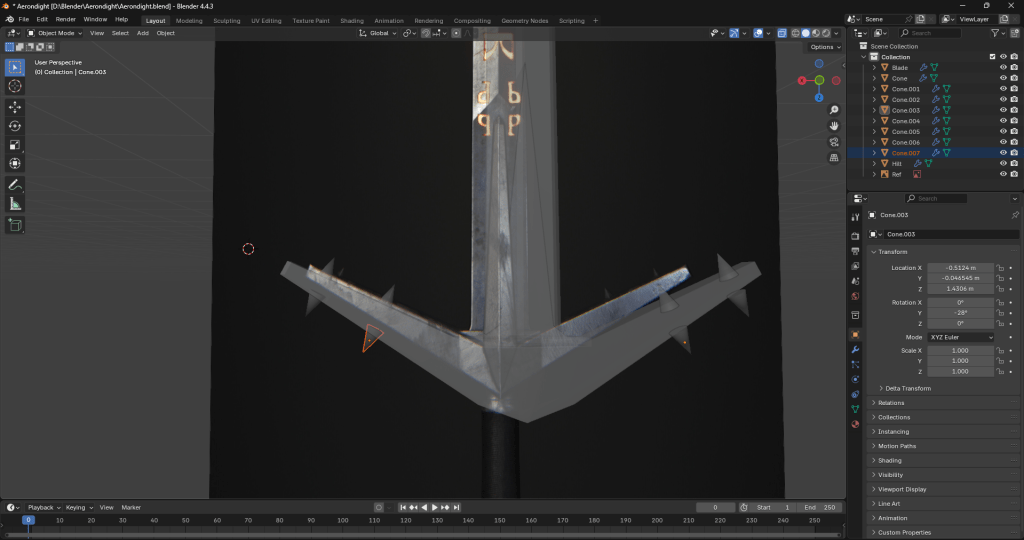
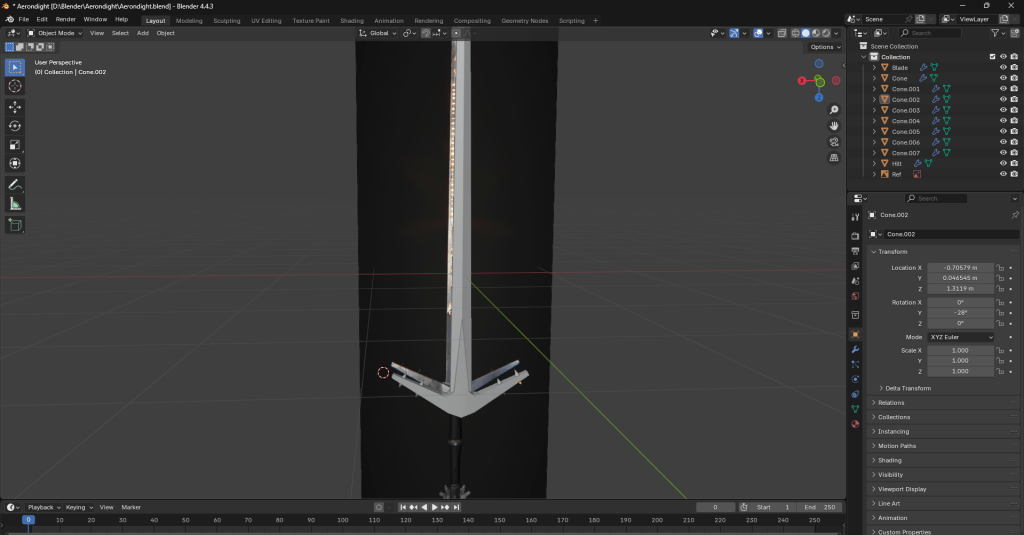
Adding some placeholder textures.
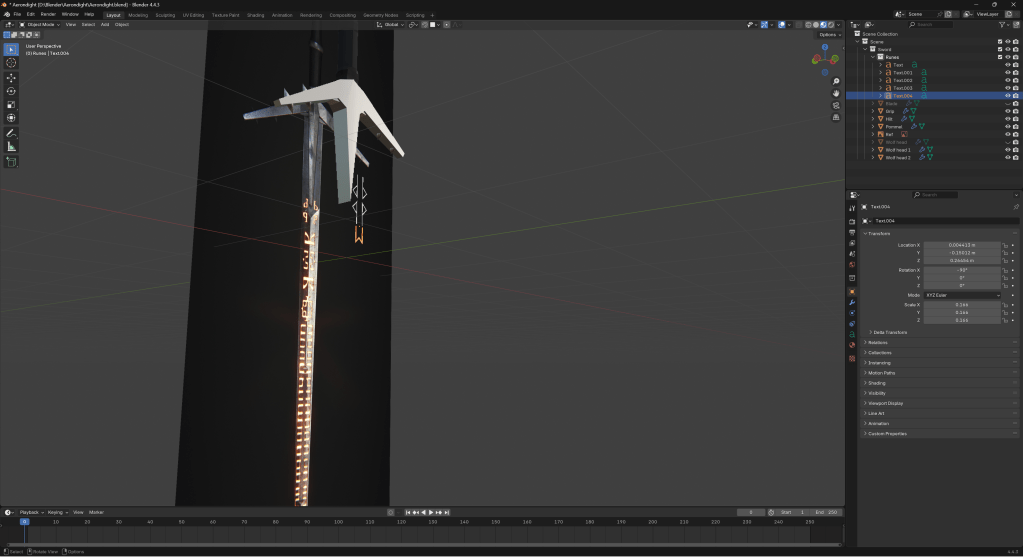
Doing the runes using a font I found online.
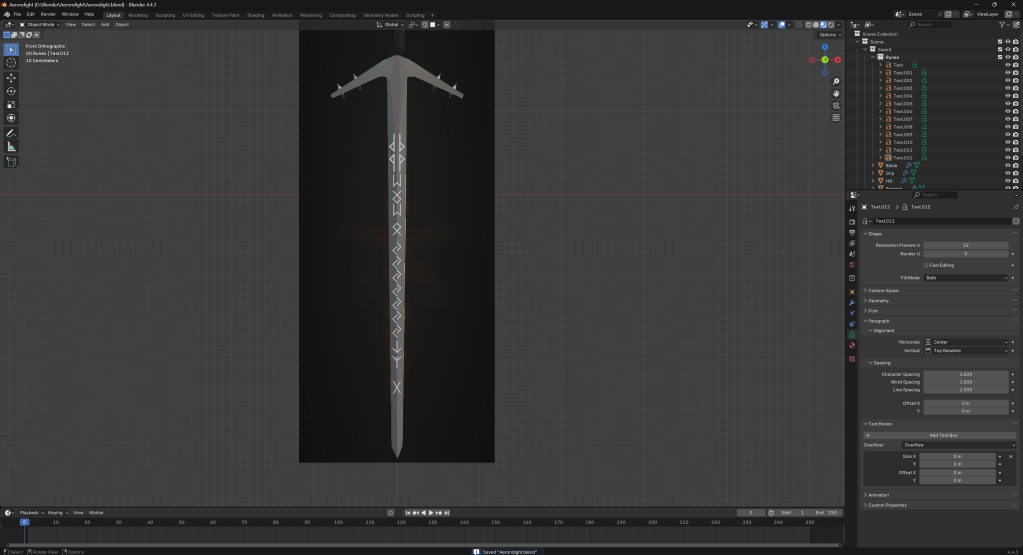
I used the shrinkwrap modifier to wrap the text around the blade.
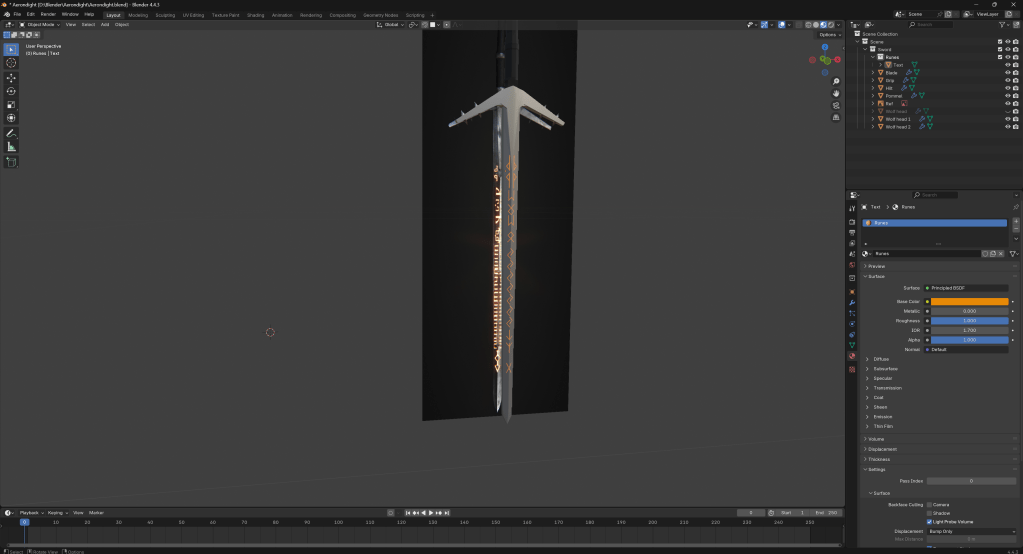
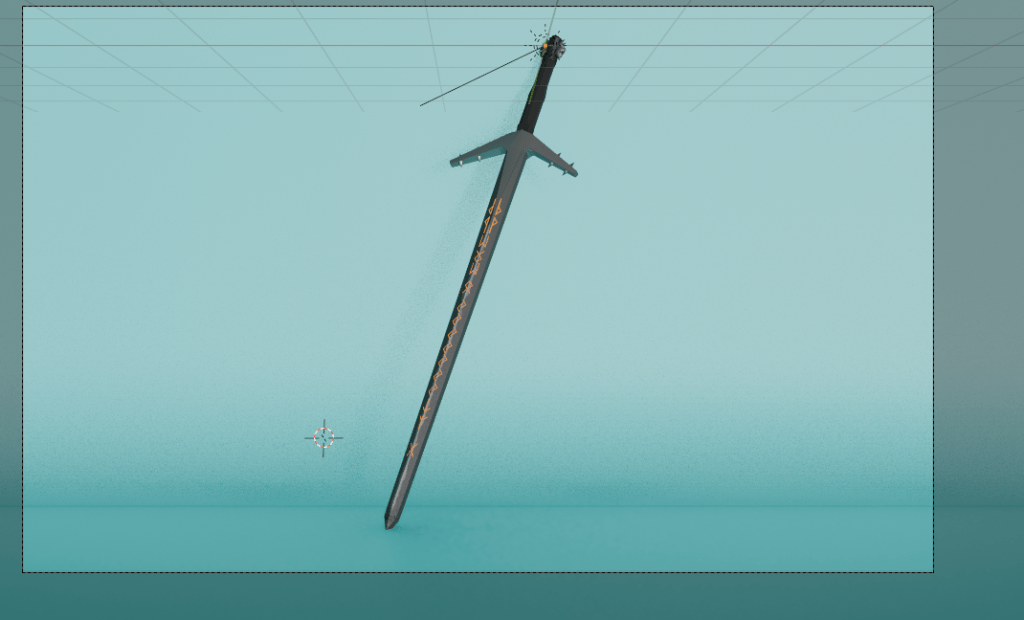
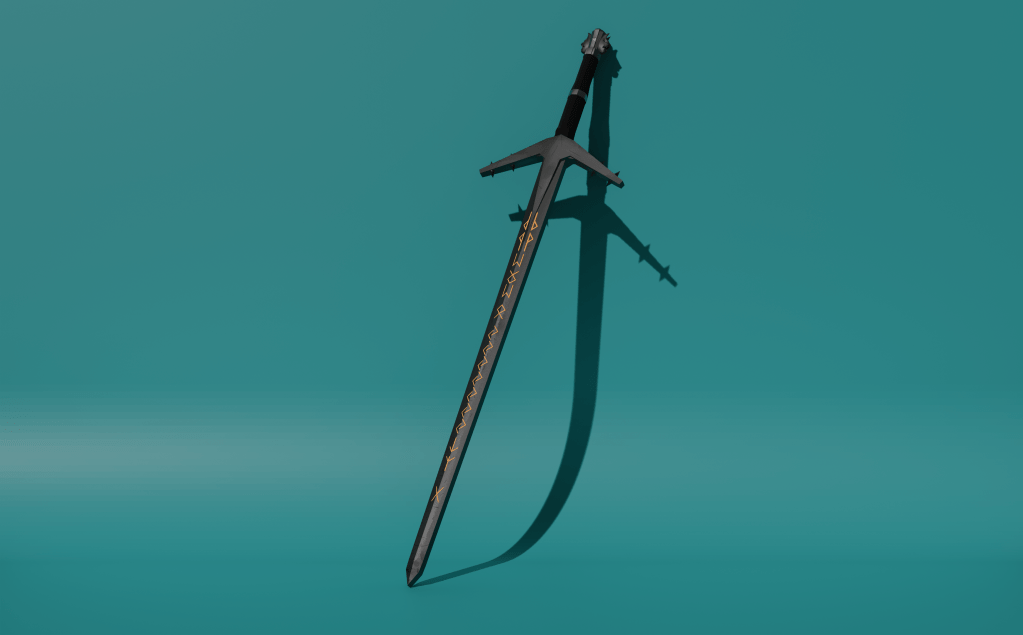
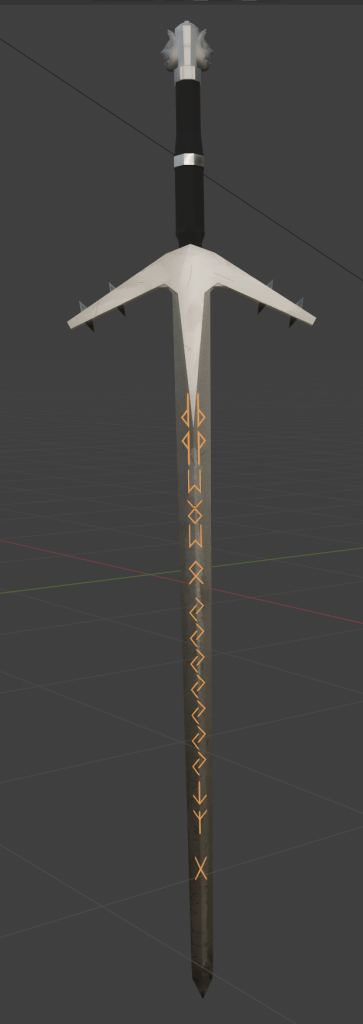
Above is an early render of my Aerondight sword. It is not yet finished, but I think it is getting close.
The above render is the same, but rendered using cycles as opposed to EEVEE.
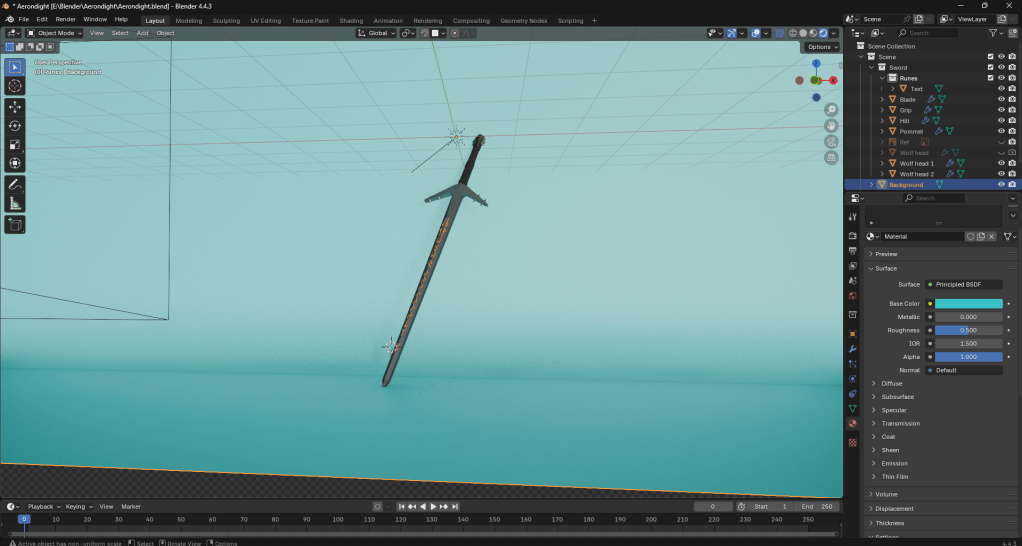
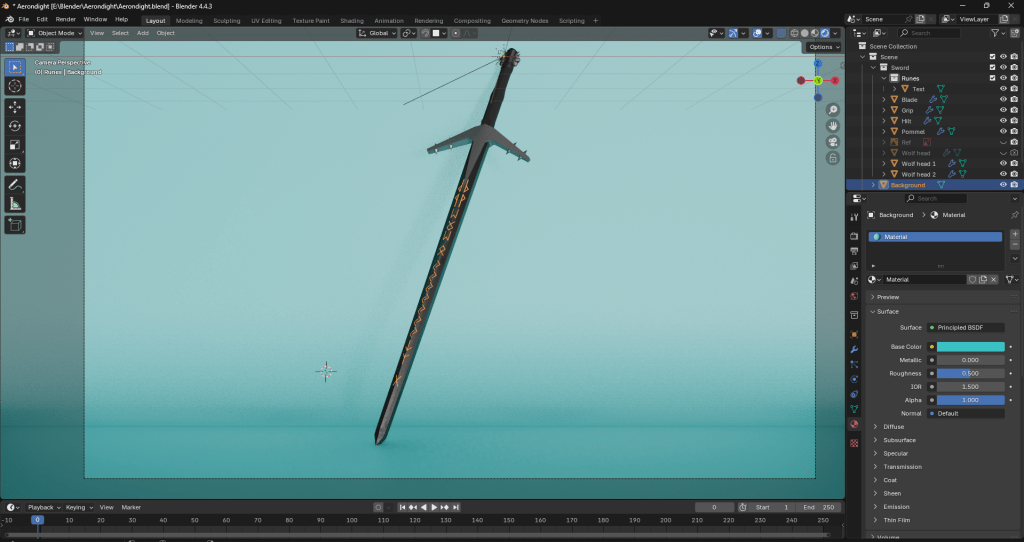
Above is an early render with an added background and lighting.
While the above renders are good, I am going to have a play around with texturing my model a bit better. At the moment, the textures are just flat colours.
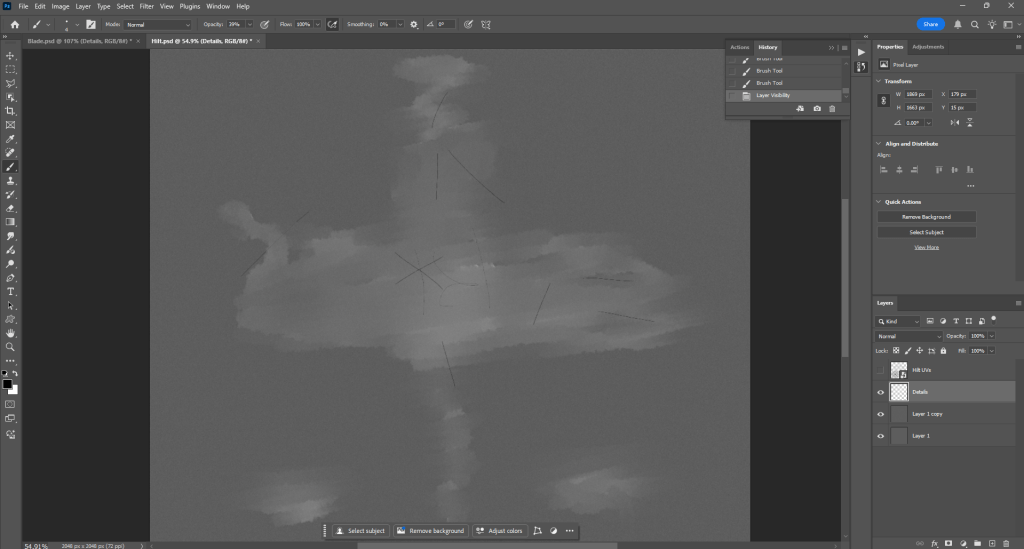
The beginning of making some new textures using Photoshop.
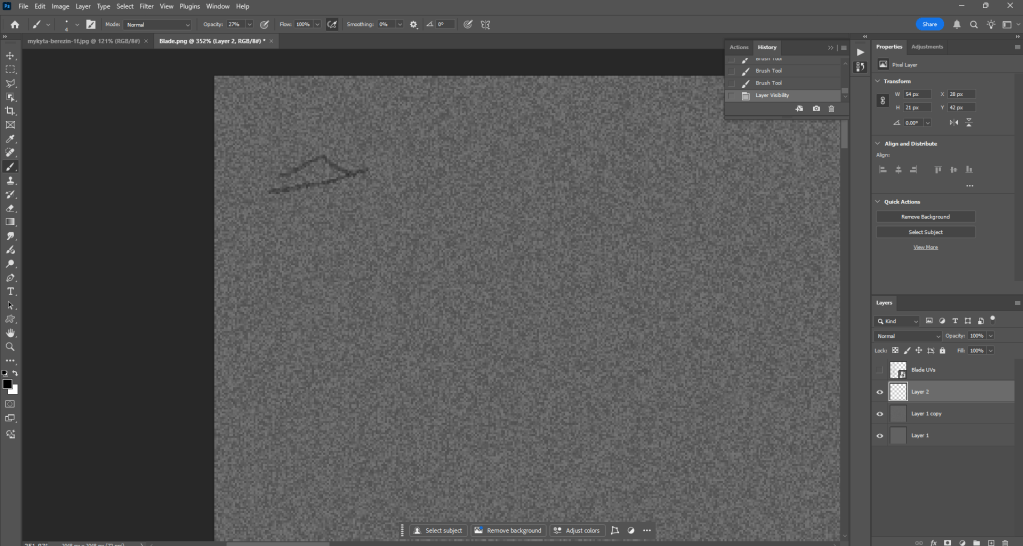
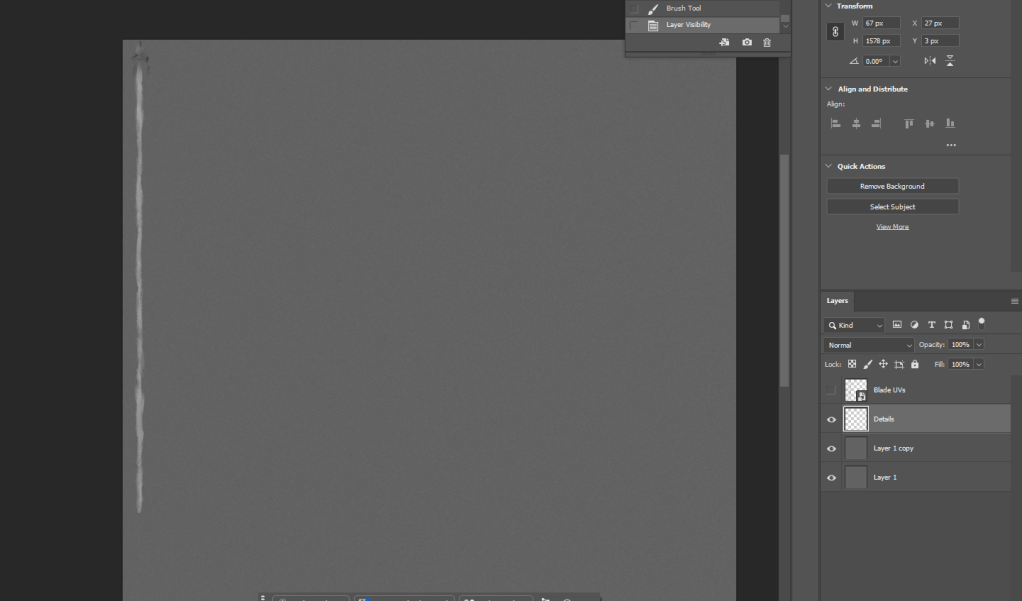
After adding a noise texture, I did a bit of drawing for the tip using a semi-opaque brush in Photoshop. I used the UV map as a guide, which is hidden in the above screenshot.
Above is a first attempt at making some rough textures. It looks okay, but I might need to figure something else out for the texture other than a noise filter.
A render using the above texture.
The above images were done using photoshops smudge tool and a specific brush (Kyle’s Inkbox – Classic Cartoonist) which is built into Photoshop.
Above is an updated version of my texture in Photoshop.
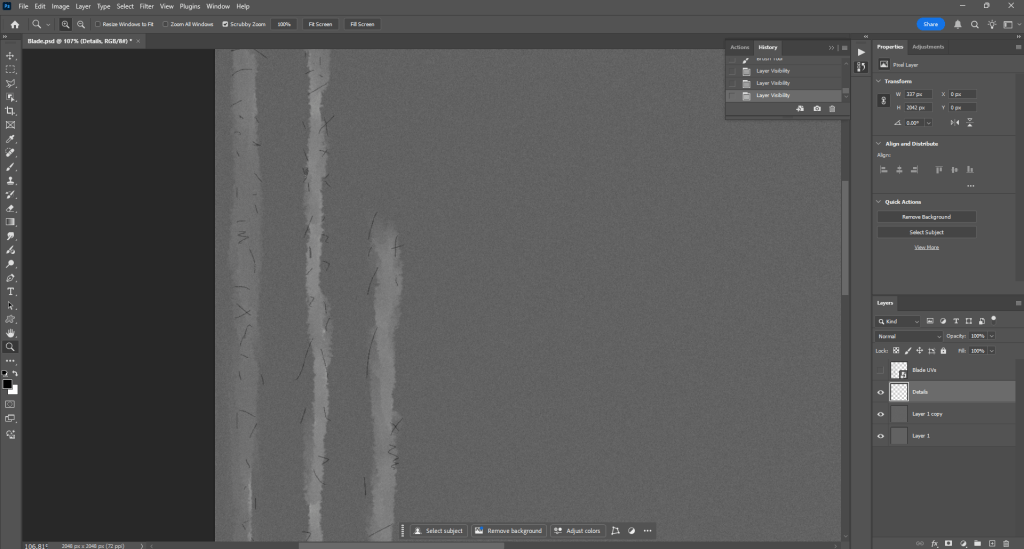
The behind of my sword. Whilst it probably wasn’t necessary to texture the back as it won’t be visible in my final render, I still felt like doing it as I am very detail-oriented.

A good look at my sword.
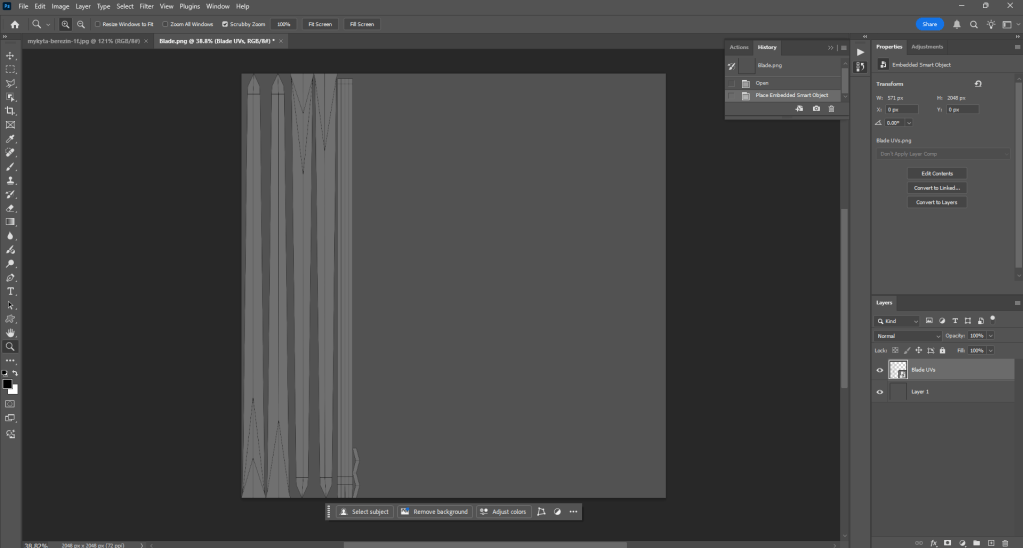
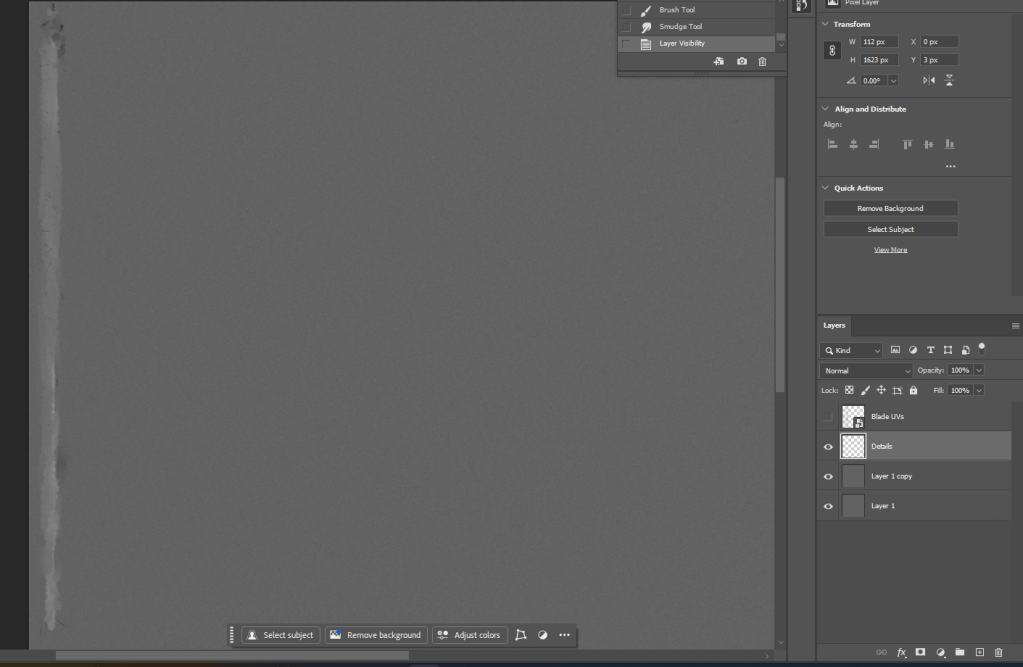
A look at my hilt texture in Photoshop.
As it turns out, the texture is a bit stretched. This is because I forgot to smart UV project. I will have to start the texture again, but at least I figured out the problem.
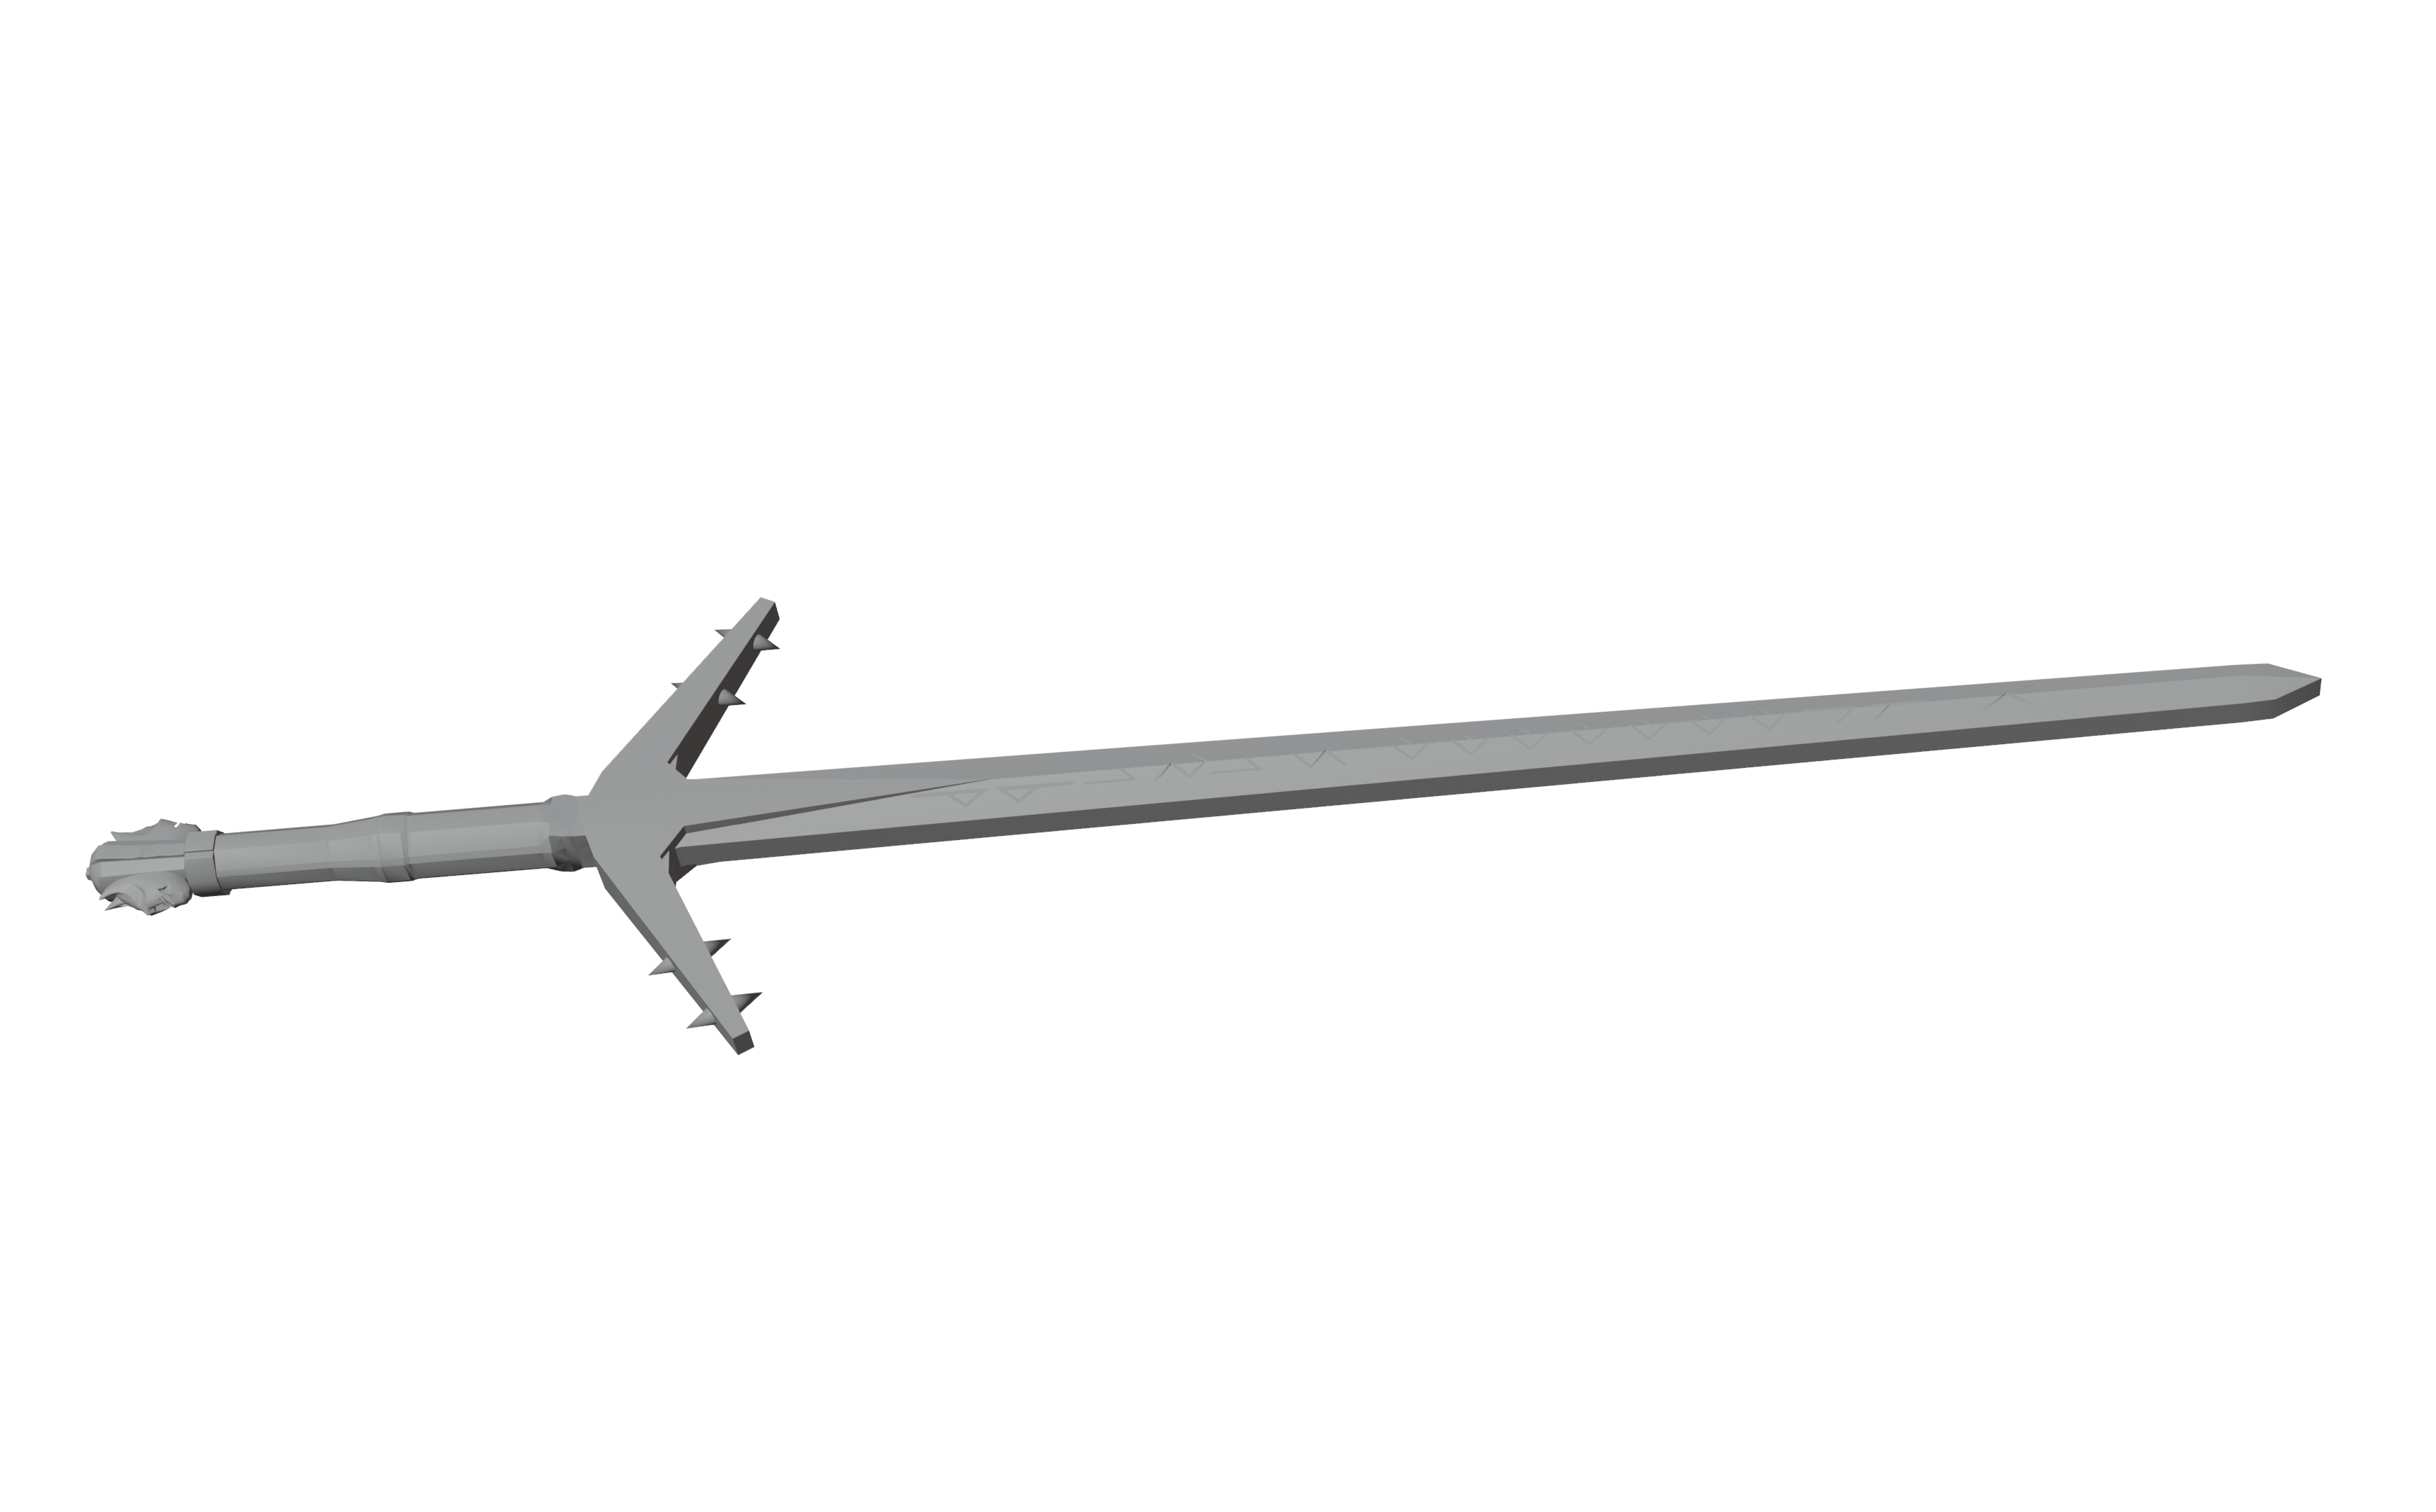
Once the hilt texture has been finished, I will be more or less done with the Aerondight model.

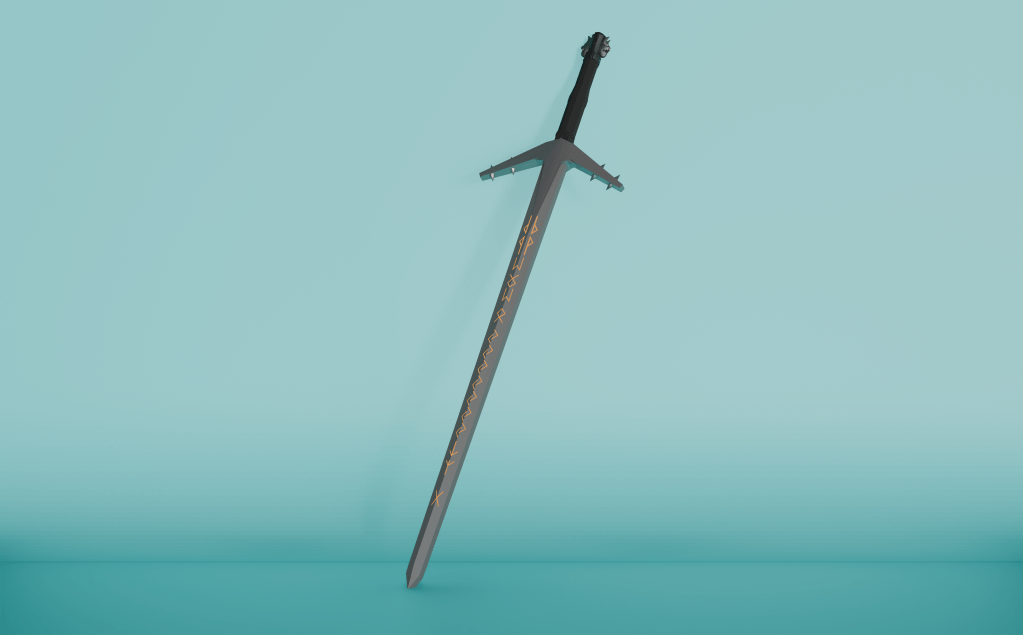
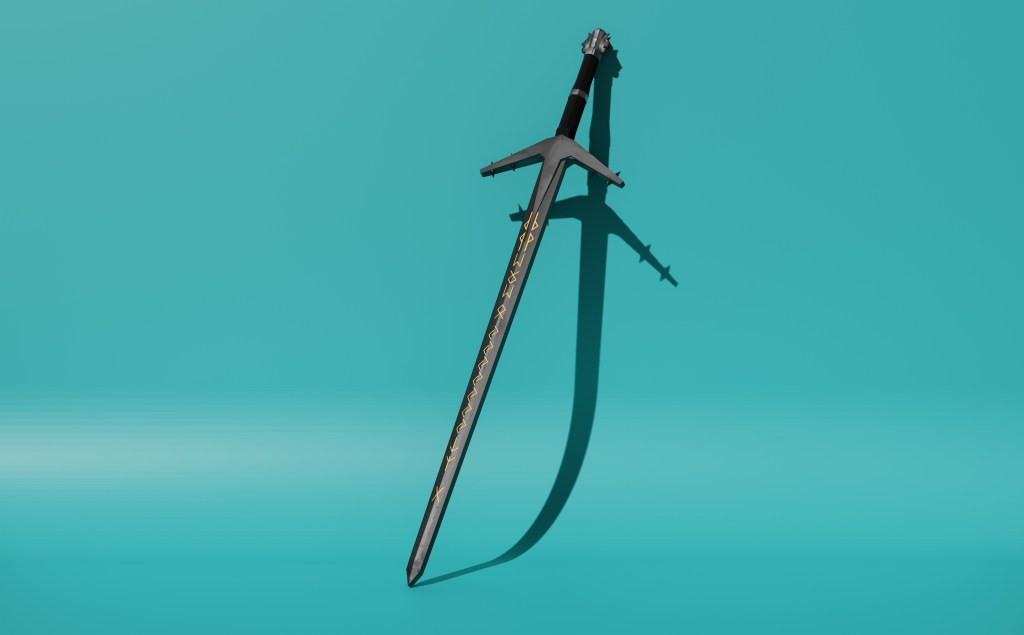
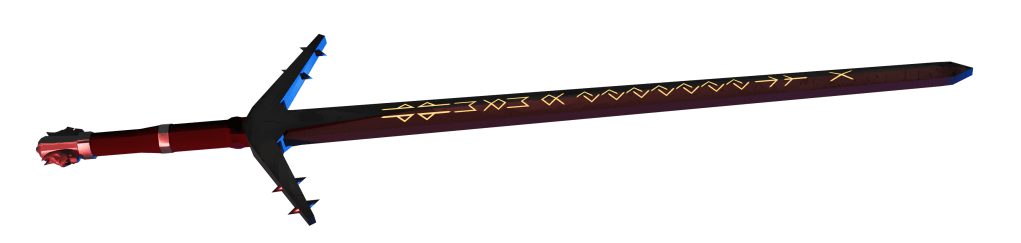
The final render above was edited slightly in Photoshop. Below is the original. All I did was edit the brightness and contrast to my liking.
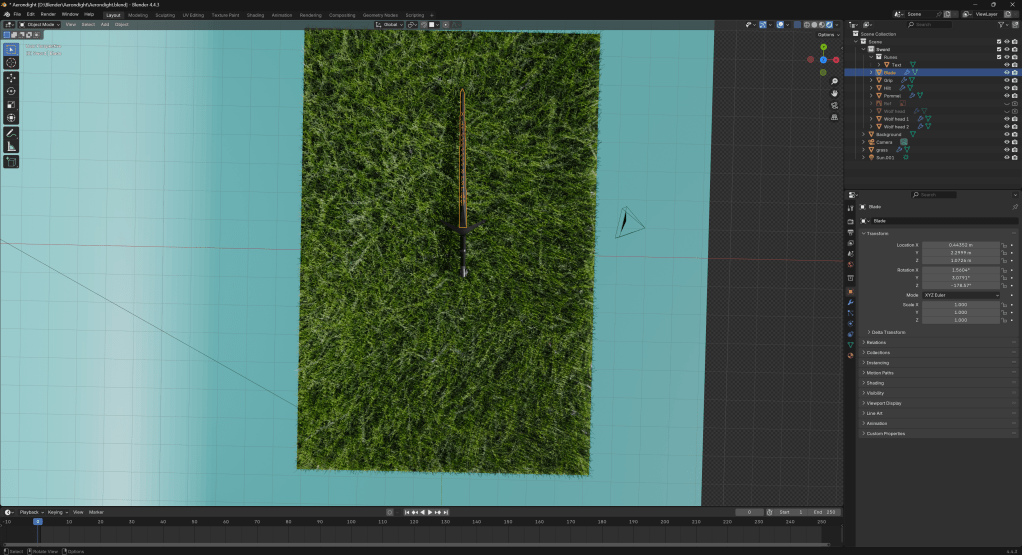
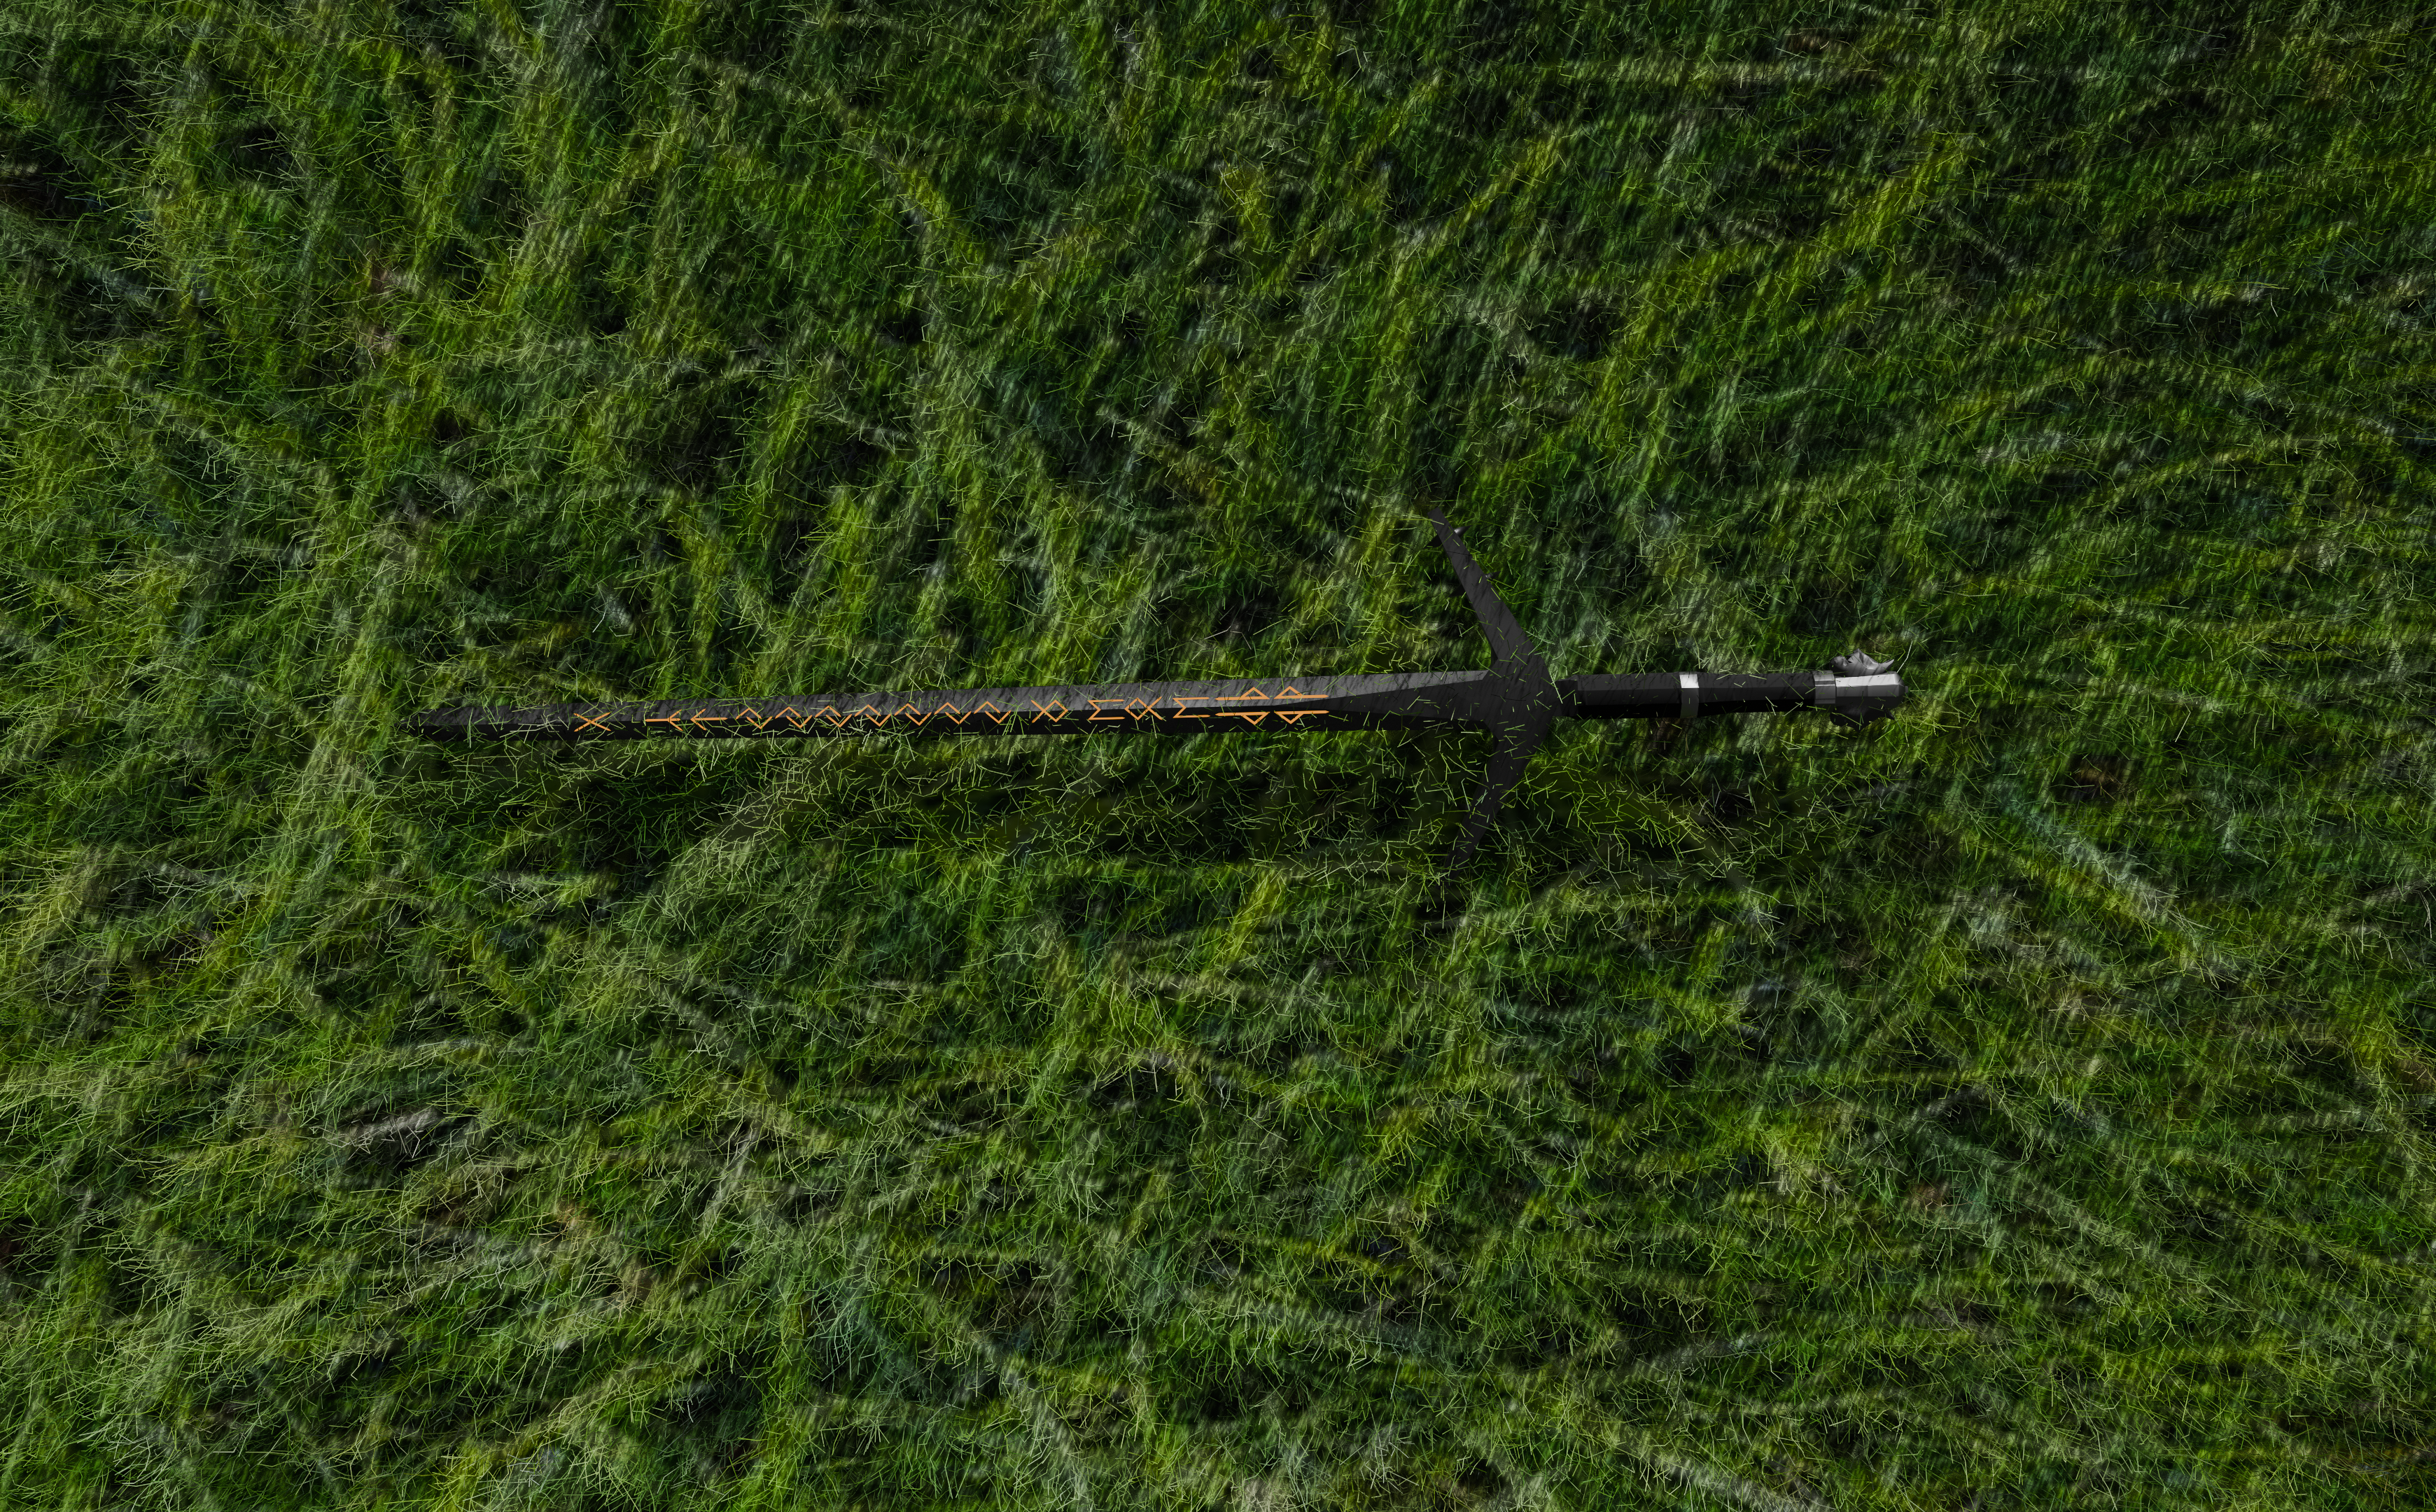
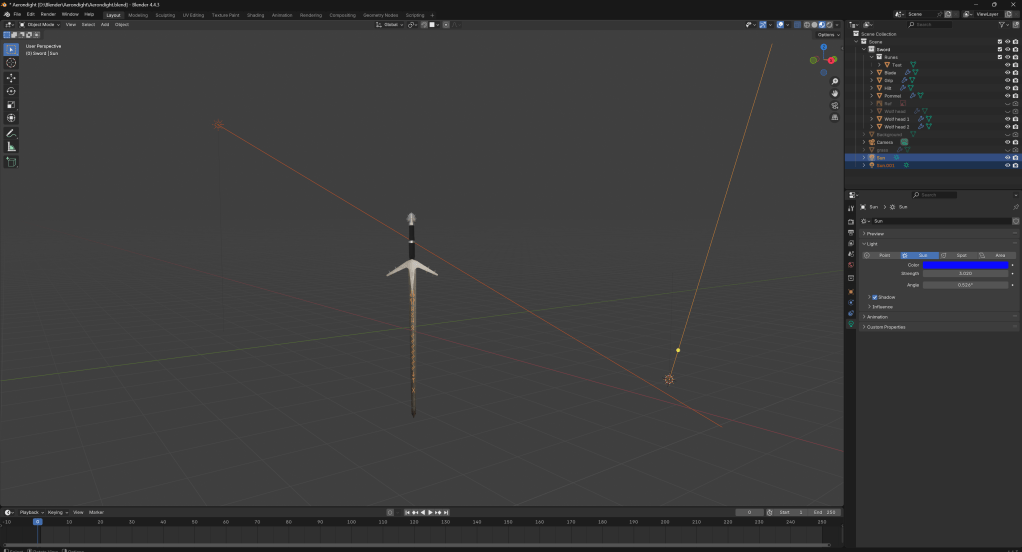
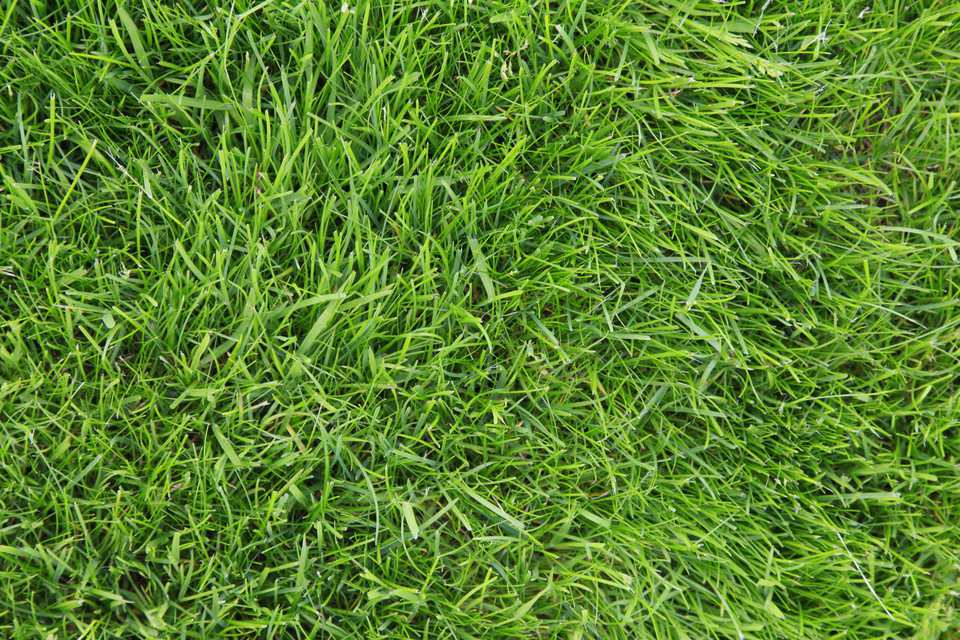
In the image above, I am trying to get a grass scene set up for the second render.
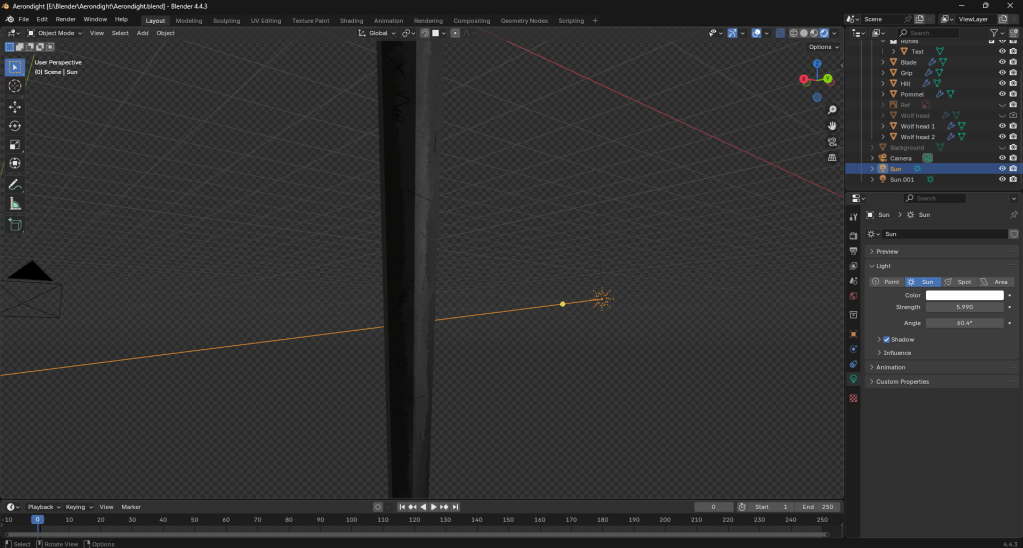
To achieve the lighting above, I added two different sun lights. One red and one blue. The red has a strength of 8.650, while the blue has a strength of 3.020

Reflection
Blog – W/C 29/09/25
Today marks the day I begin working on my Aerondight model. I started out with the hilt, but after a while, I decided to scrap it and restart with the blade.
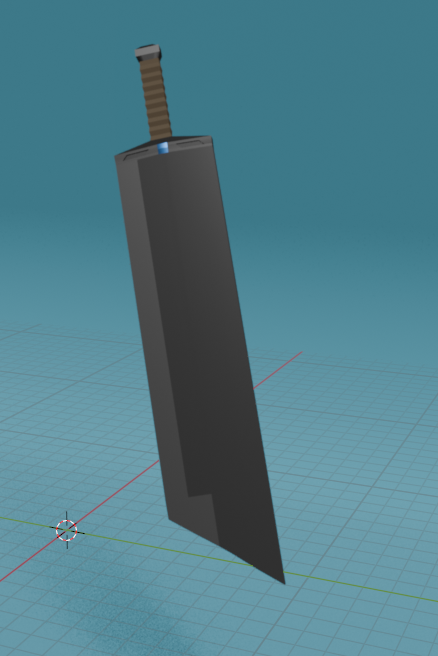
Above is an early screenshot of my work, before I scrapped it.
By this point, I began to think about how the rest of the model may turn out.
Blog – W/C 6/10/25
I had begun working on some of the finer details by this point, including the hilt and the cross guard.
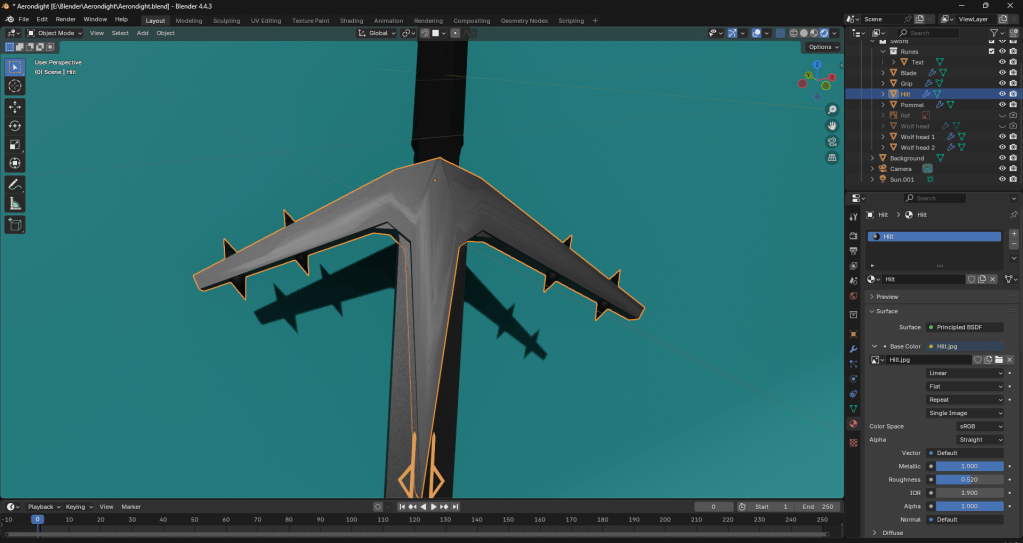
During this, I managed to finish up a few of these details. The spikes on the cross guard and the ricasso look very good and accurate to the original model, in my opinion.
Blog – W/C 13/10/25
At this point, I was preparing myself to work on the grip.
I decided to finish up some of the details on my grip.
After finishing up the grip, I began working on the pommel. It was a bit awkward to work around, but in the end, I got it done.
By this point, I could tell that the end was in sight. I decided to begin work on the wolf heads.
It started out looking a bit rubbish, but in the end, I managed to sculpt it into something halfway decent looking.
Blog – W/C 20/10/25
At this point, I felt like I was ready for texturing. I started out by making some basic placeholder textures using basic colours.
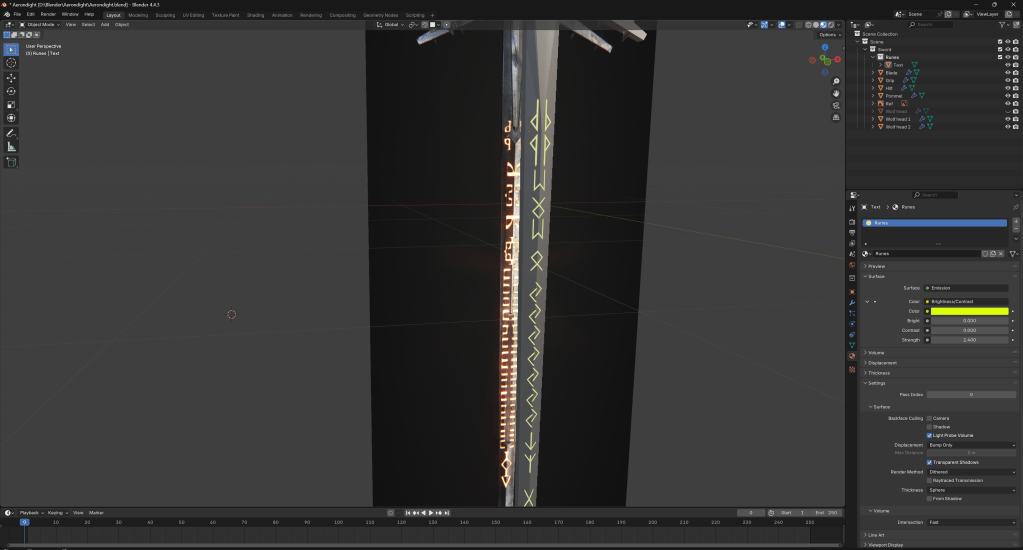
Additionally, I decided to quickly do the runes using the shrinkwrap modifier to loosely connect it to the blade. Although it’s not perfect, as they are floating slightly above the blade, it is convincing enough for my render.
By now, I was working on proper textures for my model.
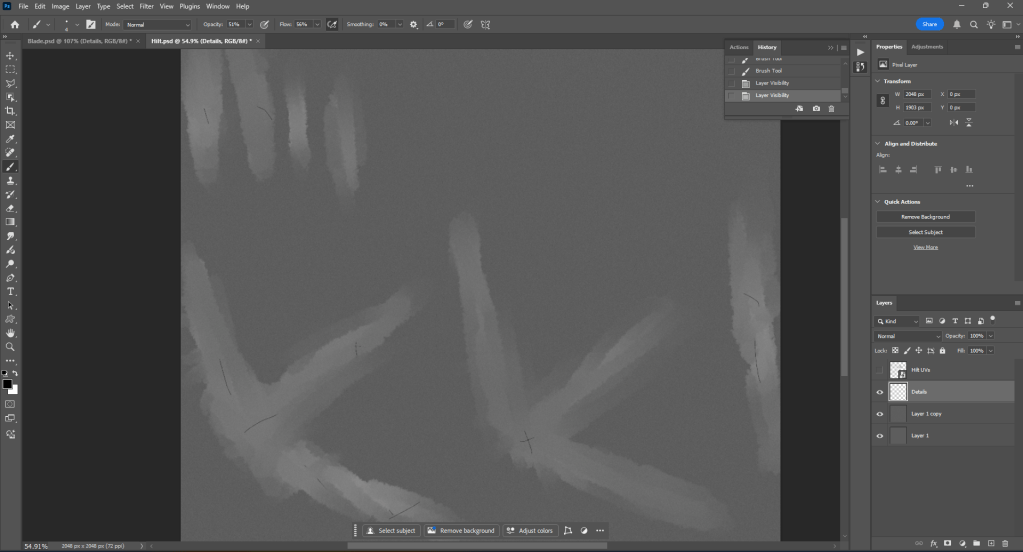
Above is a screenshot of my Photoshop. I first added a noise filter and slowly began to add details to the blade using the brush tool. Once I had finished up the sword, I began work on the hilt. I ended up running into a hiccup along the way, as I forgot to smart UV project before making the texture, so I had to start again.
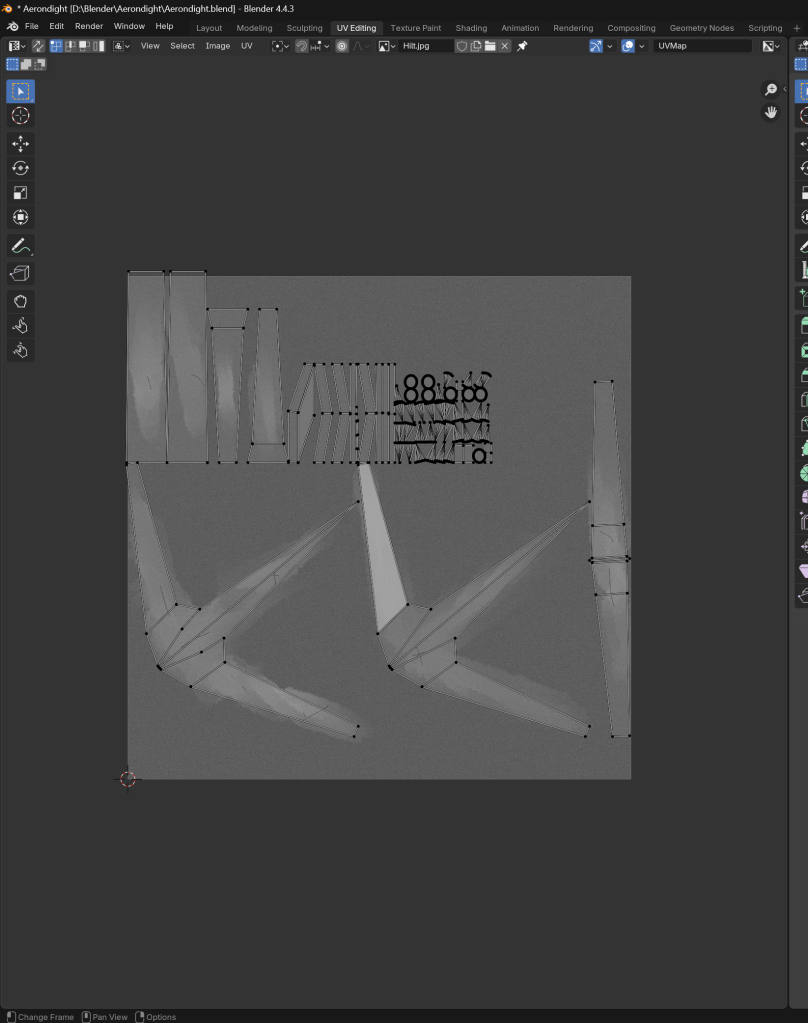
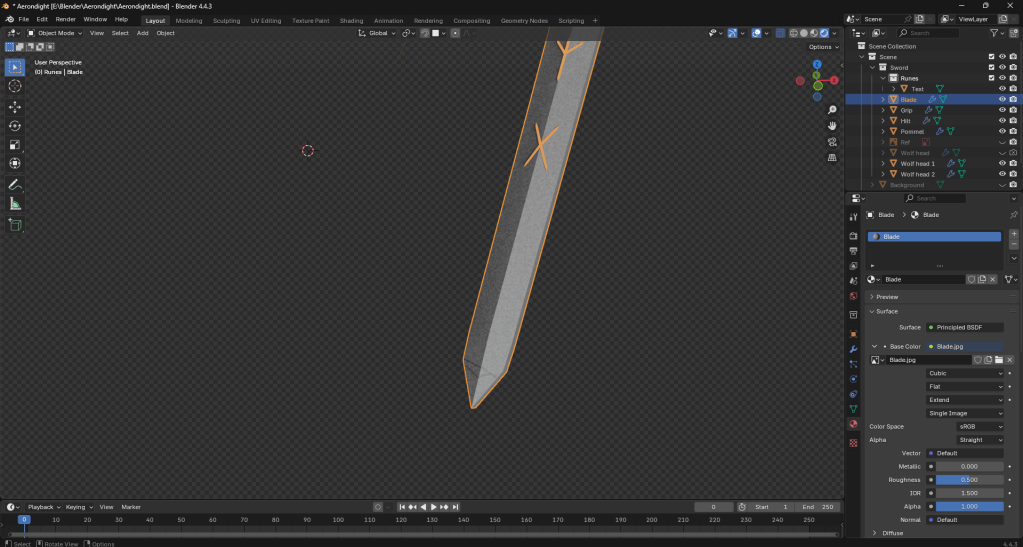
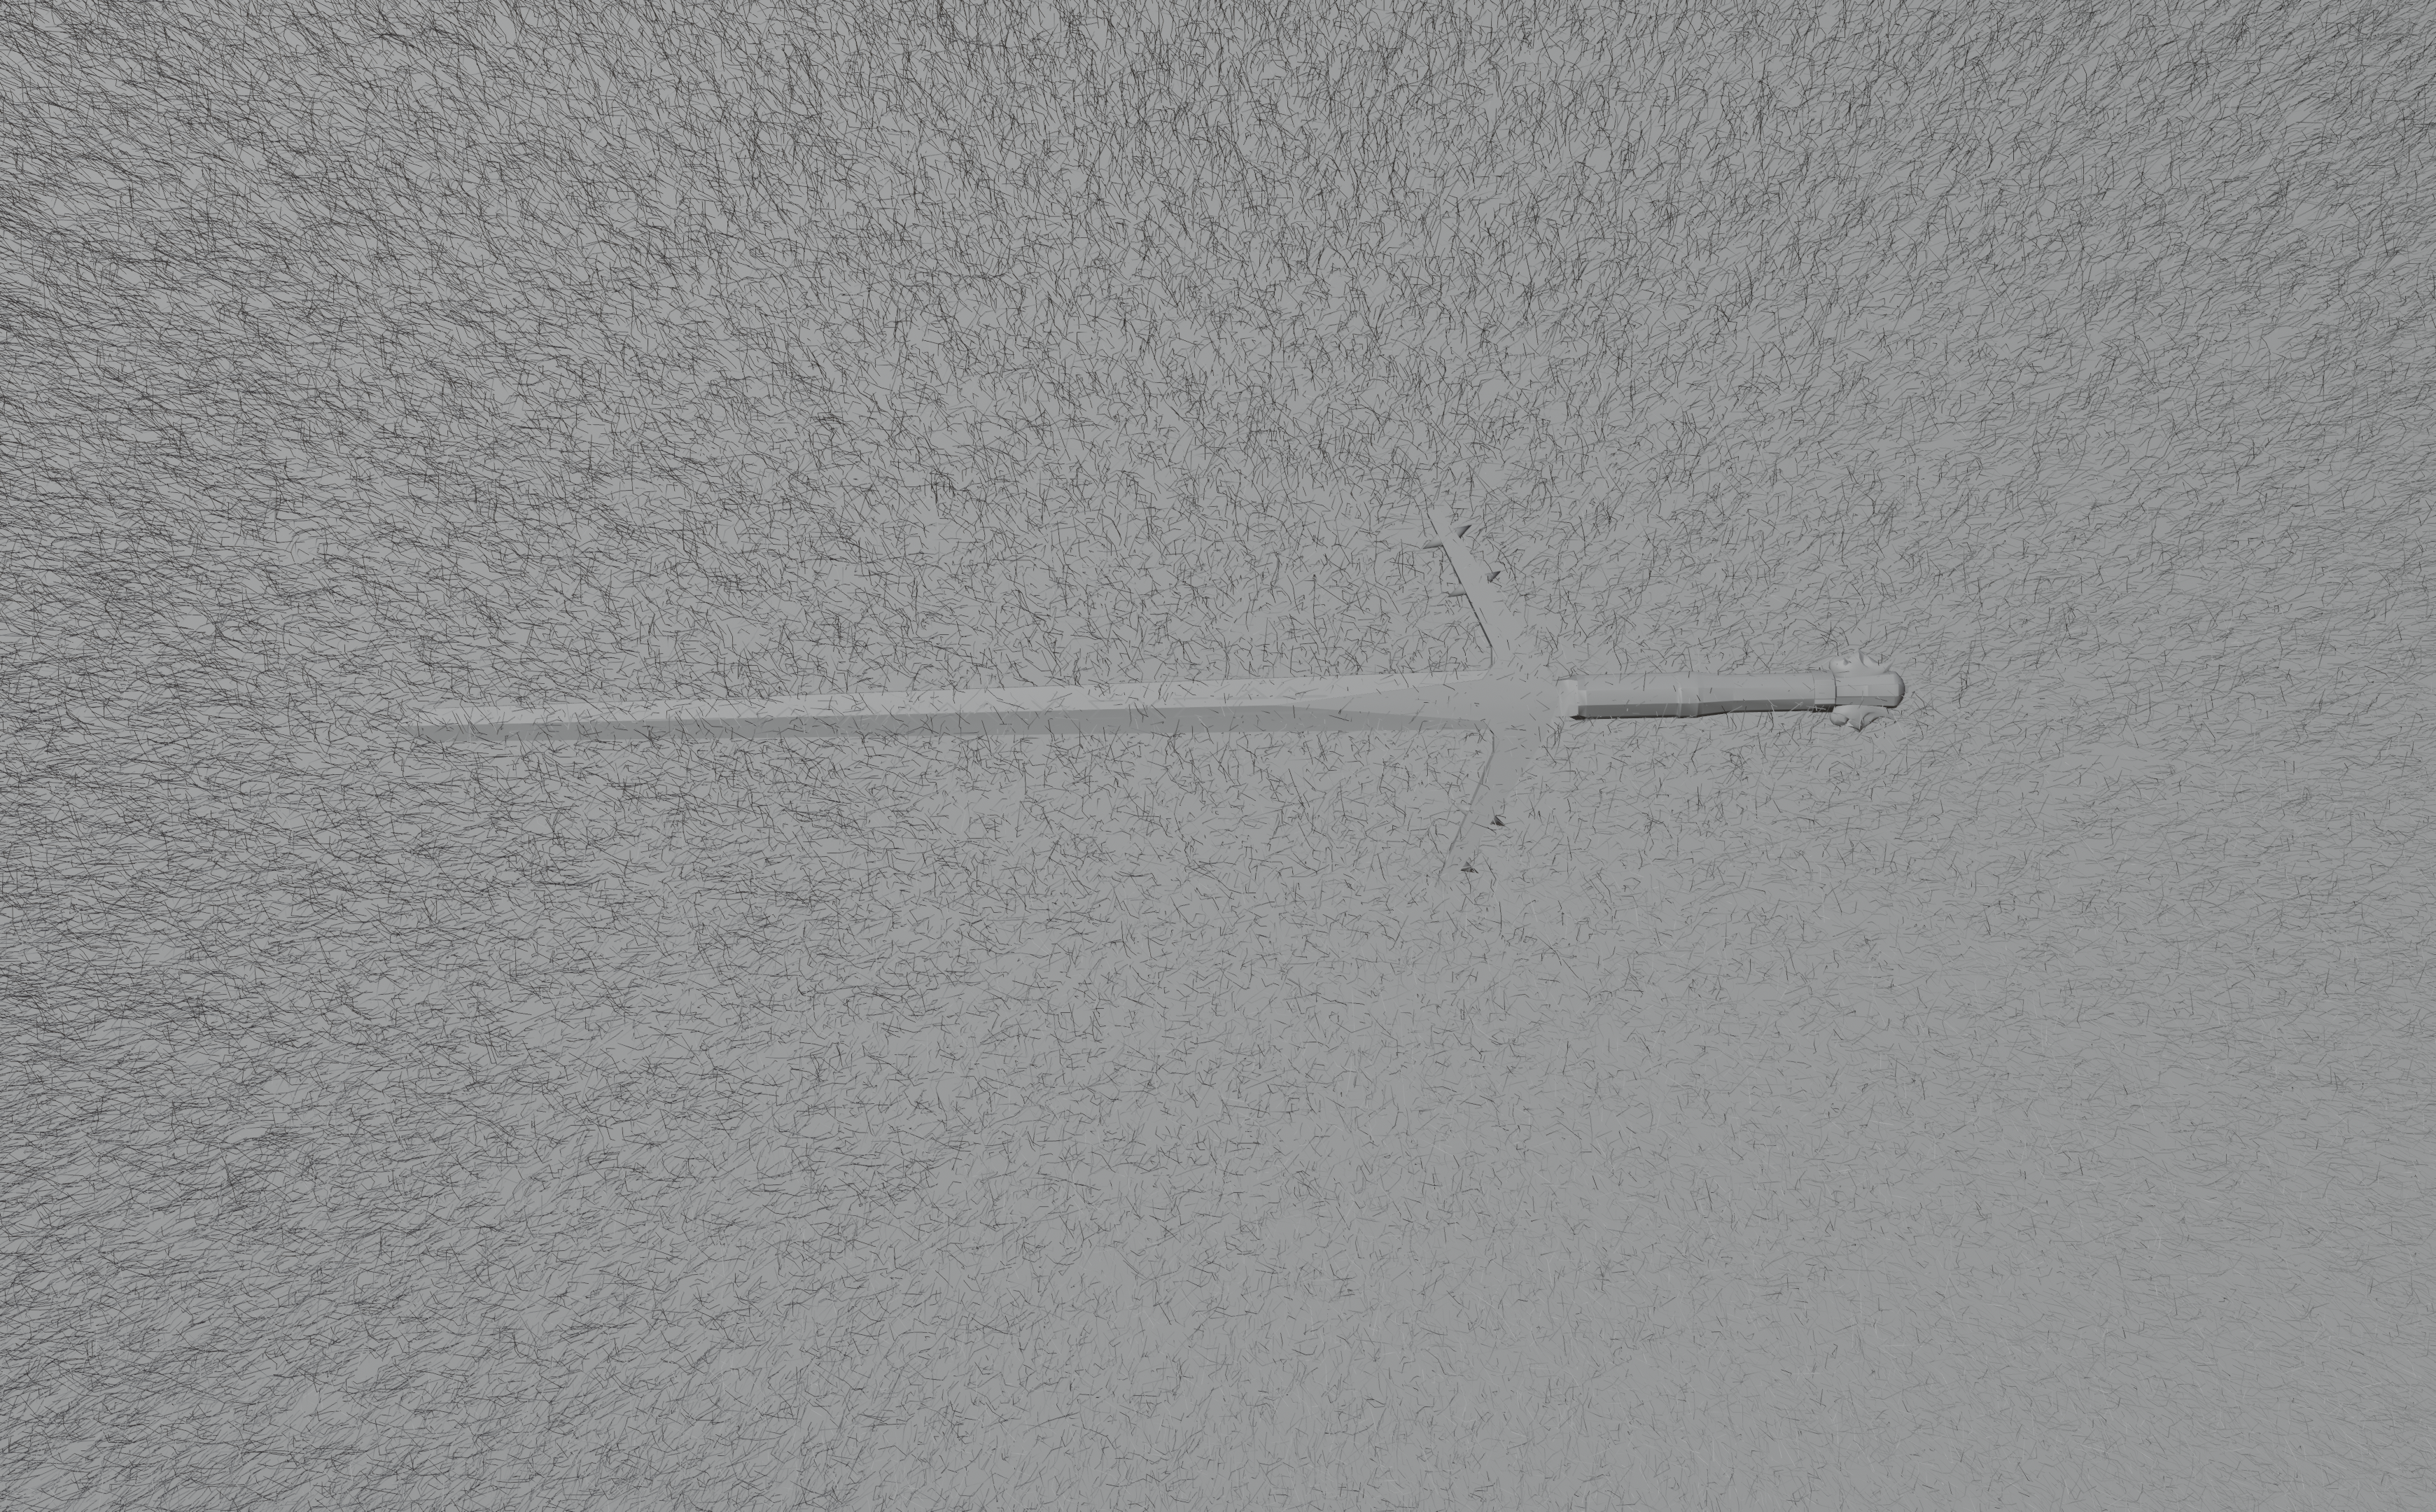
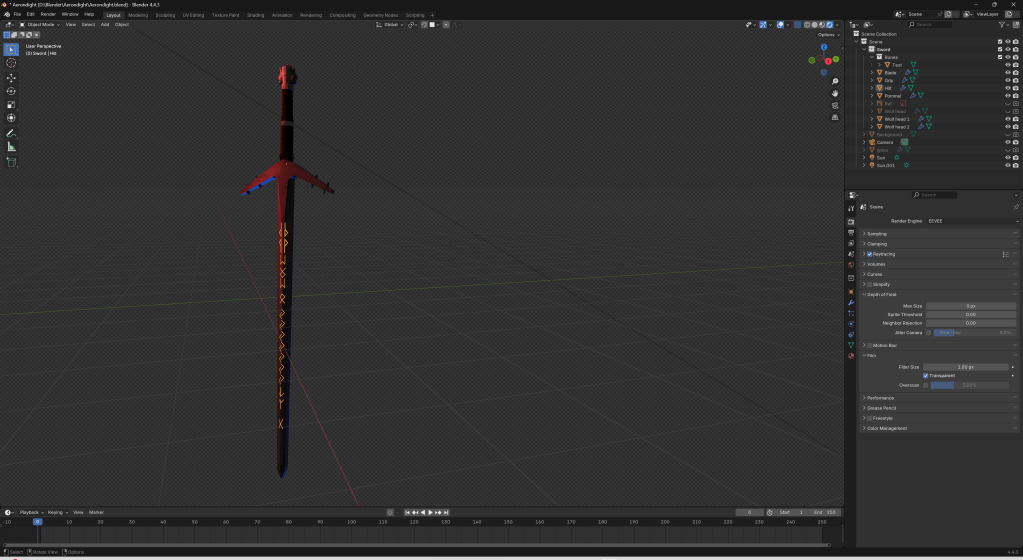
Above is a finished version of my hilt texture with the UV maps in Blender.

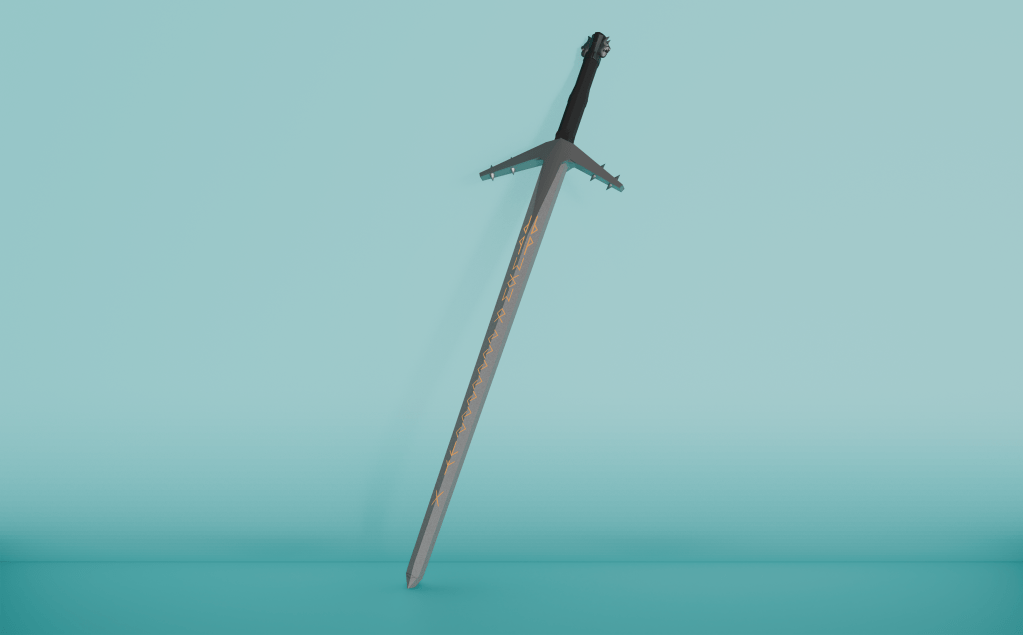
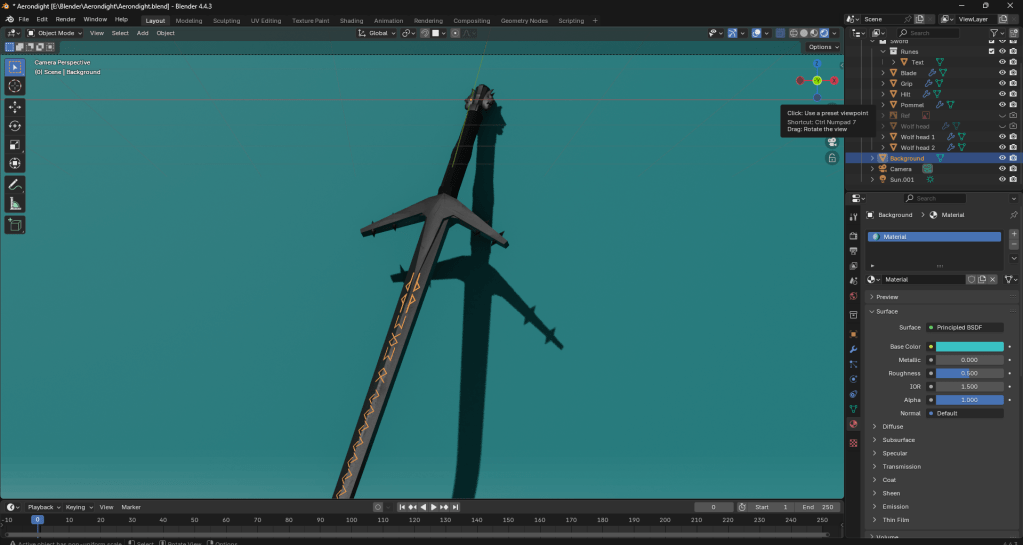
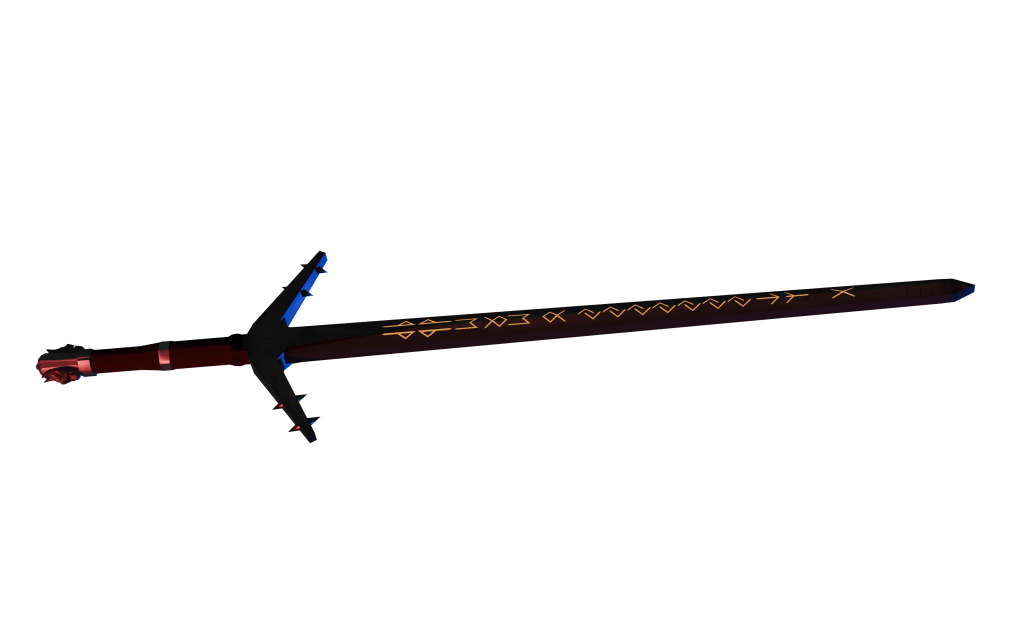
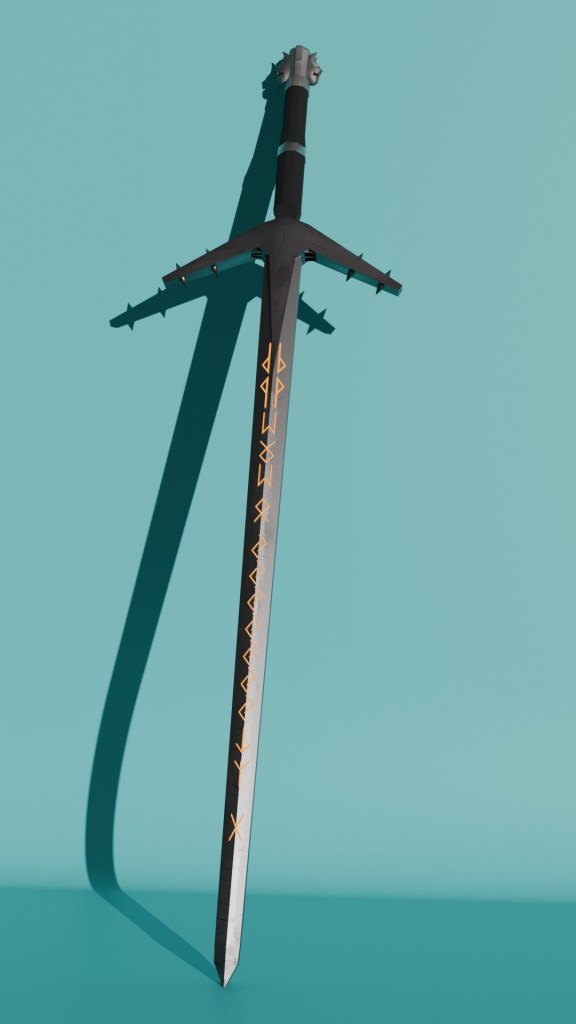
By this point, I felt like I was ready to render. I messed around with my render settings, camera and lighting and came up with the first version of my final render:
It was a bit dark, so I edited it in Photoshop.
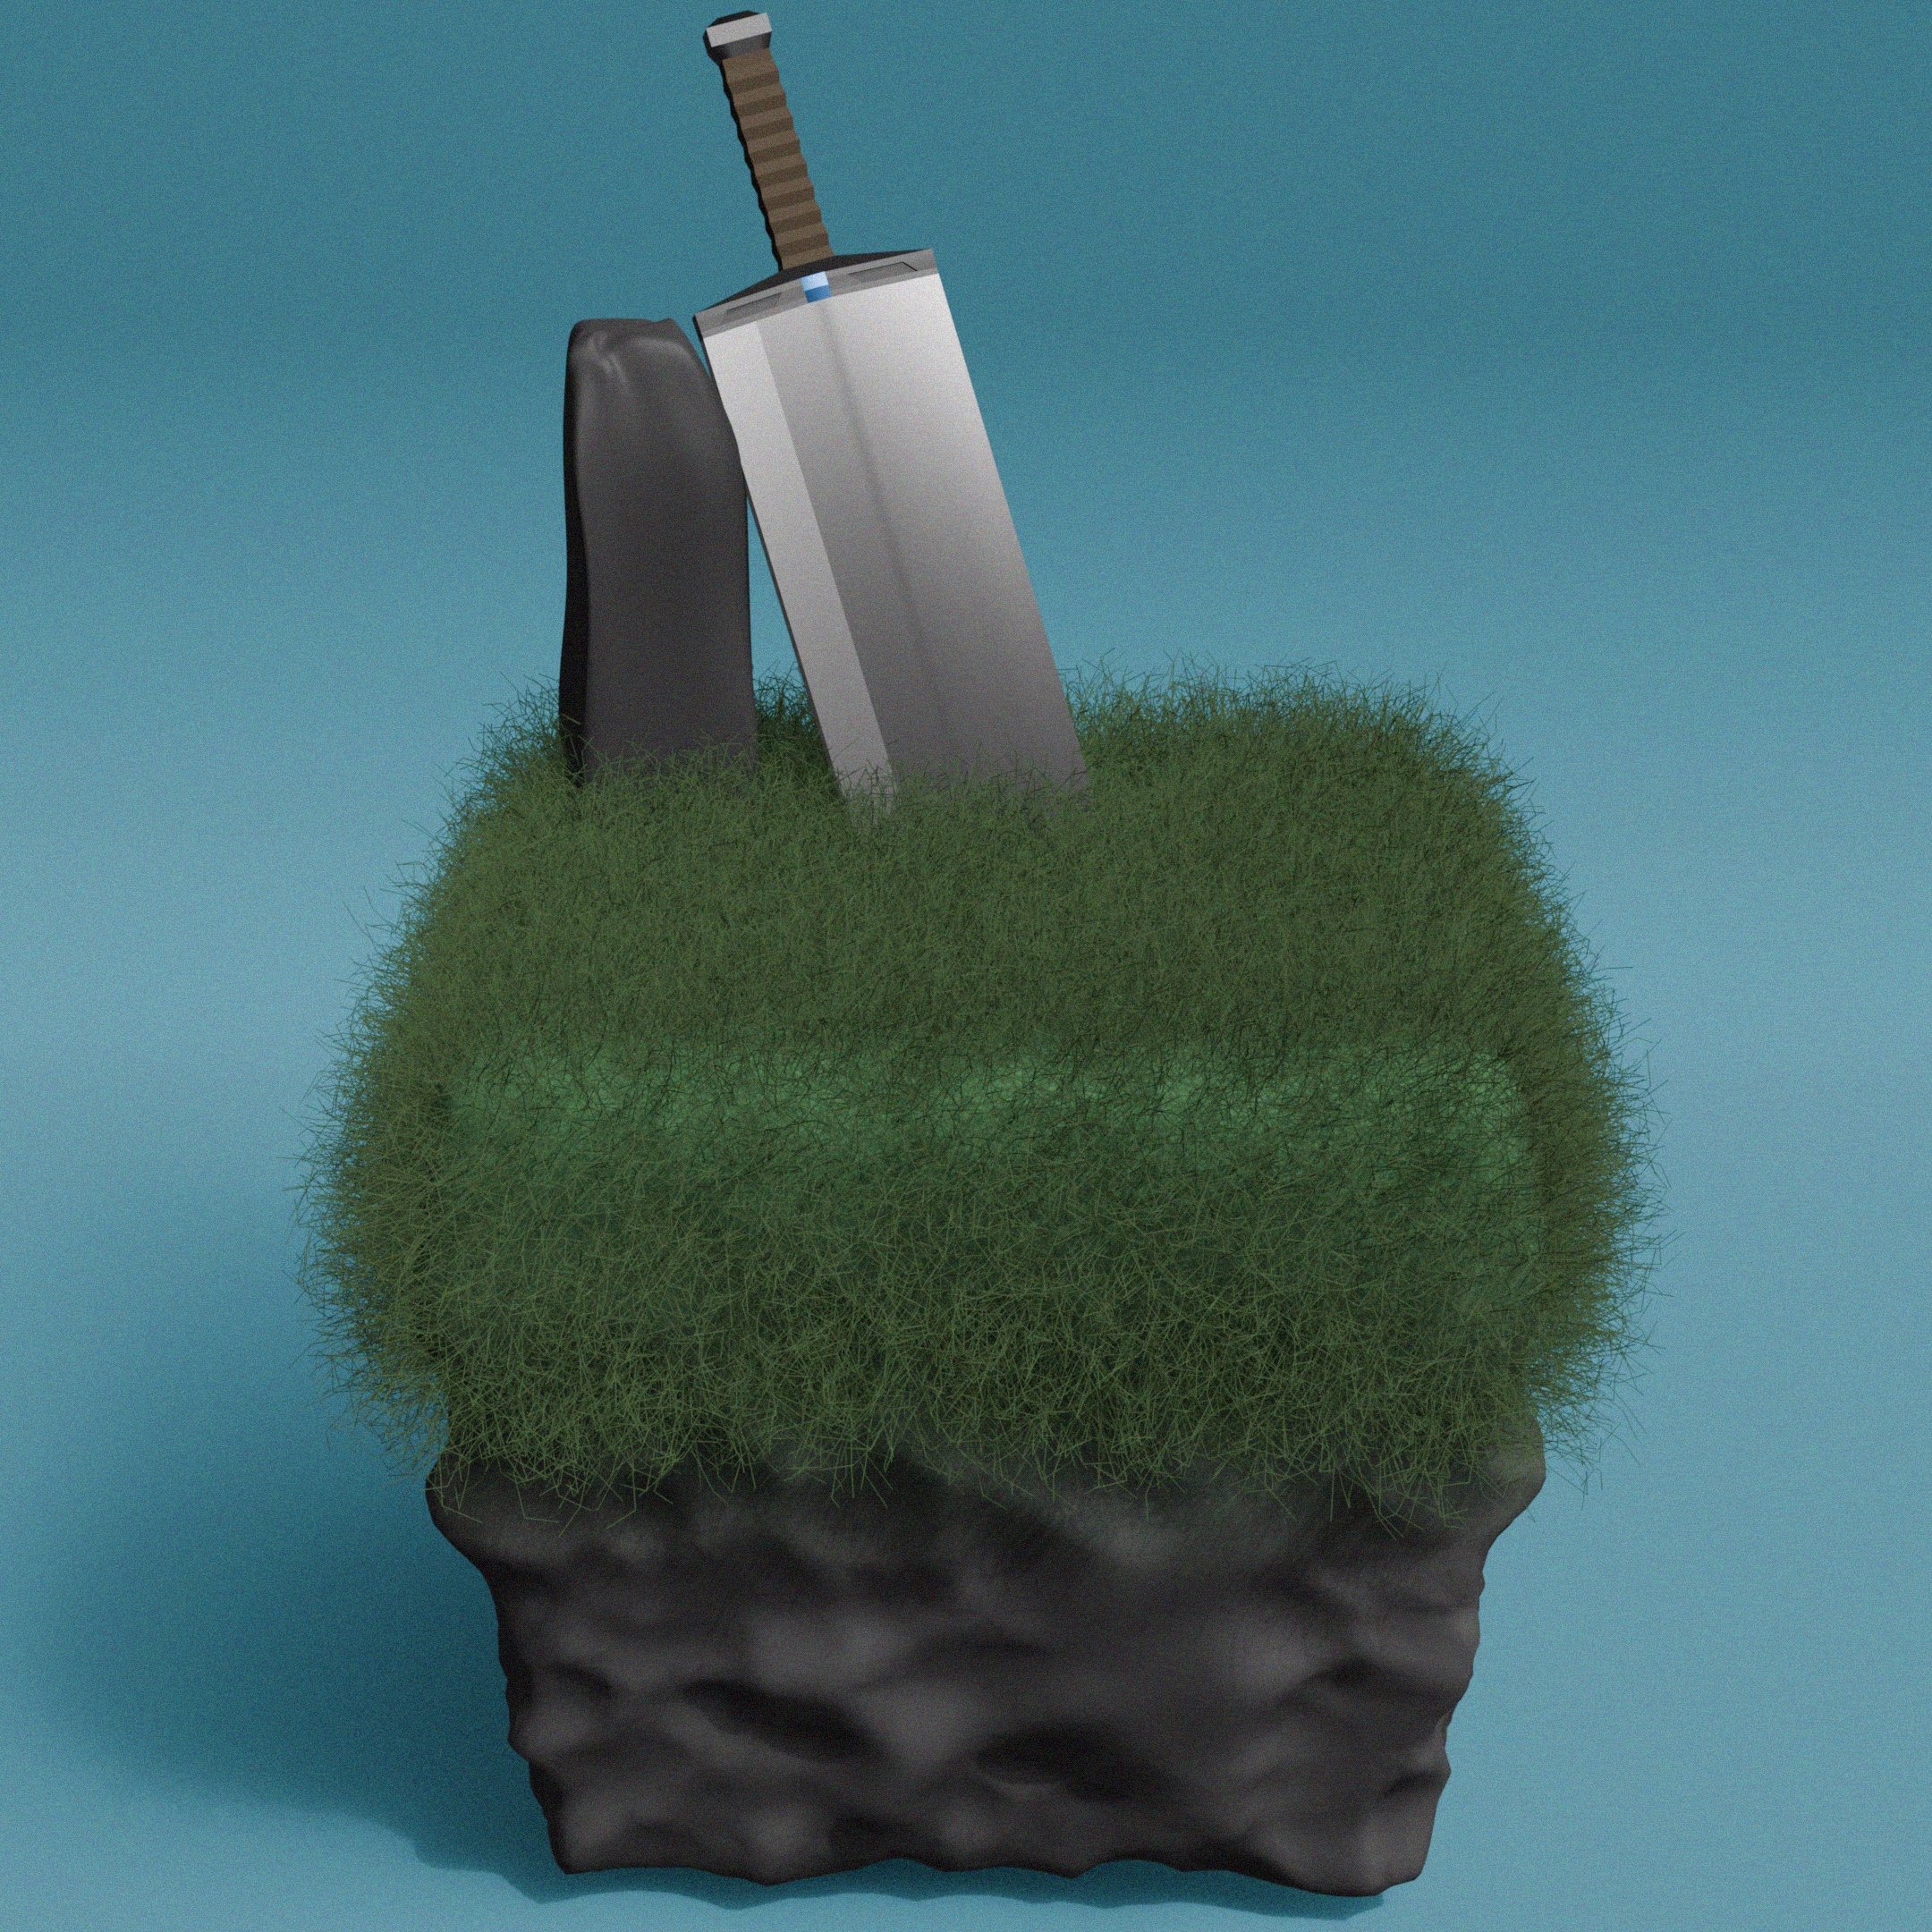
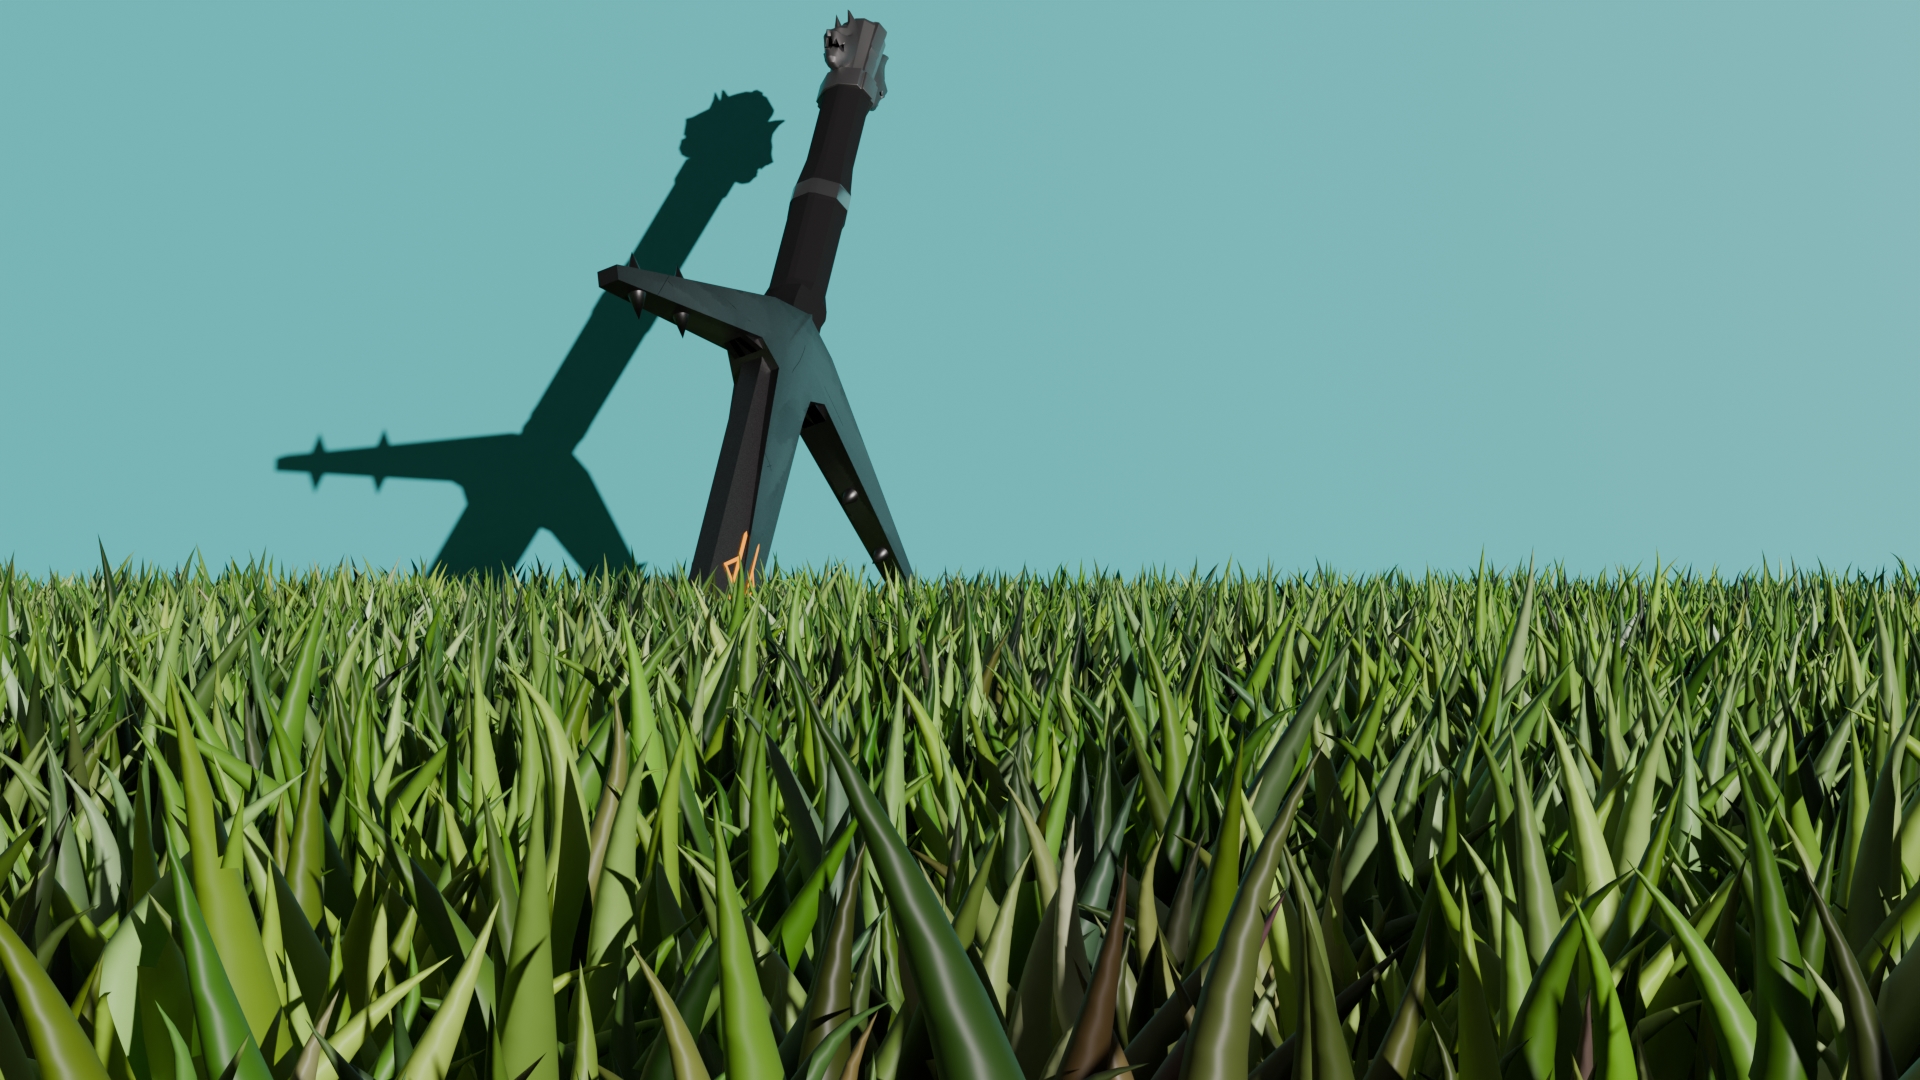
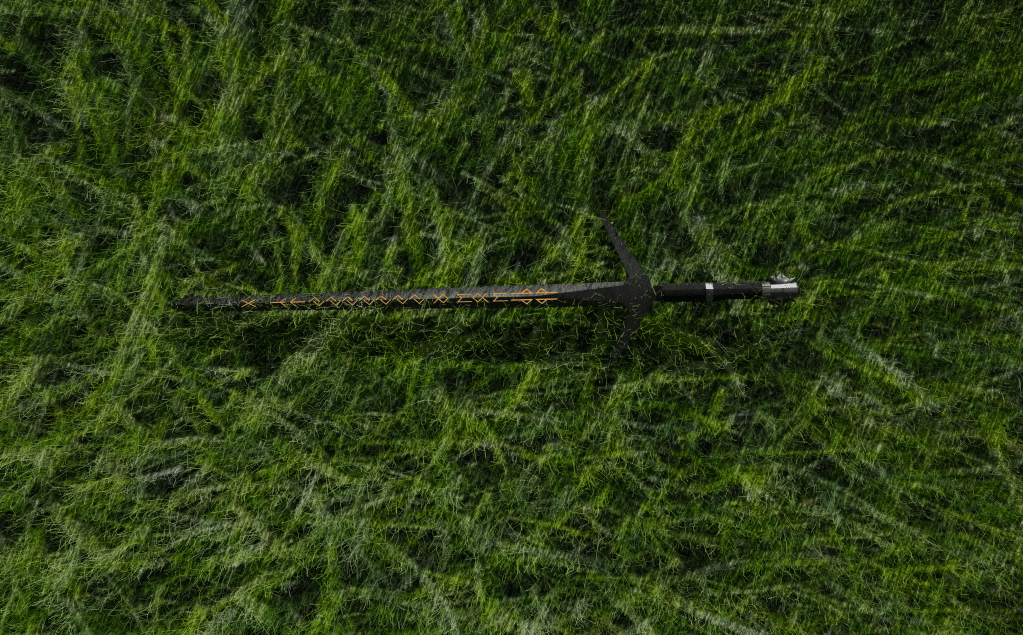
Now I needed to come up with an idea for my second render. I thought a generic grass field would suffice.
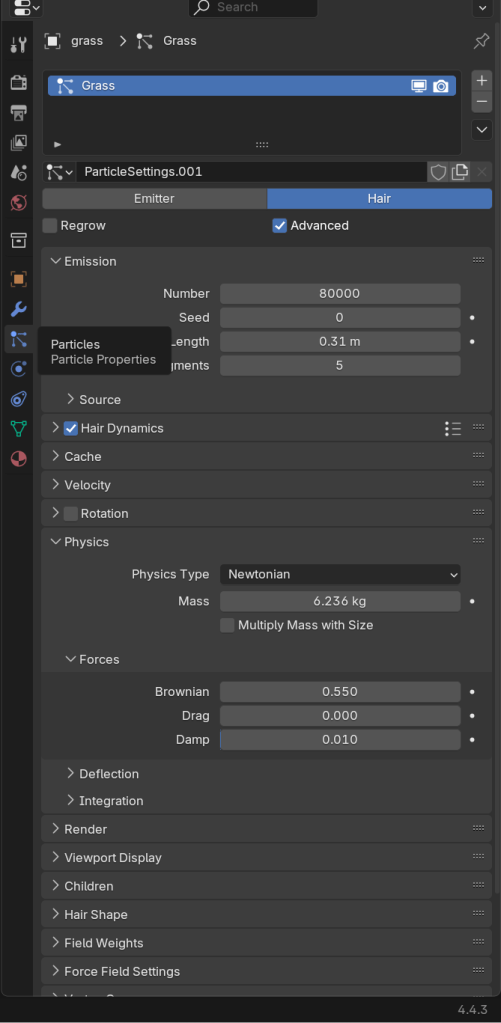
I did this using a plane and a grass texture I found on Google Images. I then added hair particles and increased them to be more dense and dynamic. I followed a youtube tutorial to achieve this:
I ended up with the render below. In my opinion, it is okay, but it is not as good as the first render.
Blog – W/C 27/10/25
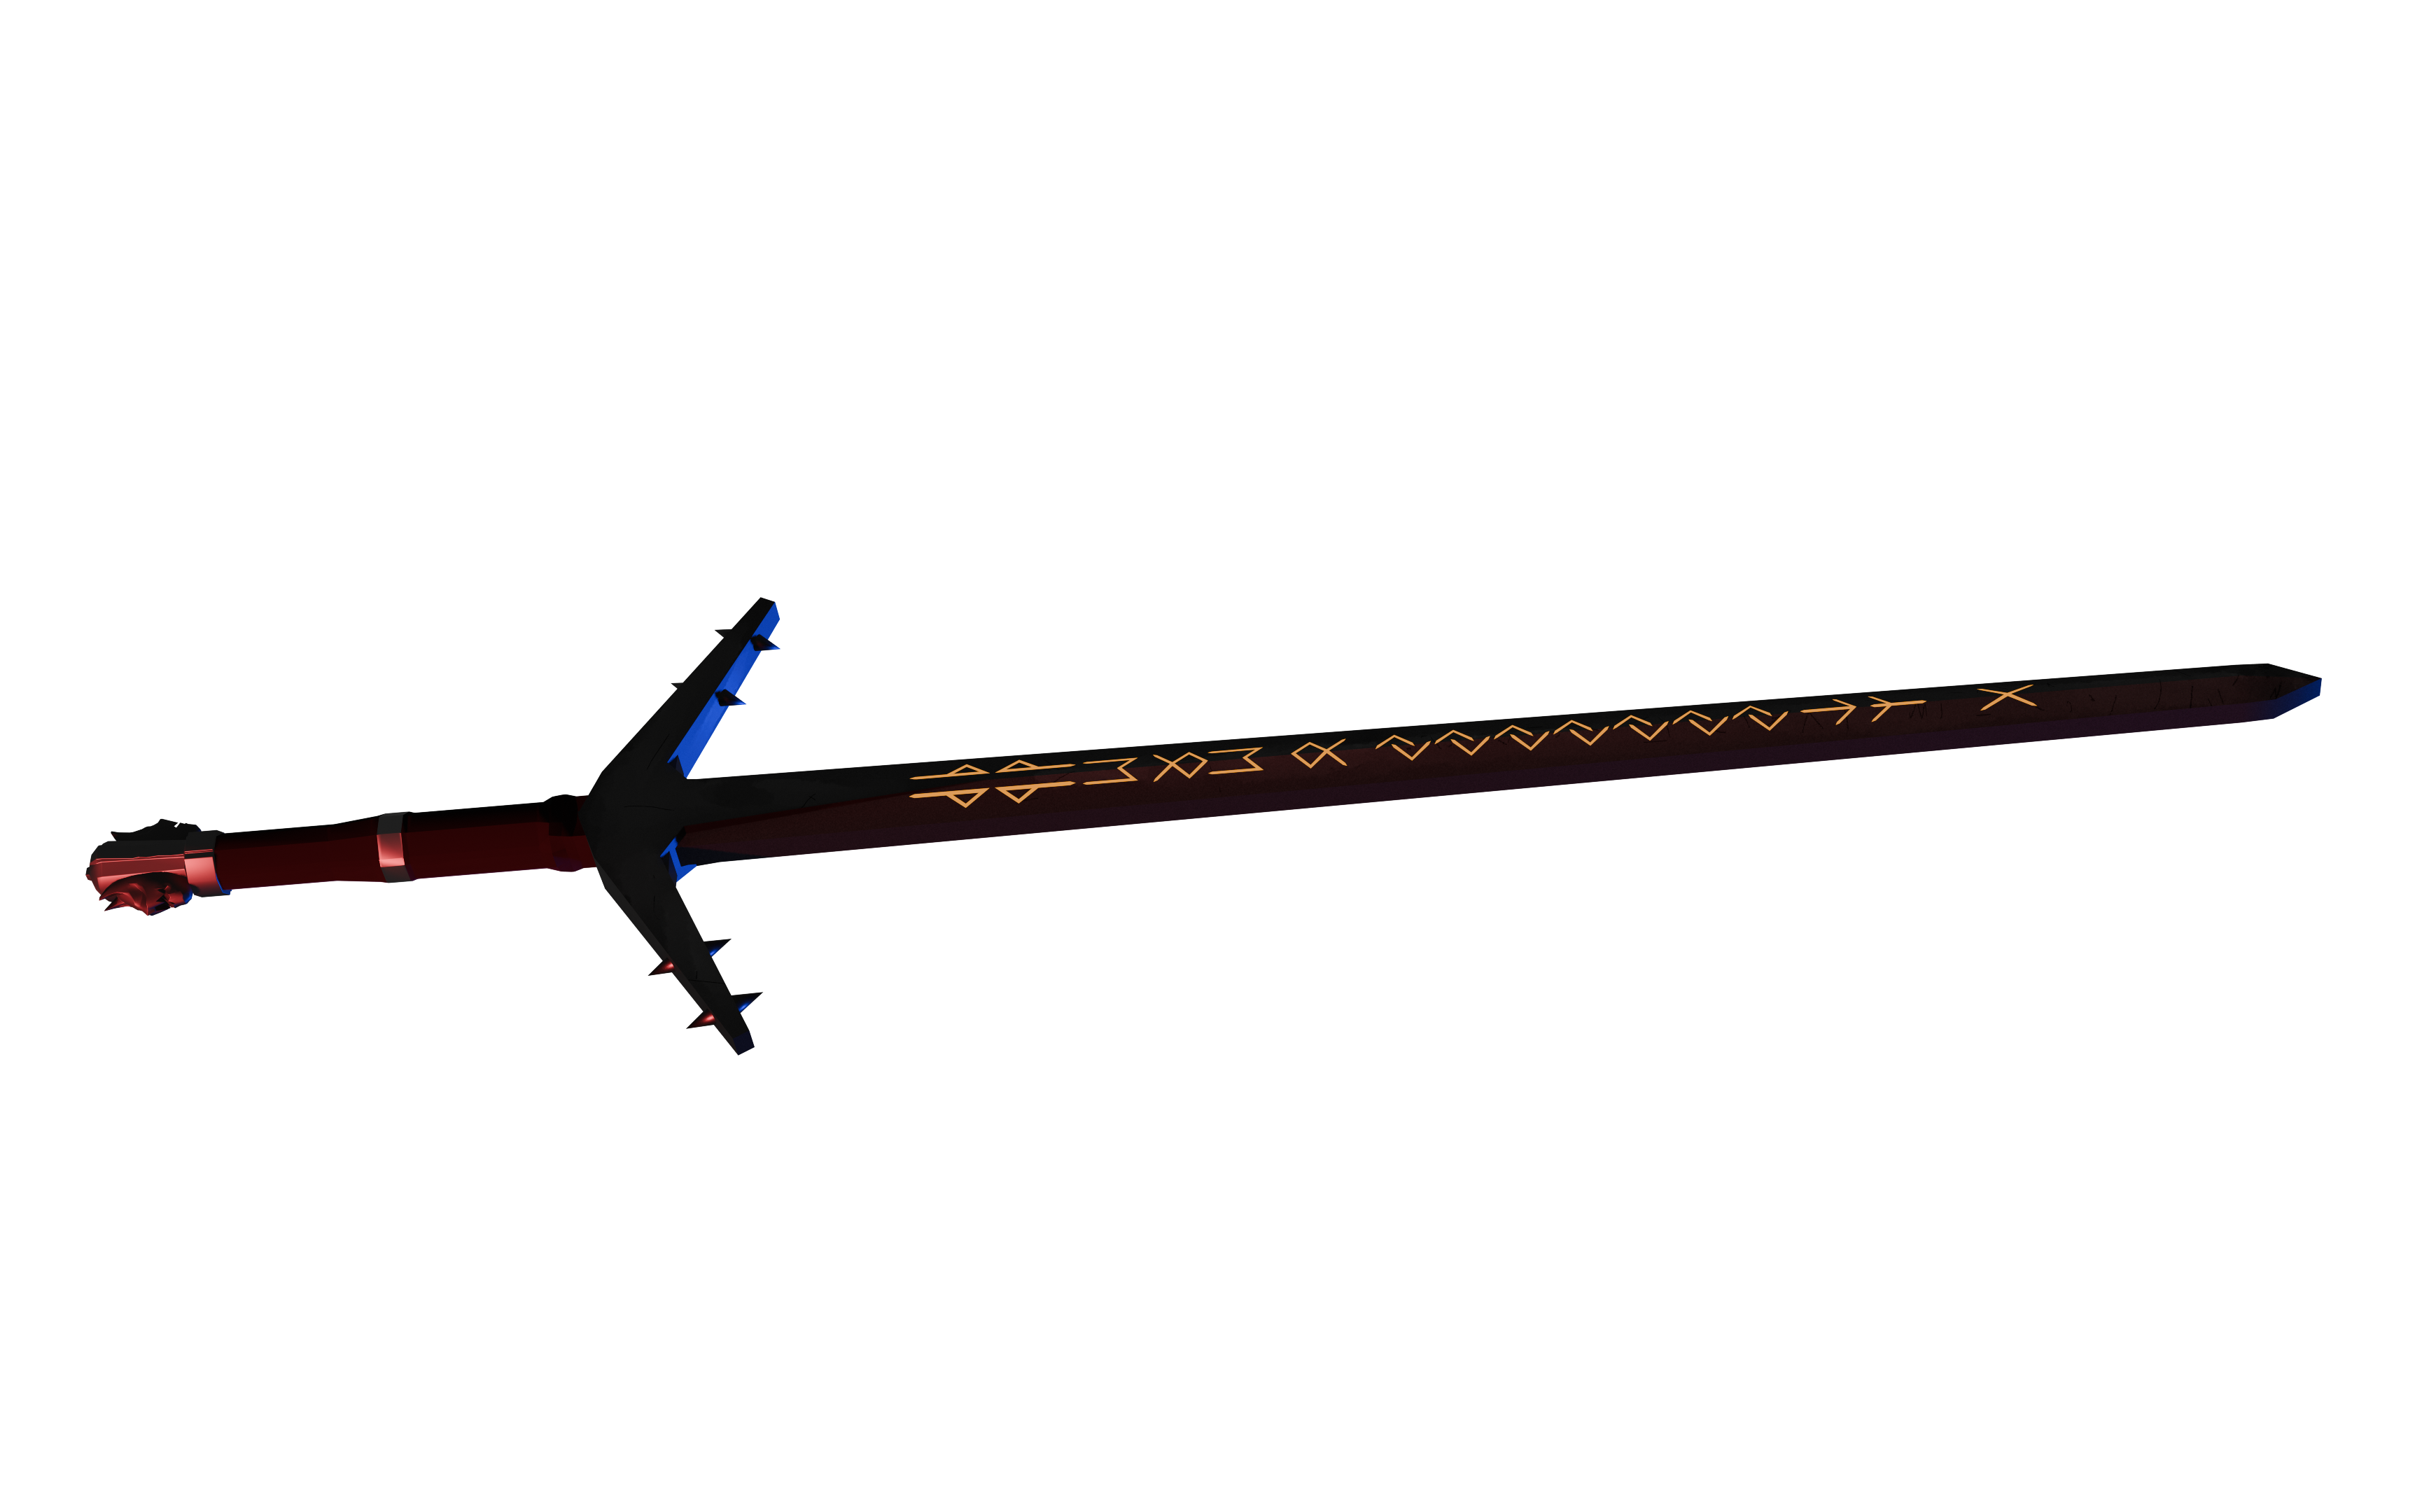
By this point, I was nearly done with my project. I thought it would be a good idea to create a third render. One with some nice lighting, maybe? I messed about with the sun lights for a bit and came up with this:
This is a bit dark, so if we touch it up in Photoshop using brightness and contrast again, we get this:
It is subtle, but I think it goes a long way to make the colours pop more.
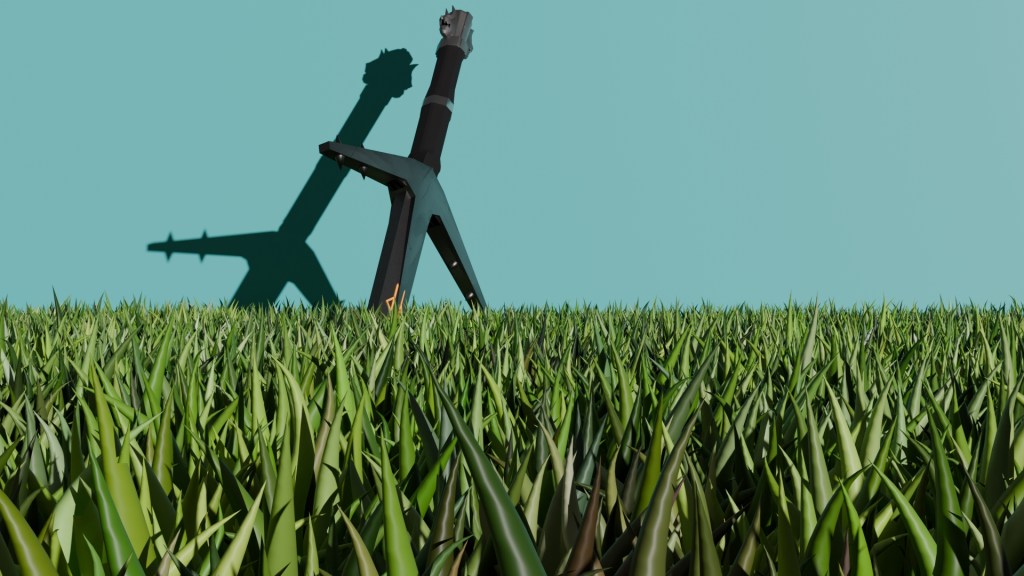
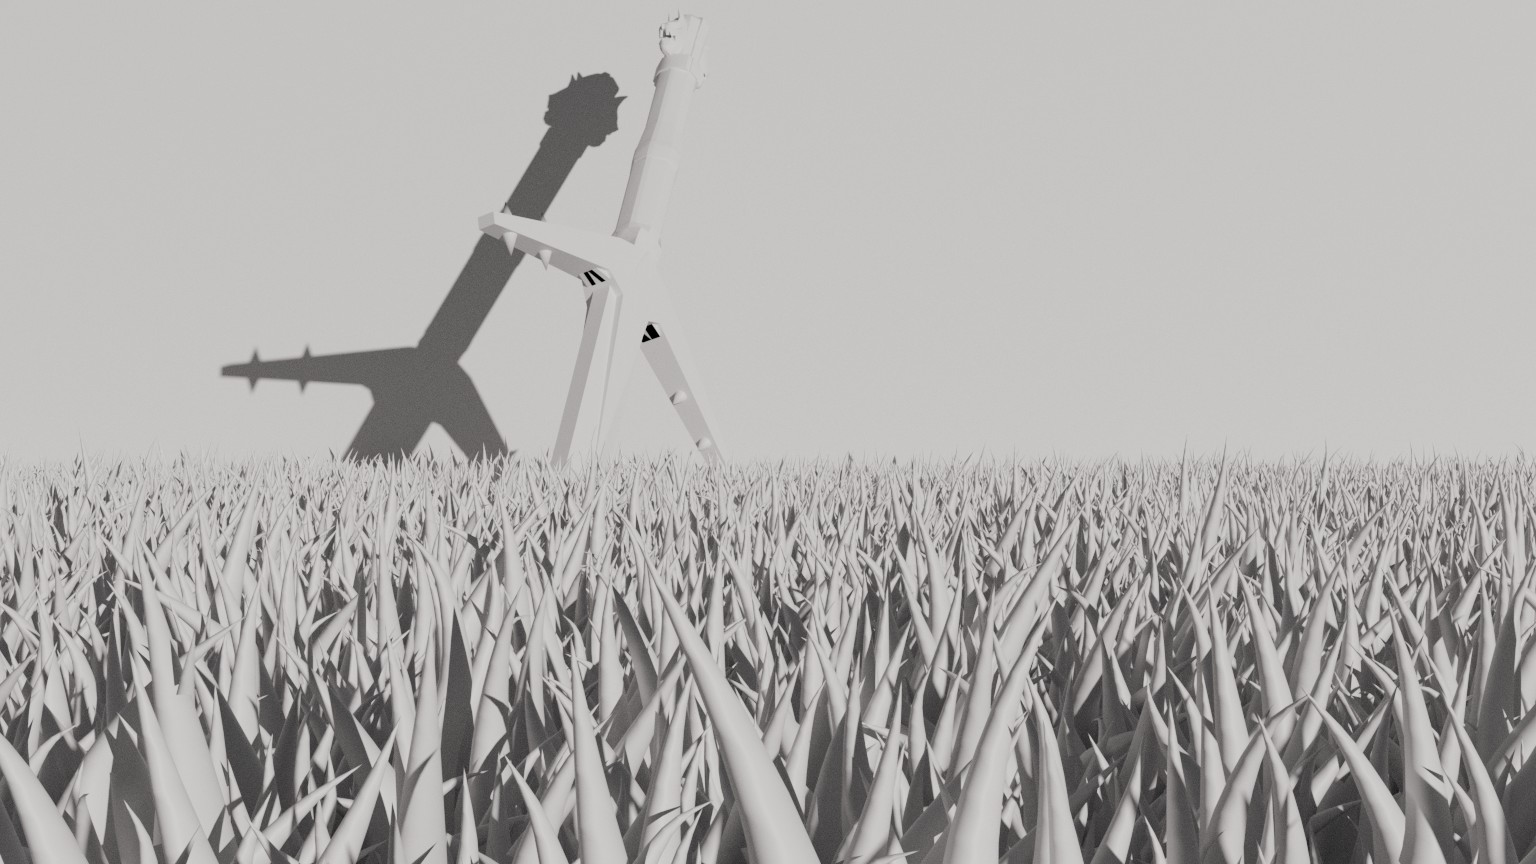
As it turns out, grass looks a lot better in Cycles as opposed to EEVEE.
Summary
I think my Aerondight model turned out very well. Considering this was more or less my first time using Blender to produce something presentable, it could have gone a lot worse.
What went well/What I enjoyed:
– Seeing my model transform over time from a cube to a final piece was an incredible feeling.
– For the most part, my final model was very faithful to the original model.
– I thoroughly enjoyed the process of modelling, texturing and even a small amount of sculpting.
– The texturing was very detailed and looks good in the final piece.
– I demonstrated a variety of techniques which can be useful in the industry.
What I would improve:
– Try to make the wolf heads for the pommel slightly less goofy looking. Maybe experimenting with a few different techniques and styles could help.
– Better runes on the blade. In the final model, the runes are floating very slightly above the blade. Next time, I would like to try and embed them into the blade itself. I would also like to try and figure out how to create a better lighting effect from the runes.
– Watch some tutorials on Blender to hone my skills even further.
– Try to make the backgrounds, particularly in the second render, more appealing.
Bibliography
Reference list
an (2017). Blender Stack Exchange. [online] Blender Stack Exchange. Available at: https://blender.stackexchange.com/questions/91827/loop-cut-at-an-angle [Accessed 4 Oct. 2025].
Clark, C. (2025). Elder Futhark Font | dafont.com. [online] Dafont.com. Available at: https://www.dafont.com/elder-futhark.font [Accessed 9 Oct. 2025].
Groarke, G. (n.d.). The Anatomy of Guns – Gerard Groarke. [online] Gerard Groarke. Available at: https://www.groarke.ie/anatomy-of-guns/ [Accessed 23 Oct. 2025].
mojoGameDev (2025). How To Make ANY Sword In 4 Minutes | Blender Tutorial. [online] Youtu.be. Available at: https://youtu.be/S7CErxDQWps?si=pWiRwU-XA99dKsFd [Accessed 4 Oct. 2025].
Sketchfab and Mefq (2024). Sketchfab. [online] Sketchfab. Available at: https://sketchfab.com/3d-models/the-witcher-3-aerondight-sword-5eba8baf40614b83b92d493fd227e70a [Accessed 4 Oct. 2025].
Supreme Replicas (n.d.). The Parts of a Sword – supremereplicas.com. [online] http://www.supremereplicas.com. Available at: https://www.supremereplicas.com/en/productinfo/the-parts-of-a-sword [Accessed 4 Oct. 2025].
